To solve the problem of the image not staying with the paragraph text, we will use a table. While tables are typically used to organize information in a consistent way, they can also be used to help with laying out the elements of the document.
Copying the practice document
If you are beginning this course at this point, you will need to copy the practice document to your Google Drive.
NOTE: If you have been working through the course, your file should be up to date and you will not need to copy the practice document. You may continue at Inserting a table.
- To begin copying the practice document, click the following button:
The file begins to open in a web browser. Before the document will open and can be edited, we need to make a copy of it.
- To copy the document file,
Click

A copy of the file is now open and, by default, is saved in your Google Drive. The filename now has the words "Copy of" at the beginning.
Inserting a Table
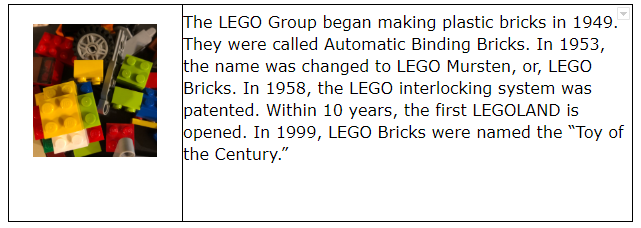
We are going to use a two-cell table. One cell will hold the image. The second cell will hold the paragraph text.
We will begin by making room in our document for the table.
- To add a blank line,
Click before "People of the LEGO Group", Enter
- To move to the blank line, press:
Up arrow
- To see the table options, on the menu bar,
Click Insert, Point Table
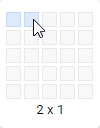
- To insert a 2x1 table,
Click

Adding Content to a Table
Now that the table is in the document, we can cut and paste the content into the table cells.
- To select the image,
Click the image
- To cut the image,
Control key + x
- To place the image in the first cell of the table,
Click the first cell of the table
- To paste the image,
Control key + v
- To select the paragraph text,
Press & drag from "The LEGO group began..." to "Toy of the Century."
- To cut the text,
Control key + x
- To place the text in the second cell of the table,
Click the second cell of the table
- To paste the text,
Control key + v
Formatting a Table
The results may not be what you expected. When the paragraph text was selected and cut, the 1.5 inch indent was also selected. This added a large indent to the second cell of the table. Let's adjust the indent and format the table to better hold our content.
- To select the text, if necessary,
Click the text in the second cell of the table
- To move the indent to the left border of the second cell, on the ruler,
Press & drag
 to the left border of the cell
- To place the cursor,
Point to the left border of the second cell
The cursor looks like this:

- To move the left border of the cell,
Press & drag the border to the left
The table should look something like this:

There are still some changes to be made. We need to remove the extra space after the paragraph content and remove the visible border lines.
- To place the cursor,
Click after "Century,"
- To remove the space, press:
Delete key
- To open the Table properties dialog box,
Right-click the table, Click Table properties
- To change the Table border,
Click
 , Click 0 pt
 - To accept this change,
Click

The table and layout should look like this:

There may be extra space above and below the table. If so, let's remove that.
- To remove the extra space,
Click in the extra space, Delete key or Backspace key

