Google Slides has several built in features that make it easy to format one or more images. Images are often one of the most important parts of a presentation so it is important to make them fit in the presentation space in the best way possible.
Copying the practice presentation
If you are beginning this course at this point, you will need to copy the presentation to your Google Drive.
NOTE: If you have been working through the course, your file should be up to date and you will not need to copy the practice presentation. You can move ahead to Resizing an image.
- To begin copying the practice presentation in a new browser window,
Right-click Copy practice presentation, Click Open link in new window
The file begins to open in a new window of the web browser. Before the presentation will open and can be edited, we need to make a copy of it.
Move to the new browser window.
- To copy the presentation file, in the browser window,
Click ![]()
A copy of the file is now open and, by default, is saved in your Google Drive. The filename now has the words "Copy of" at the beginning.
Resizing an image
If your image is too big or too small, you will need to resize the image. There may also be a time when you need all of the images on a slide to be the same size. This can be accomplished by using the image handles or by working in the Format options panel.
NOTE: Making small images larger by resizing may cause them to look blurry. You will want to be aware of this when adjusting the size of images.
Resizing an image using handles
One of the ways we can resize an image is by using the handles that appear when we select the image. This slide contains three images of varying sizes. Let's use the handle to make the dog a bit smaller.
- To move to the correct slide, in the Slides panel,
Click the slide titled Formatting Images
- To select the image of the dog,
Click the dog
When the image is selected, there is a box around it.
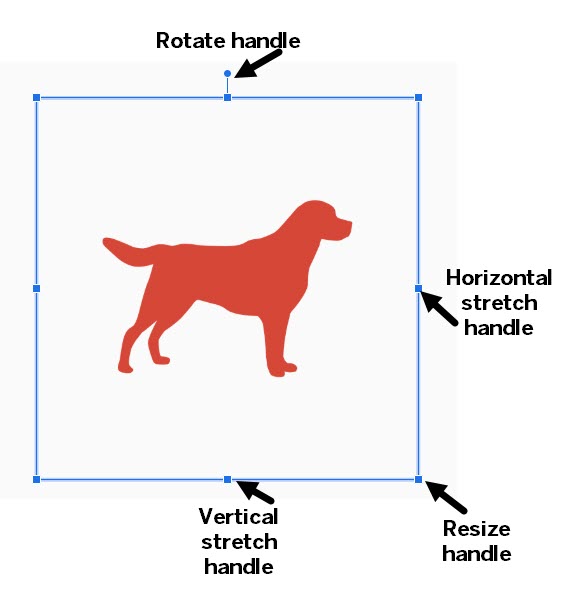
Pressing and dragging the rotate handle will turn the image in a circle. The horizontal and vertical stretch handles will stretch and distort the image. Using the resize handles, we can make the image smaller or larger without changing the shape.
Let's resize the dog so that it is the same size as the image of the cat.
As you press & drag to resize the image, you will see two lines appear alongside both the dog and cat images. These are comparison lines. They will appear any time the image being resized is the same size as another object on the slide.
- To resize the dog image,
Press & Drag the upper left handle towards the middle of the image until the comparison lines show that the dog is the same size as the cat
The dog and cat images are now the same size.
Reszing an image using size options
Now that the dog and cat images are the same size, let's resize the bird image to match. Instead of using the handles, we'll use the size options in the Format options panel.
To begin, we will select the bird image and open the Format options panel.
- To select the bird image,
Click the bird image
- To open the Format options panel,
Right-click the bird image, Click Format options
The Format options panel opens. We want to work with the Size & Rotation options.
- To expand the Size & Rotation options, in the Format options panel,
Click

The Size & Rotation sub-panel shows us exactly how large our image is.
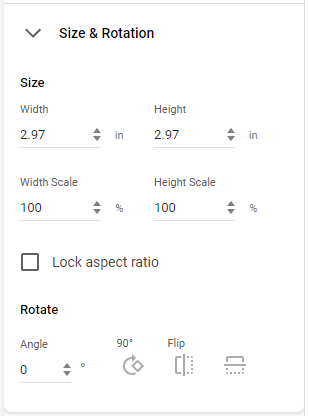
We want to adjust the bird to be the same size as the dog and cat. With the Size & Rotation panel open, we can easily see exactly how big those images are.
- To view the current size of the dog image,
Click the dog image
The Size & Rotation panel shows that the width and height of the dog image are both 1.85 inches.
- To view the current size of the cat image,
Click the cat image
The Size & Rotation panel shows that the size of the cat image is the same as the dog image..
- To re-select the bird image,
Click the bird image
Before we resize the image, we'll want to lock the aspect ratio of the image. By locking the aspect ratio, we assure that the image won't be stretched or distorted as it is resized. The width and height dimensions will stay the same.
- To lock the bird image's aspect ratio,
Click the checkbox next to "Lock aspect ratio"
- To change the width of the bird image, in the Width field,
Double-Click the current value, type: 1.85
Because the aspect ratio was locked, the Height field automatically adjusts to 1.85 inches. The bird is now the same size as the dog and cat images.
Positioning an image
Now that the images have been resized, let's position them in the slide. As usual, there is more than one way to accomplish this task. Images can be moved by pressing and dragging them into place or by using the position options.
Positioning an image using the mouse
First, let's try using the mouse to press and drag an image into position.
- To select the dog image,
Click the dog image
- To move the dog image,
Press & Drag the image to the left side of the blank area of the slide
As you move the image around on the slide, you see both the horizontal and vertical alignment lines appear. These lines indicate when the selected image is centered on the slide or aligned with other elements on the slide. Let's center the dog on the slide. When the image is in the center of the slide, the alignment lines will look like this:
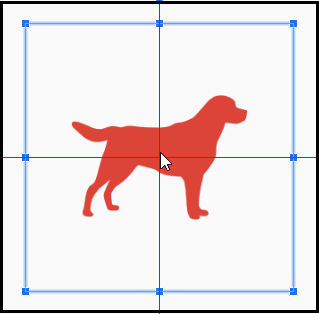
- To center the image of the dog,
Press & Drag the image until the vertical and horizontal alignment lines appear
Now that the dog image has been positioned and aligned, let's position the other images in relation to the dog. We'll begin by placing the bird image above the dog image.
- To align the bird image with the top of the dog image,
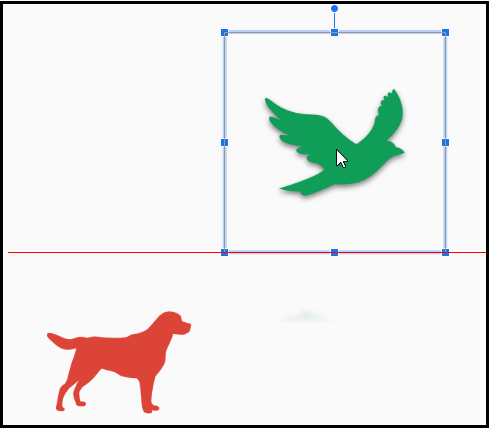
Press & Drag the bird image until an alignment line appears above the dog image
The alignment line should look like this:
Positioning an image using position options
Now that we've moved two images by pressing and dragging, let's use the position options to move the third image.
- To select the cat image,
Click the cat image
- To open the Format options panel, in the menu bar,
Click Format, Click Format options
- To view the Position options, in the Format options panel,
Click

Using the Position options, we can enter coordinates to place an image or other element exactly where we want it. To see this in action, let's move the cat image to the bottom right corner of the slide.
In Google Slides, the position of an element is based either on the top left corner or the center of the bounding box. Keep in mind that the bounding box may be larger than the actual image.
- To set the From setting, if necessary, in the Position options section of the Format options panel,
Click
 , Click Center
Using the X and Y coordinates to position an image can take some trial and error. For today's purposes, we'll use the following coordinates: X= 4.12 inches and Y=1.95 inches.
- To enter the X coordinate value,
Double-Click the current value, type: 4.12
- To enter the Y coordinate value,
Double-Click the current value, type: 1.95
The cat image is now in the bottom right of the slide. However, it looks out of place in the new location. Let's go ahead and align the cat with the dog image.
- Use your preferred method for aligning the center of the cat image with the center of the dog image.
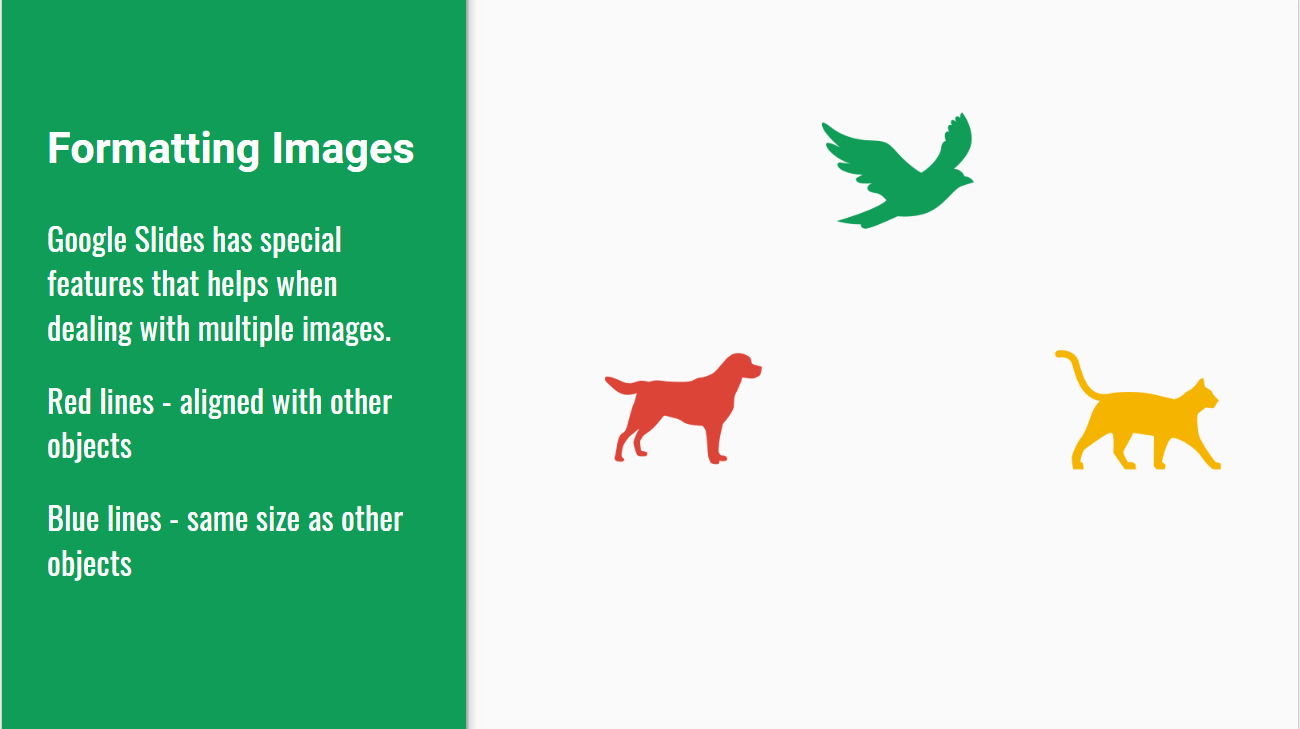
The aligned images should look like this:
Modifying an image's appearance
There are other options that may make your slide more interesting or fit a certain style better. It is usually a good rule to have all images on a slide similarly formatted. To make this easy, let's format all three images at the same time. The first thing we need to do is select all the objects. This can be done by holding down the Shift key while clicking each object.
- To select all three images,
Click the dog image, Press and hold the Shift key, Click the bird image, Click the cat image
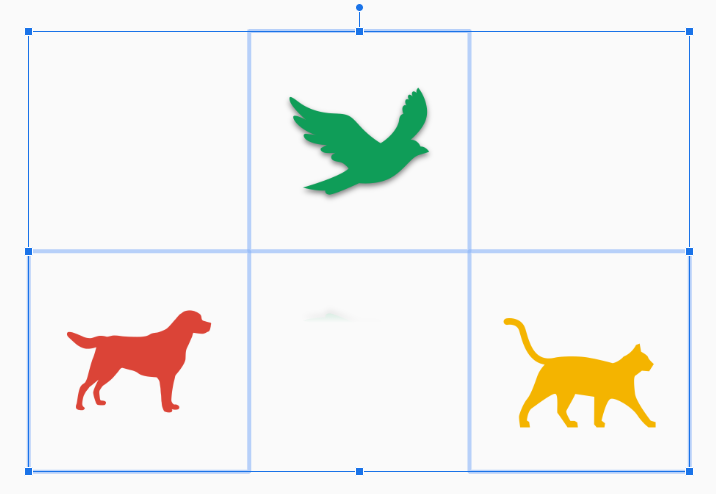
All three images are selected and look like this:
Adding a reflection
With all three images selected, any formatting changes we make will be applied to all of the images. Let's add a reflection to the images.
- To open the Format options panel, on the menu bar,
Click Format, Click Format options
- To open the Reflection options,
Click

When we click on the Reflection options, the checkbox is automatically checked and our images have faint reflections. These reflections can be modified by using the Transparency, Distance, and Size sliders in the options panel. Let's adjust these now.
- To change the reflection size,
Press & Drag the Size slilder to 50%
Each of the images now has a reflection.
Adding a drop shadow
The Drop Shadow option adds a small "shadow" to each image. Let's try this now.
- To select all three images, if necessary,
Click the dog image, Press and hold the Shift key, Click the bird image, Click the cat image
- To open the Format options pane, if necessary, on the menu bar,
Click Format, Click Format options
- To apply a drop shadow, in the Format options panel,
Click

Adjust the drop shadow options to your liking.
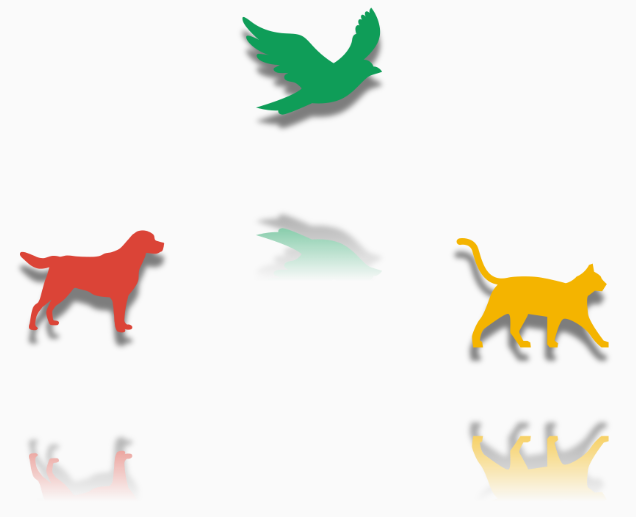
The slide should look something like this:
Recoloring an image
Sometimes you may like the image, but want to change the color. This is similar to putting a filter over the image. To see how recoloring affects an image, we will work with the third slide in this presentation. This slide contains a large image made up of several smaller images of the IU Bloomington campus.
- To select the third slide, in the Slide panel,
Click the third slide
- To select the image,
Click the image
- To open the Format options panel, if necessary, on the menu bar,
Click Format, Click Format options
- To open the Recolor options,
Click

- To expand the Recolor options list,
Click

The Recolor options give us several choices for how we want our images to look. We can choose a light or bright color or a more muted sepia tone. Let's choose a dark red.
- To choose the dark red option (Dark 6),
Click the dark red thumbnail image
NOTE: The name of the color, Dark 6, will not appear until the thumbnail image is selected.
The image is now a dark red. It may actually be a little too dark. This can be adjusted using the Adjustments options in the Format options pane.
Adjusting an image
If the image still isn’t exactly what you need for your slide, you can adjust the transparency, brightness, and contrast by using the Adjustments option. We will be adjusting the same image as we did in the recoloring section.
- To open the Adjustments options,
Click

There are three options under the Adjusments heading. The transparency slider will make your image more transparent, and allow any elements underneath the image to show through. The brightness slider will adjust the overall lightness or darkness of an image. The contrast slider will adjust the difference in bright and dark areas of the image - high contrast makes light areas brighter and dark areas darker.
Let's adjust the contrast and transparency of this image.
- To adjust the Contrast slider,
Press & Drag the Contrast slider to -50%
- To adjust the Transparency slider,
Press & Drag the Transparency slider to 30%
With the contrast and transparency adjusted, we can now see the "Indiana University" logo that was behind the image.

- To deselect the image,
Click in a blank area of the slide

