Google Slides offers a large selection of various kinds of shapes to add to your presentation. These can be used to add emphasis or decorate your slide. You can also add text to shapes. All shapes can have text written inside of them although some shapes are better suited for this than others. The skills we learned in our previous lessons will also be used in this lesson when we are formatting a shape.
Copying the practice presentation
If you are beginning this course at this point, you will need to copy the presentation to your Google Drive.
NOTE: If you have been working through the course, your file should be up to date and you will not need to copy the practice presentation. You can move ahead to Inserting a shape.
- To begin copying the practice presentation in a new browser window,
Right-click Copy practice presentation, Click Open link in new window
The file begins to open in a new window of the web browser. Before the presentation will open and can be edited, we need to make a copy of it.
Move to the new browser window.
- To copy the presentation file, in the browser window,
Click ![]()
A copy of the file is now open and, by default, is saved in your Google Drive. The filename now has the words "Copy of" at the beginning.
Inserting a shape
Let's begin by adding a shape to the third slide.
- To move to the third slide, in the Slides panel,
Click Slide 3
- To open the Insert Shape options, in the menubar,
Click Insert, Point Shape
- To see the arrow options,
Point to Arrows
- To select the Right Arrow shape, in the Arrows menu,
Click
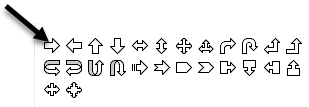
The cursor changes slightly to a large crosshair (![]() ). This can be used to draw the arrow shape.
). This can be used to draw the arrow shape.
- To draw the arrow shape,
Press & Drag the cursor until you are happy with the size of the arrow shape
Formatting a shape
Your arrow should look something like this:
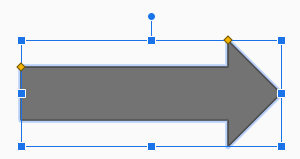
By default, shapes are filled with a color associated with the chosen theme. This example uses the Material theme. Dark gray is one of the accent colors within this theme. This color can easily be changed.
Let's change the color of this arrow. When formatting a shape, the shape must be selected. You can tell if the arrow is selected because it will have a border and sizing handles.
- To select the arrow, if necessary,
Click the arrow
- To open the Fill color options, in the toolbar,
Click

The Fill color options appear:
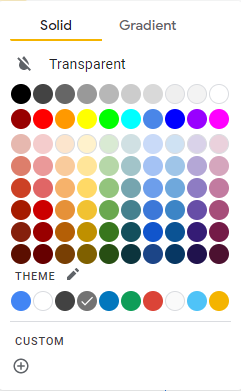
- To choose a Theme color, in the Themes group,
Click a color swatch
The arrow changes color. However, there is still a dark border around the shape. This border can also be modified. We can change the color or weight of the line.
- To open the Border color options, in the toolbar,
Click

- To change the border color, in the Themes group,
Click a different color
The border has changed.
NOTE: If you don't want a visible border on your shape, you could make the border transparent.
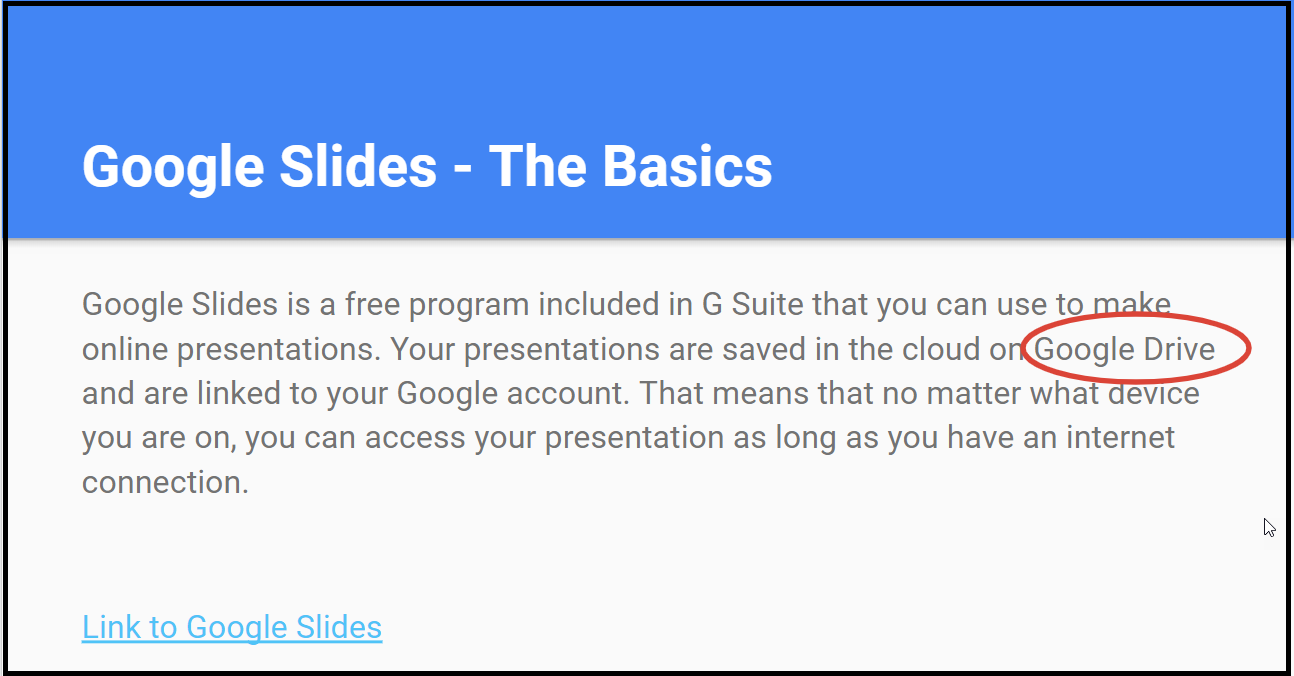
It is also possible to utilize a border, but make the inside of a shape transparent. This is a good way to use a shape to circle items on your slide.
Adding text to a shape
While the arrow shape alone will draw attention to an important part of our slide, adding text to a shape may have even more impact. Text within a shape can be easily modified. We can change the font type, size, style, and color.
- To select the shape for editing,
Double-click the shape
The shape is selected and there is a blinking cursor inside of it. Before we add the text, let's make sure that the font fits the theme of our presentation.
- To change the font type, in the toolbar,
Click
 , Click Oswald
- To change the font size, in the toolbar,
Click
 Click 18
- To change the font style, in the toolbar,
Click

- To change the font color, in the toolbar,
Click
 , Click a theme color
Now that the font attributes have been set, it's time to add the text to your arrow. The arrow should still be selected and the cursor should be flashing.
- To add text to the shape, type:
IU Trident
Rotating a shape
Now that the shape is correctly formatted, we can adjust the placement and rotation so that the arrow is pointing at the IU Trident.
- To select the arrow, if necessary,
Click the arrow
- To rotate the arrow,
Press & Drag
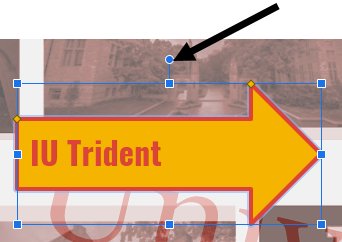 to the right
- To adjust the position of the arrow,
Press & Drag the arrow until it is to the left and slightly above the IU Trident
The arrow should now be pointing to the IU Trident, as seen in the following image:

- To deselect the arrow,
Click in a blank area of the slide

