A table is an effective way of showing large amounts of data in an easy-to-read manner. Knowing how to create a table in Google Slides that fits your theme is a valuable skill.
Copying the practice presentation
If you are beginning this course at this point, you will need to copy the presentation to your Google Drive.
NOTE: If you have been working through the course, your file should be up to date and you will not need to copy the practice presentation. You can move ahead to Creating a table.
- To begin copying the practice presentation in a new browser window,
Right-click Copy practice presentation, Click Open link in new window
The file begins to open in a new window of the web browser. Before the presentation will open and can be edited, we need to make a copy of it.
Move to the new browser window.
- To copy the presentation file, in the browser window,
Click ![]()
A copy of the file is now open and, by default, is saved in your Google Drive. The filename now has the words "Copy of" at the beginning.
Creating a Table
We'll use the Insert menu to create a 2x6 table.
- To move to the slide titled "Show Data with Tables," in the Slide panel,
Click the slide titled "Show Data with Tables"
- To open the table options, on the menu bar,
Click Insert, Click Table
- To insert a 2x6 table,
Press & Drag boxes until the display shows 2x6, Click to insert the table
The table appears on the slide. It may not be positioned correctly. There are several ways to adjust the placement. You could use your mouse to press and drag the table into place, or you can use the keyboard to make very small changes. Let's use the keyboard to precisely adjust the postion of the table.
There should be a light blue border around the table indicating that it is selected:
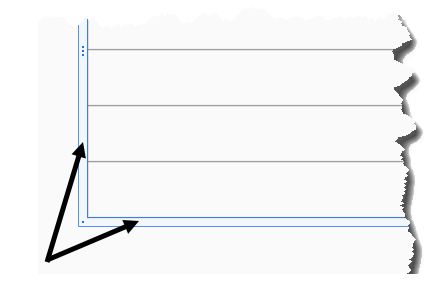
- Select the tabl;e, if necessary.
- To move the table down, on the keyboard, press:
Down Arrow key several times
Now that the table is in place, we can add content. We are going to create a table showing the number of beginning students at IU Bloomington for each year 2014-2018. We will start by adding column headers.
- To select the first cell,
Click in the upper left cell of the table
- To add the first column header, type:
Year Tab key
When you pressed the Tab key, the cursor moved to the next cell. This is exactly where we want to be to add our second column header.
- To add the second column header, type:
Number of Beginning Students at IU Bloomington Tab key
Now that the headers are in place, we can add content to our table.
- To complete the table, add the following content:
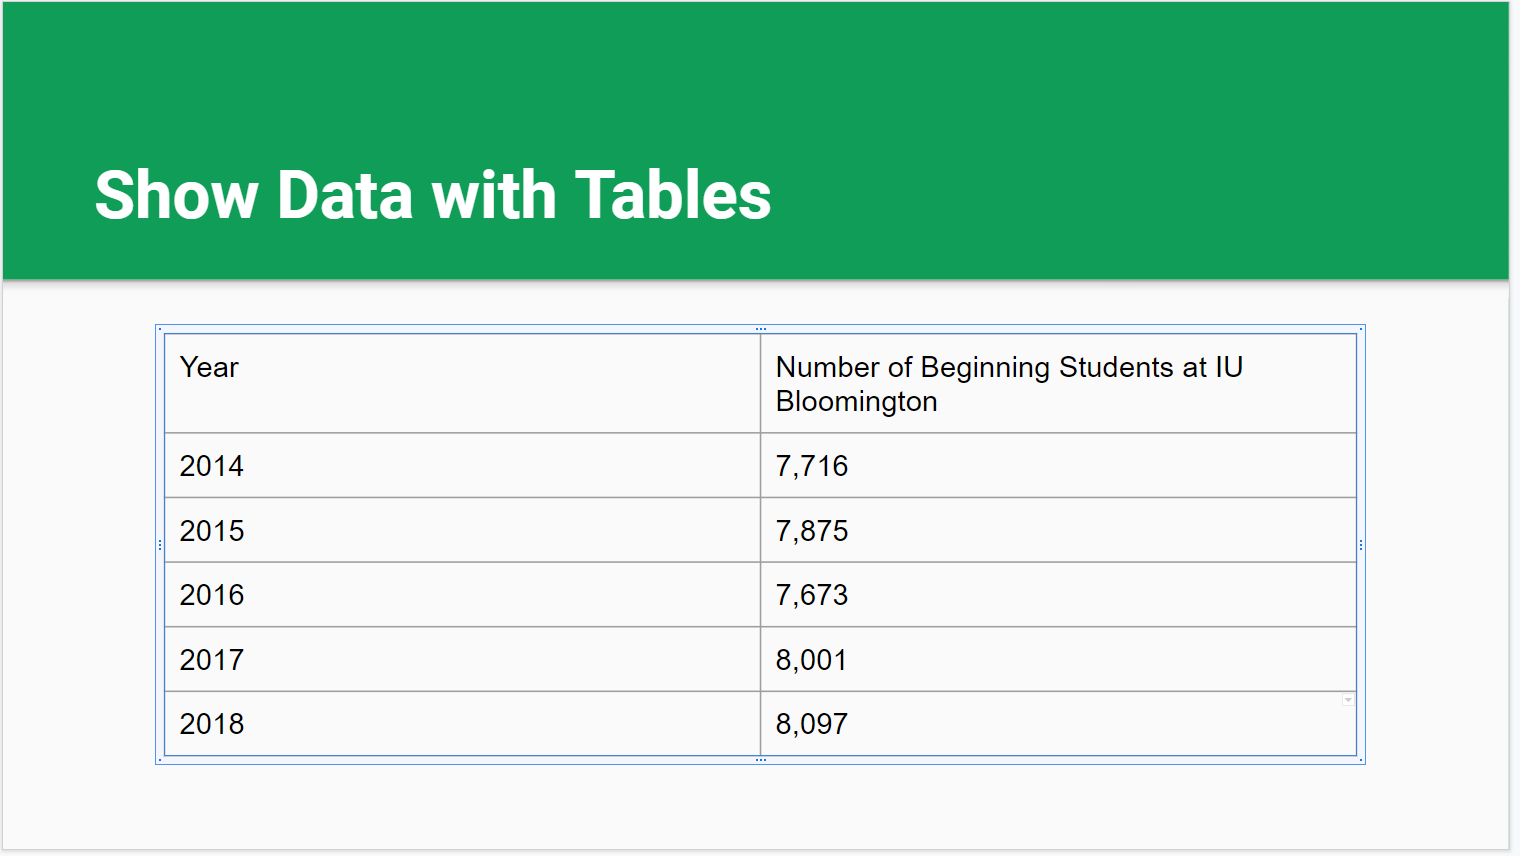
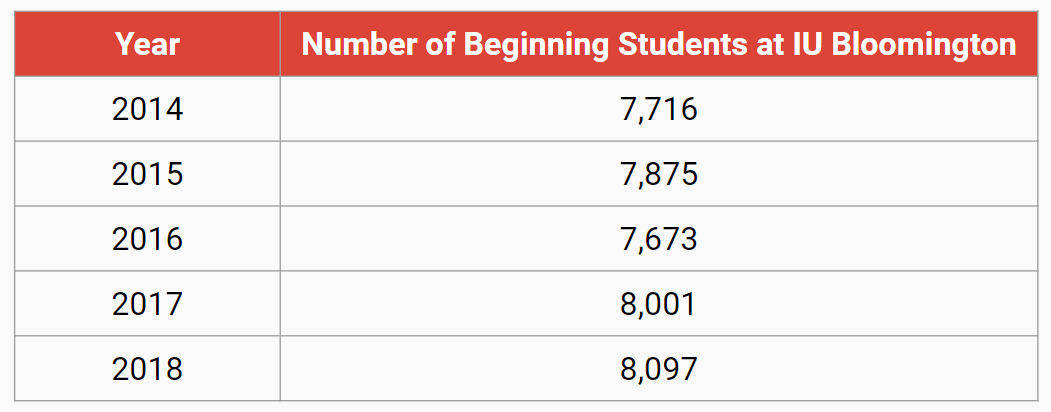
Year Number of Beginning Students at IU Bloomington 2014 7,716 2015 7,875 2016 7,673 2017 8,001 2018 8,097
The completed table should look like this:
Formatting a Table
Now that the table has all of the information we need in it, it's time to make it match our theme. When creating tables for your personal presentations, keep your theme and audience in mind when making color and font choices.
We will begin by formatting the column header text.
- To select the column header text,
Press & Drag from Year to Bloomington
The first row of the table is highlighted.
- To open the Fill color options, on the toolbar,
Click

- To choose a new color,
Click one of the colors in the Theme section
- To change the text style, on the toolbar,
Click

- To see the text color options, on the toolbar,
Click

- To change the text color,
Click one of the colors in the Theme section
Now that the header row has been formatted, let's work on the rest of the table. We want to modify the font, change the border color, and align the text.
- To select the entire table,
Press & Drag from Year to 8,097
- To change the font type, on the toolbar,
Click
 , Click Oswald
 - To change the font size, on the toolbar,
Click
 , Click 18
- To center align the text, on the toolbar,
Click
 , Click
The table should now look like this:
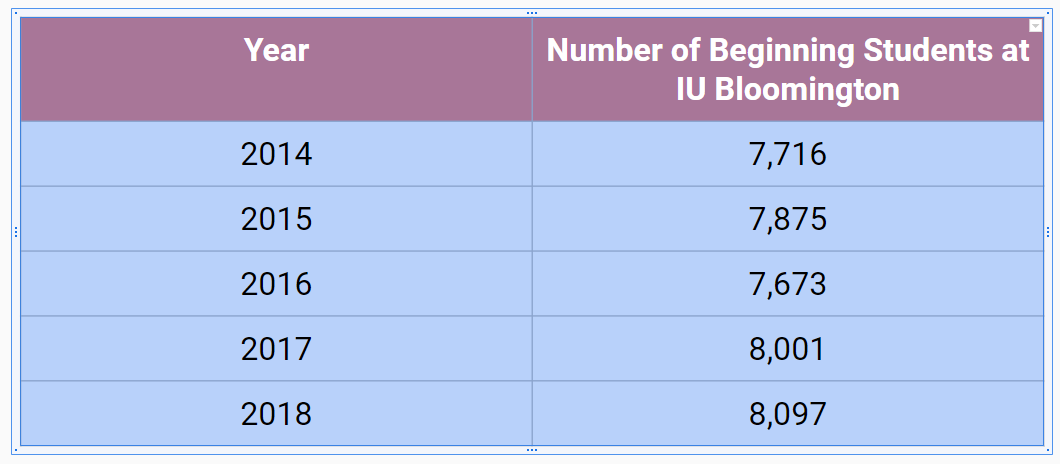
The Year column is much wider than necessary while the second column header doesn't fit as well as it could. The column widths can easily be adjusted.
- To activate the widen tool,
place the cursor on the border between columns
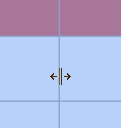
Your cursor changes and looks like this:
- To widen the second column,
Press & Drag the border to the left until the column header fits on one line
The final table should look like this:
Adding Alternative Text
Now that we are finished formatting the table, we need to add alternative text. Alt text helps people using screen readers to know what is being shown in the table. Google Slides makes it easy to add alt text.
- To see the Alt text options,
Right-click the right border of the table, Click Alt text...
- To add title alt text, in the Title field, type:
Student Enrollment Table
- To add a description, in the Description field, type:
A table showing how many beginning students have attended IU Bloomington each year from 2014 to 2018.
- To accept this alternative text,
Click


