We will begin today's session by sending a couple of email messages that we can then use for some of the exercises. We will send this first message to our own email address, so we may also see a new message notification.
Step 1. Verify that the Home tab is selected.
Step 2. To open a new untitled message form, on the Ribbon, in the New group,
Click 
Step 3. To send a message,
type in the appropriate information from the table below
| Field | Type: |
|---|---|
| To... | your email address |
| Subject: | Your Order has Arrived |
| Message: | Please pick this up at your earliest convenience. |
Step 4. To send the message,
Click 
Creating a Contact Group
Contact Groups, formerly called distribution lists, make it possible to send messages to multiple recipients, especially groups we repeatedly contact, without having to type in all of the individual email addresses. Once a contact group is set up, it is stored in our People folder and can be accessed and used for sending messages and scheduling meetings. This can be a huge time saver, especially if we deal with multiple groups on a daily basis.
Let's create a contact group of our own now, and send the group a message.
Step 1. To create a contact group, in the New group on the Ribbon,
Click 
Step 2. To continue,
Point More Items, Click Contact Group
Step 3. To name the new contact group, in the Name field, type:
Example - Outlook Group
Step 4. To begin adding members, on the "Untitled - Contact Group" Ribbon, in the Members group,
Click  , Click From Address Book

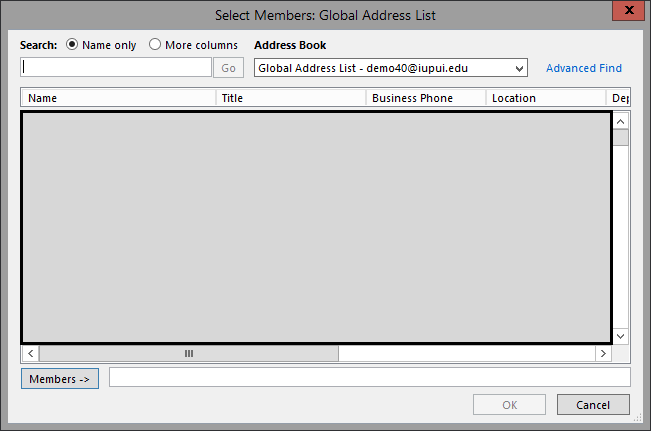
Step 5. To add names to the contact group, in the Members field,
Click  ,
,
type: Abernathy, Abby; Cape, Carol; Dell, Diane; Catt, Cathy; Daily, Doris;
Step 6. To continue, in the bottom right corner of the dialog box,
Click 
Step 7. To begin sending an email to this contact group, on the Ribbon, in the Communicate group,
Click 
Step 8. To save and continue,
Click 
Step 9. To continue, type in the information from the table below:
| Field | Type: |
|---|---|
| Subject: | Alumni ConferenceReminder |
| Message: | Don't forget that the Alumni Conference is coming up soon. I hope you will attend. |
Step 10. To send the message,
Click 
Step 11. To close the Contact Group form, in the top right corner,
Click 
Responding from the Reading Pane
In Outlook, it is possible to reply to messages by typing our response directly into the Reading Pane. Let's see how this works now.
It may be necessary to open the Reading Pane. This tool is available on the View command tab.
Step 1. To move to the View command tab, on the Ribbon,
Click the View tab
Step 2. To open the Reading Pane, if necessary, in the Layout group,
Click  , Click Right
Step 3. Verify that the message with the subject, "Your Order has Arrived" is selected.
Step 4. To reply to the message, at the top of the Reading pane,
Click 
Step 5. To continue, in the Reading pane, type:
Thanks for letting me know.
Step 6. To send the reply, at the top of this pane,
Click 

