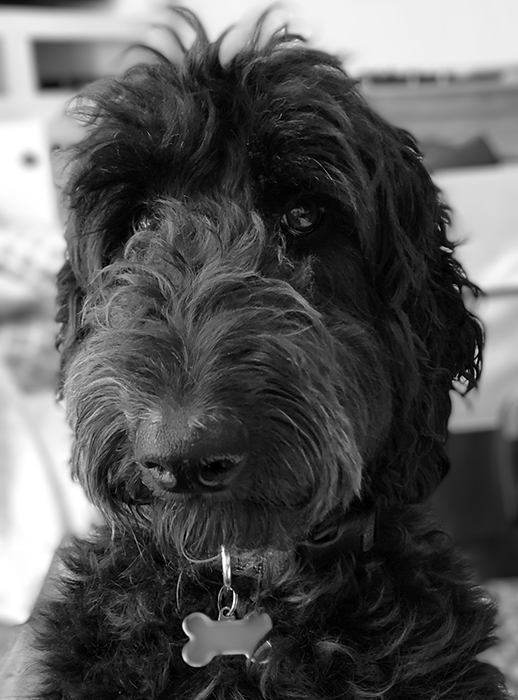
Now that we’ve blurred the background of Smiling edit.psd to make Angelica the focus of the image, let’s make the photo a little more dramatic by converting it to a black and white photo. This is another task we can accomplish using the Adjustments panel — specifically, we’ll be using the Black & White adjustment to convert the image to black and white, as well as perform some tweaks to the gray tones in the image to make the picture look its best.
Let’s start by adding the Black & White adjustment to the photo. After that, we’ll make some changes to the lightness and darkness of the gray tones relating to specific colors in the image. Specifically, we’ll be working to lighten some of the colors present in the background while darkening some of the highlights on Angelica’s fur — the end result will emphasize Angelica as the focus of the image.


