

Now that the video is complete, it can be exported. Premiere Pro provides so many options for exporting video that it's almost overwhelming. You can publish to all popular media formats. You can export a single frame, a series of frames, a clip, a sequence, or a whole movie. You can publish audio only, video only, or both. You also have complete control over the quality and size of the finished project.
When exporting video in Premiere Pro, we're given a number of different options for exporting. We'll be exporting the project using the Media option.
Step 1. To export the completed video project, on the Menu bar,
Click File, Point Export, Click Media...
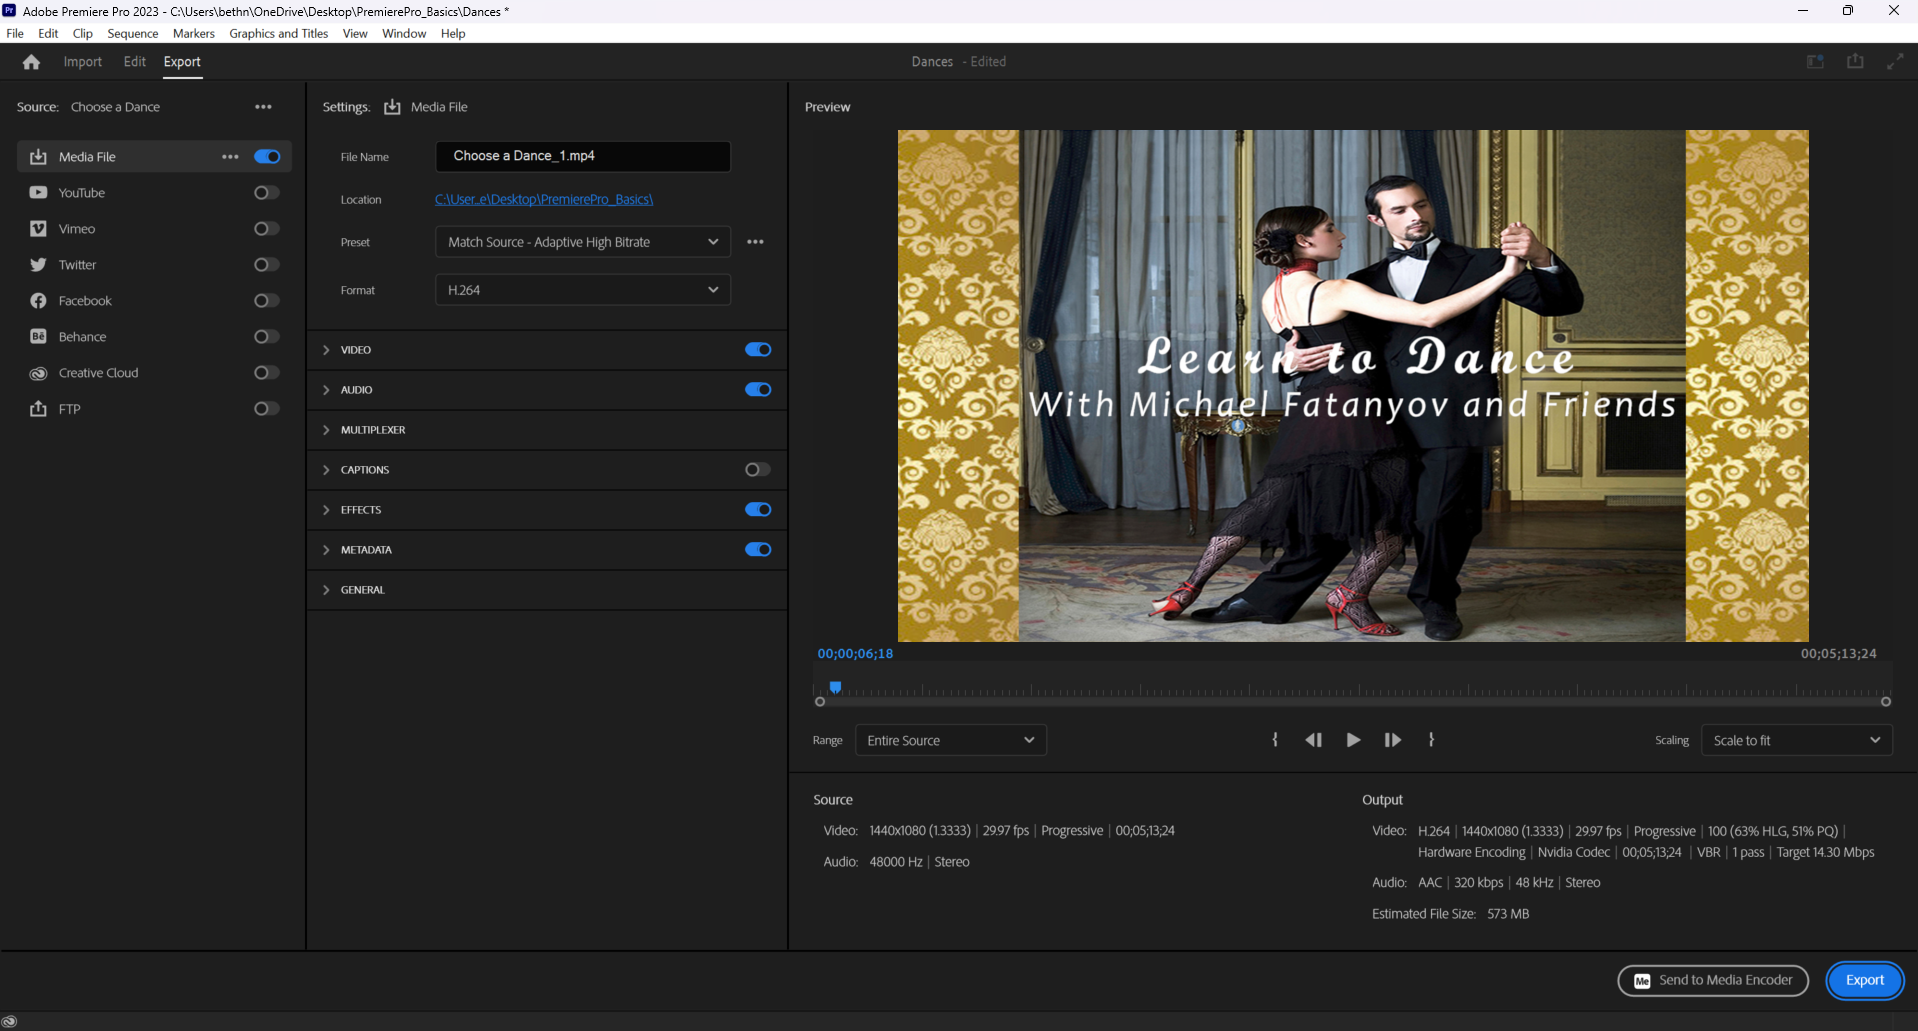
Step 2. To choose the H.264 format, in the Export Settings panel, if necessary,
Click the Format drop-down, Click H.264
At this point, we could choose a video preset which would adjust the size and quality of our finished video — however, the default preset will work for our needs today.
We could also specify a location for where Premiere Pro will save our exported video to, as well as change the name of the file. By default, Premiere Pro saves exported videos in the same folder as the project is saved in and names them with the same name as the sequence being exported, so we'll stick with that.
NOTE: If you need to change the file name or location where the file will be saved, in the Output Name field in the Export Settings dialog box, Click the file name, navigate to where on your computer you wish to save the file, assign the file a new name, then Click Save.
Step 4. To open Adobe Media Encoder and add the video to the encoding queue, in the bottom right corner of the Export screen,
Click ![]()
Using Adobe Media Encoder
Adobe Media Encoder is a professional software application that is part of Adobe Creative Cloud. While you can open and use Adobe Media Encoder by itself, it also works in conjunction with Premiere Pro to encode video projects. Adobe Media Encoder allows us to queue up a number of different video projects, then export them all at once. We'll only be exporting one video at this point, but the steps performed today can also be used to have Adobe Media Encoder encode multiple videos at once. Let's start the encoding process for the video we created.
Step 1. Switch to the Adobe Media Encoder window, if necessary.
Step 2. To export the video, in the upper right corner of the Adobe Media Encoder window,
Click ![]()
Step 3. Close Adobe Media Encoder.
Step 4. Close Premiere Pro.