

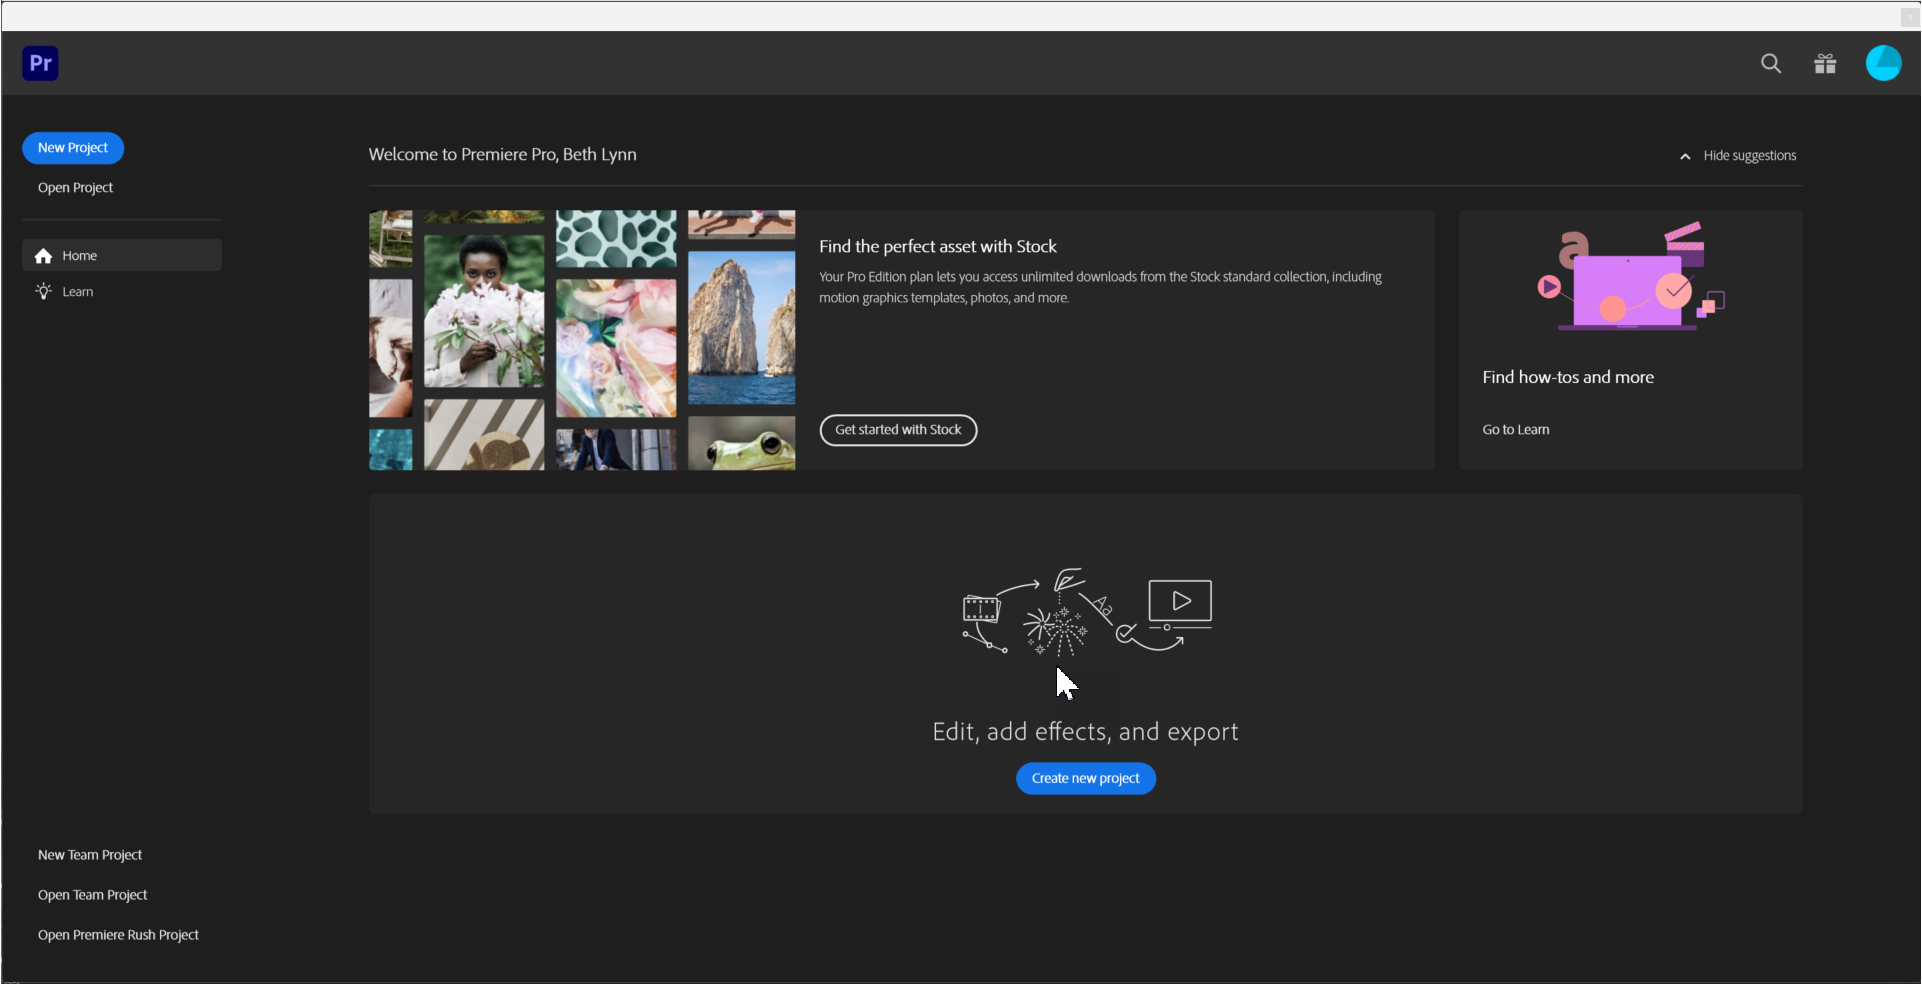
Premiere Pro is Adobe's professional level video editing software. It will allow you to capture, edit, and export video for many different devices and purposes.
To help you learn how to work with Premiere Pro, today's project will focus on creating a video for Michael, a dance instructor who wants a video to show prospective students what his dance studio offers. During the process of creating the video, you'll get accustomed to working with Premiere Pro and learn the basics of creating and editing videos.
Premiere Pro can be intimidating for newcomers, but with some experience you'll soon be comfortable editing video in Premiere. The best place to start when learning how to work with Premiere is to familiarize yourself with the interface. We'll do that now as we create a new project.
Creating a New Project
Let's open Premiere Pro now.
Step 1. Launch Premiere Pro.
Step 2. To start a new project,
Click ![]()
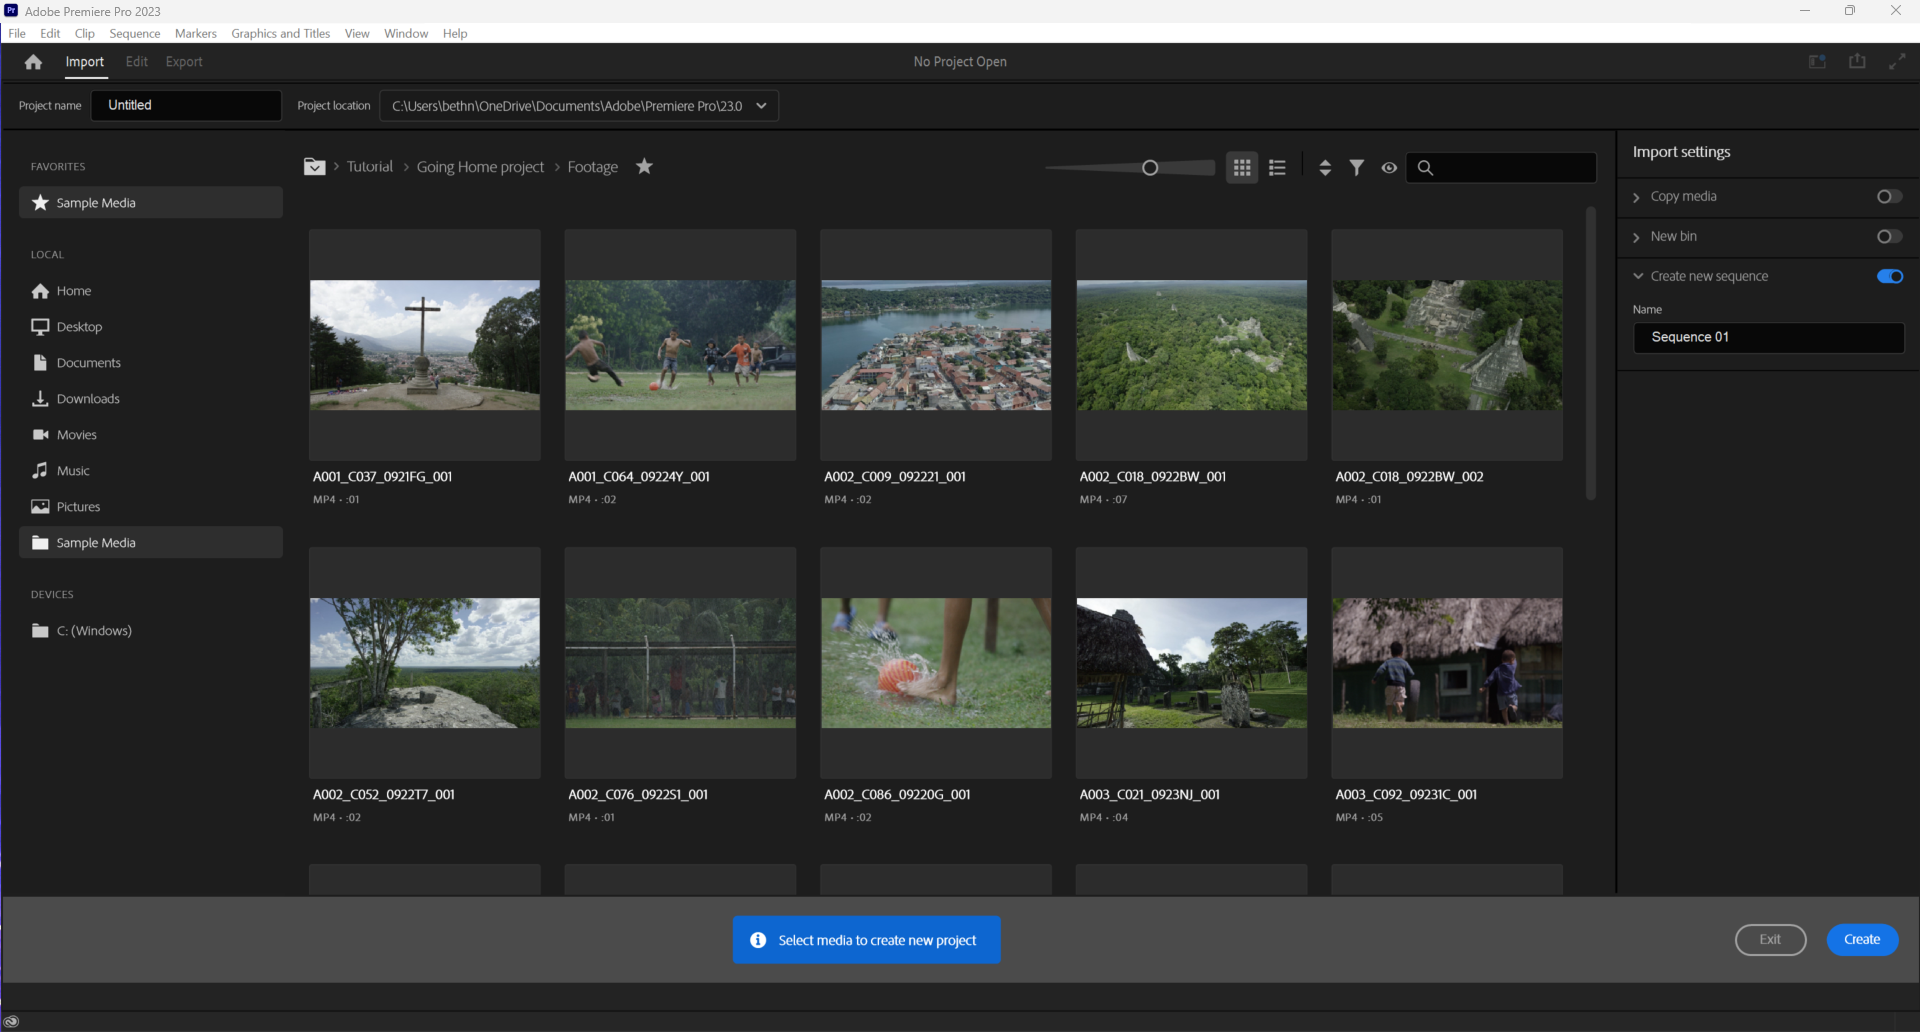
Step 3. To name the project, in the Project Name field in the upper right corner of the screen, type:
Dances
NOTE: The following steps assume you have extracted the exercise files (downloaded from the Available Files section at the top of the page) to your computer's desktop — if you've extracted the files to a different location, navigate to wherever your files are located on your computer instead of to the Desktop.
Step 4. To set the location for saving the project, in the Project location drop-down menu,
Click ![]() , Click Choose Location...
, Click Choose Location...
Step 5. To move to the Desktop, in the panel on the left,
Click![]()
Step 7. To specify the folder for the new project, at the bottom of the dialog box,
Click![]()
Step 8. To finish creating the new project, at the bottom right corner of the Import workspace,
Click ![]()
Understanding the User Interface
The following diagram shows a breakdown of the Premiere Pro interface:
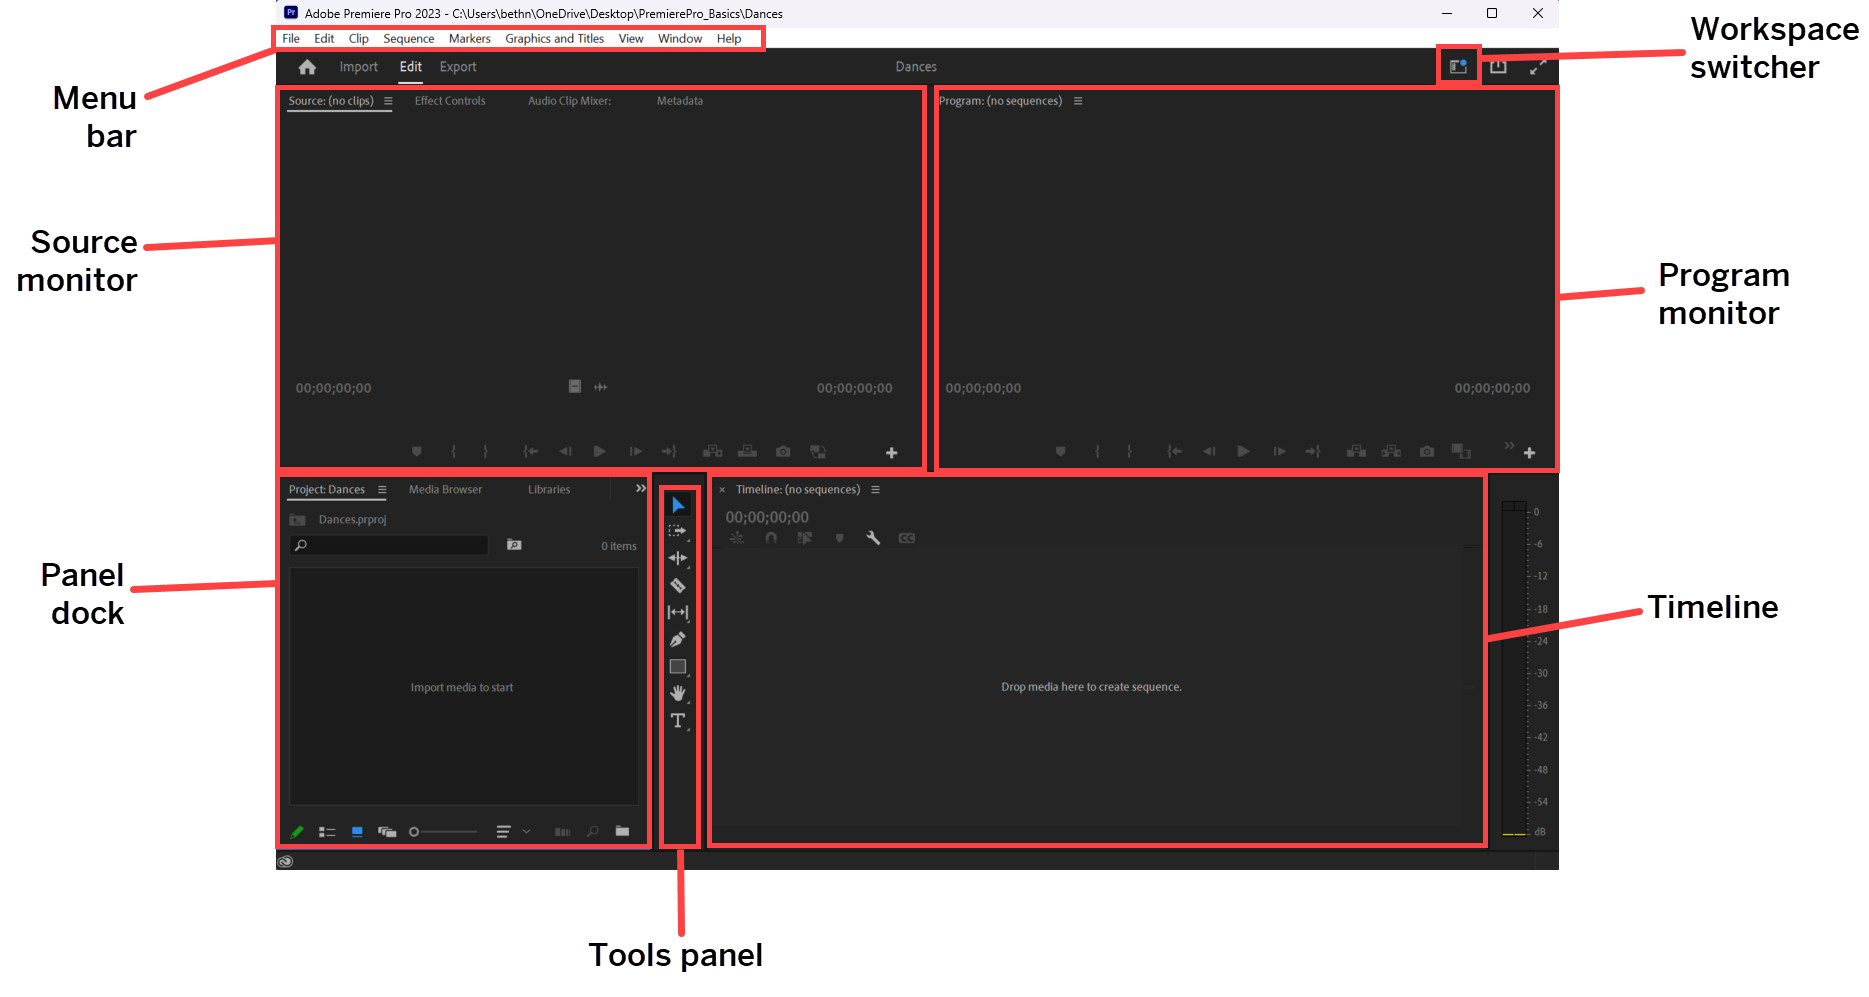
Premiere Pro is a complex program, and as such, its interface is also complex. The Premiere Pro interface is composed of a collection of panels, and the panels that are visible when we first open Premiere aren't the only panels available to us. When you look closely at each panel in the Premiere interface, you may seem that some of them have one or more tabs. These tabs allow us to easily switch between panels that are grouped together in different parts of the interface.
For example, if you look in the panel dock, in the bottom left corner of the workspace, you will see a Project: Dances tab, a Media Browser tab, a Libraries tab, an Info tab, and possibly other tabs (depending on your screen's resolution). Clicking on a specific tab will show the content of that tab.
Let's see how this works by switching to the Effects panel.
Step 1. To open the Effects panel, at the top of the Project panel,
Click the Effects tab
NOTE: If a tab is not showing in the panel dock, in the upper right corner of the panel dock, Click ![]() and it will show a menu of all the different panels grouped in the dock.
and it will show a menu of all the different panels grouped in the dock.
| Feature | Function |
|---|---|
| Project panel | Displays the assets (video clips, audio clips, images, etc.) that you will import to use in your movie. |
| Media Browser panel | Allows you to browse your file system to locate a file. |
| Effects panel | Holds the special effects that can be added to audio and video. |
| Source Monitor | Allows you to make adjustments to individual clips. |
| Effect Controls panel | Displays the special effects that are added to a selected video clip and allows you to set the parameters for each effect. |
| Program Monitor | Allows you to view your project as it plays. |
| Timeline panel | Video clips and other assets are placed on the Timeline and can then be rearranged, layered, trimmed, and edited in multiple ways. An asset is not part of a movie until it is placed on the Timeline. |
| Tools panel | Holds tools that can be used to edit a video or audio clip that has been placed on the Timeline. |
Each of the panels also has a panel menu. The panel menu icon is located on each panel's tab, and looks like this: ![]() The panel menus give us additional options for working with a specific panel, and the menu button only displays when a specific tab is active.
The panel menus give us additional options for working with a specific panel, and the menu button only displays when a specific tab is active.
Exploring Workspaces
Workspaces are a collection of different panels that are geared towards specific video development tasks, such as working with audio or adding special effects. When opening Premiere Pro for the first time, by default you'll be brought to the Learning workspace. You aren't limited to just using the Learning workspace, though. As with all of the Adobe applications, you have a number of different workspaces to choose from.
Let's take a look at the different workspaces now. There are a couple of different ways to switch workspaces — the first one we'll try is by using the Window menu.
Step 1. To change the workspace, on the Menu bar,
Click Window, Point Workspaces, Click Audio
Step 2. To look at the other preset workspaces available, on the Menu bar,
Click Window, Point Workspaces
Step 3. To change the interface back to the default preset, in the top right corner of the screen,
Click ![]() , Click Editing
, Click Editing
Step 4. To switch back to the Project panel, in the bottom left corner,
Click the Project: Dances tab
Now that we're a little more familiar with the Premiere Pro interface, let's get started with working on the video project.