

As you've been previewing the sequence we've been working on, you might have noticed that it's hard to hear the narration for the video over the background music. We'll use the Audio Mixer to adjust the volume of the background music, so we can hear the narration better. The Audio Clip Mixer panel looks similar production studio mixing hardware. You can use tools on the panel to change volume, set left/right panning, add effects to entire tracks, and create sub-mixes. The Audio Clip Mixer panel is part of the Audio workspace, so we'll switch to that now.
Step 1. To switch to the Audio workspace, at the top of the Premiere Pro window,
Click ![]() , Click Audio
, Click Audio
Step 2. To switch to the Audio Track Mixer tab, at the top of the Audio Mixer panel,
Click ![]()
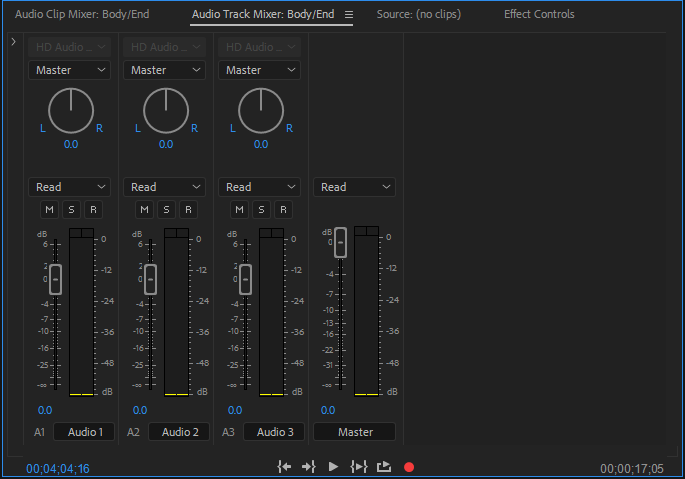
NOTE: If you have several tracks of audio in your project, it is a good idea to rename your audio tracks so they are easier to identify. To do this, select the Audio 1, 2, or 3 text at the bottom of the Audio Mixer device control panel and type in a descriptive name for the track (e.g., background music, voice-over, etc.) When you change the name of the track in the Audio Mixer, the name on the Timeline changes as well.
Step 3. To move the playhead to the beginning of the Timeline, on the keyboard, press;
Home
Step 4. To start playing the sequence from the beginning, on the keyboard, press:
Spacebar
Step 5. To decrease the volume of the background music, using the Audio 1 controls on the Audio Track Mixer,
Press & Drag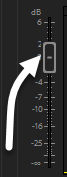 downward
Step 6. To increase the volume of the voice-over track, using the Audio 2 controls,
Press & Drag upward
Step 7. To adjust the volume of all the tracks combined, using the Master controls,
Press & Drag upward or downward, as necessary
Step 8. To stop playing the sequence, on the keyboard, press:
Spacebar
Step 9. Save the project.