

In this section, you'll gain some experience using the Source Monitor to edit individual video clips. If you take a look at the bottom of the Source Monitor, you'll see some similar controls to those at the bottom of the Program Monitor. Despite looking similar to the Program Monitor, the Source monitor is used for different tasks than the Program Monitor:
The Source and Program Monitors operate independently of each other, and more often than not, each monitor will display different frames of video. While it is possible to edit clips right in the Timeline panel and then preview them in the Program Monitor, there are times when it is beneficial to open a clip in the Source Monitor first, so you will have greater control over the editing process.
Setting In and Out Points
Almost all video clips will end up being trimmed once they are placed on the Timeline. When recording or creating video content, it's always a good idea to capture a few extra seconds of footage at the beginning and end of every clip (to prevent scenes from being cut off and to provide room for transitions and special edits). Trimming a clip in Premiere Pro doesn't actually change the source file. It simply hides part of the clip, so that it will not be shown in the finished video.
In videography, a placeholder used to mark a specific timecode as the starting point of a segment in a longer sequence is called an In Point, and a placeholder used to mark a specific point as the end of a segment is called an Out Point. You can use In and Out Points to mark a clip to be captured from a source tape, to mark part of a clip to be trimmed, or to mark a portion of the Timeline to be played.
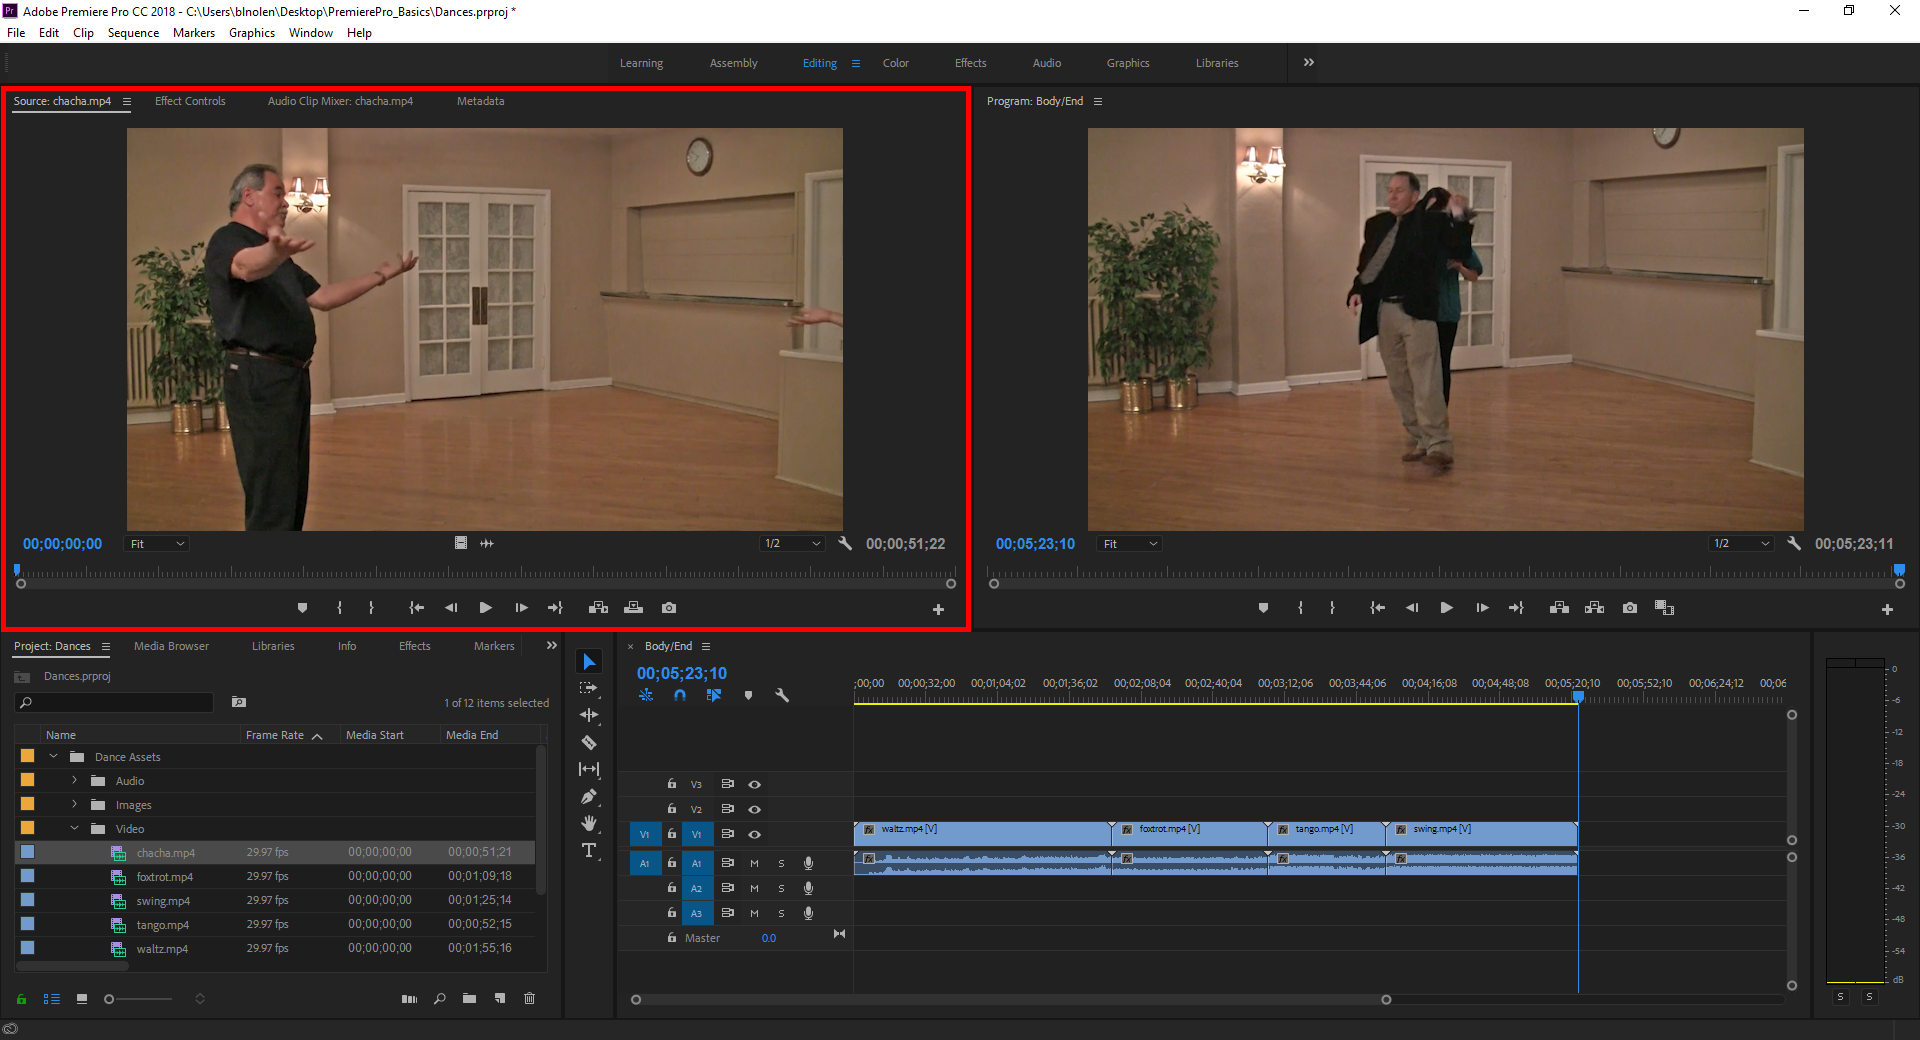
Let's practice using In and Out Points to trim several of the clips in our sequence. There are several different ways to do this in Premiere Pro. We will start by trimming a clip in the Source Monitor. Later, we will trim some clips in the Timeline panel. We'll edit chacha.mp4 first.
Step 1. To open the video clip called chacha.mp4 in the Source Monitor, in the Project: Dances panel,
Double-Click chacha.mp4
Click ![]()
Step 4. To stop the movie after previewing the clip,
Click ![]()
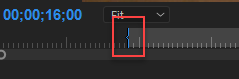
Step 5. To set the position of the playhead, so we can trim the beginning of the clip, on the left side of the Source Monitor,
Click![]() , type: 00;00;07;13 Enter
, type: 00;00;07;13 Enter
NOTE: Your Current Time Display may be set at a different point than the one shown in the step above.
Step 6. To set the starting point for the clip, at the bottom of the Source Monitor,
Click ![]()
Using the Insert and Overwrite Buttons
In addition to the functions outlined earlier that both the Program Monitor and Source Monitor share, there are additional functions that will add content we've edited in the Source Panel to the timeline: the Insert and Overwrite functions.
The Insert function works by splitting the video clip on the Timeline at the point where the playhead is currently positioned, and placing the clip that is currently open in the Source Monitor in that position. When using Insert, you aren't replacing any footage — instead, you're adding footage to the Timeline, and increasing the length of the sequence you're working with. Overwrite, on the other hand, will place whatever clip you're editing in the Source Monitor over existing footage in the Timeline.
When we first added clips to the timeline, we didn't place chacha.mp4 along with the other clips. Since it needs to be placed between two clips that are already there, if we simply drag it into place, it will cover the other video clips that are already there. Instead, let's use the Insert function to add chacha.mp4 between tango.mp4 and swing.mp4.
Step 1. To indicate where on the timeline we want to place chacha.mp4, on the Timeline,
position the playhead between tango.mp4 and swing.mp4
Step 2. To insert the clip, on the Source Monitor control device panel,
Click ![]()