In addition to storing data, we can add other documents, such as photos, PDFs, or Word documents, to a record in Access. For our database, we've been provided with some faculty photos. We'd like to add them to the faculty table. The first thing we need to do is add a new field to the table.
Adding a New Field
There is a field that will let us add attachments to an Access database, called an attachmentfield. We don't currently have an attachment field in our table, so we'll add a new field now.
Step1. To navigate to the last field heading in our table,
scroll to the right until the empty column after Bio is visible
![]()
Click![]()
| Data Type | Description |
|---|---|
| Short Text | Alphanumeric data, stores up to 4,000 characters. Default is 255. |
| Number | Numbers only; mathematical operations can be performed on Number fields. (If the field size is set to Long Integer, values are rounded to whole numbers. If the field size is set to Double, then decimals are allowed in the field.) |
| Currency | Numbers only but formatted with dollar signs, commas at the thousandth places, and two digits after the decimal point (cents). |
| Date & Time | Date and time information. |
| Yes/No | True/false, yes/no, on/off data type. For example, you could create a Citizen field and use this data type to indicate whether an employee is a U.S. citizen. |
| Lookup & Relationship | This creates a lookup field, which displays a list of values from which to choose. |
| Rich Text | Long text fields that can be formatted, for example, with bold and underline. |
| Long Text | Large amounts of alphanumeric data - can display up to 64,000 characters and store up to approximately one gigabyte of text. |
| Attachment | Can attach and store different types of documents in a database. There can be one attachment field per table, but a record can have multiple attachments. |
| Hyperlink | URL links to external web resources. |
| Calculated Field | Stores the result of a calculation in the same table. |
Step3. To add an Attachment field,
Click Attachment
Step4. Click the Table Fields tab on the Ribbon.
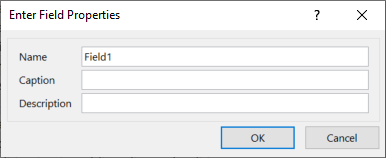
Step5. To add a name and caption for the field, in the Properties group,
Click![]()

Step6. To give the field a name, in the Name field,
Press & Drag Field1, type: Photo Tab key
NOTE: Adding a caption to other fields, such as Last Name for LastName, can make forms and reports more friendly, but for reasons of time we won't take care of that today.
Step7. To give the field a caption, in the Caption field, type:
Photo
Step8. To confirm our changes,
Click![]()
Freezing Fields
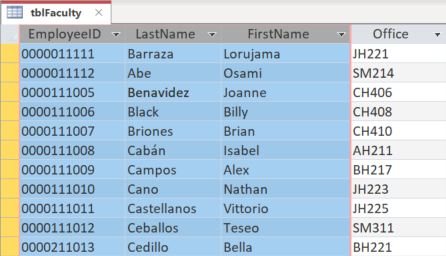
Much like with an Excel spreadsheet, we can choose to keep certain fields visible even as we scroll through the data. We'd like to freeze the first three fields, which contain the EmployeeID, and the faculty members' last and first names.
Step1. To show the first three fields,
scroll all the way to the left
Step2. To position the cursor properly,
Point to the EmployeeID header
Step3. To select the first three fields, with the downward facing arrow,
Press & Drag across the first three column headers

Step 4. To start freezing the selected columns,
Right-Click the FirstName field
Step5. To freeze the selected columns, in the drop-down menu,
Click![]()
Adding a Photo Attachment
Now that we have the first three fields set to remain displayed as we scroll to the right, we can return to our new attachment field and add a few photos to our records.
Step1. To return to the Photo field, in the record navigation bar,
scroll to the right until the Photo header is visible
Step2. Navigate to the third record in the database.
Step3. To begin adding an attachment, in the Photo field,
Double-Click![]()

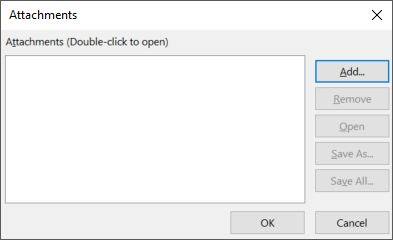
Step 4. To add a picture, in the Attachments dialog box,
Click![]()
Step5. In the Choose File dialog box, navigate to the Access-The Basics folder, if necessary.
Step6. To navigate to the Images folder, in the Access-The Basics folder,
Double-Click Images
Step7. To choose the photo for Benavidez, in the Images folder,
Double-Click Benavidez.jpg
Step8. To dismiss the Attachments dialog box,
Click![]()
NOTE: The photos will not display in datasheet view. However, we will be able to see those photos later in the workshop, when we work with Forms.
Step9. Follow steps 3-8 to add photos from the Images folder to the following records:
- Billy Black
- Brian Briones
- Isabel Cabán
- Alex Campos
Step10. To save the layout change (with the first three columns frozen), on the keyboard, press:
Control key + S
Step11. Close tblFaculty.

