

In this course, we will learn how to create a user-friendly interface for the University of the Midwest's class registration database using Access's Forms and Reports tools. We have been building this database over the entire Access course series and now that the infrastructure of the database has been created, we will learn how to design, build, and modify customized forms and reports to create the interface we need. Toward the end of the workshop, we will learn how to clean up the database. We will also package it to make it behave like a standalone application.
Opening the Database
We will launch Access and open the UofMW.accdb database.
Step1. Launch Access.
Step2. To begin opening an existing database, in the left pane,
Click Open
Step3. To browse to a location on the computer, under the Other Locations heading,
Click ![]()
Setting the Location for Opening Your File
When the dialog box opens, it lists a default location from where the file will be opened. All of our exercise files are contained in the epclass folder, located on the desktop. We'll want to change our location to this folder.
We will start at the desktop, since our exercise file folder, epclass, is located there.
Step1. To move to the desktop,
Click
Step2. To open the epclass folder,
Double-Click![]()
Step3. To open the correct folder,
Double-Click the Access Designing folder
Step4. To open the database,
Double-ClickUofMW.accdb
Step5. To enable the content in the database,
Click ![]()
NOTE: You may see a dialog box asking if you want to make this file a Trusted Document. Trusted Documents are ones that you know are secure and don't contain any malicious code. By saying Yes, you would avoid having to step through the Enable Content button when opening the file in the future. For the purposes of this workshop, you can choose whether you want to click Yes or No.
Step6. To make the file a trusted document, if necessary,
Click ![]()
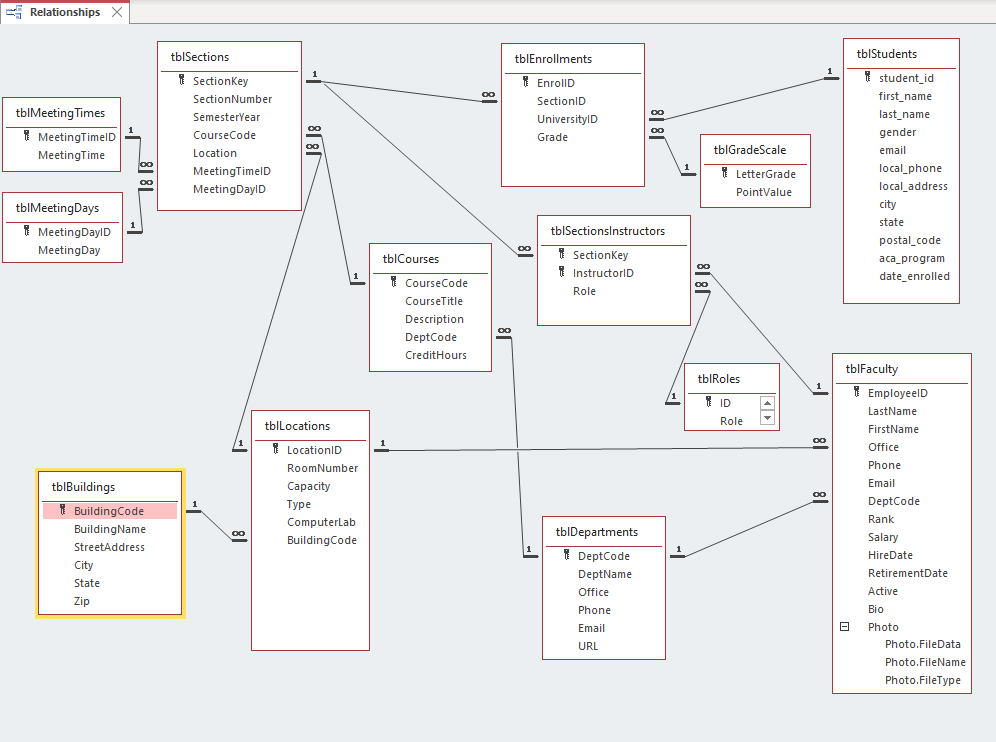
Viewing Database Relationships and Objects
The tables in the UofMW.accdb database will probably look familiar to you if you took the course Access: Analyzing & Modifying Data with Queries. The relationships between the tables have already been defined. Let's review the structure of the database as we get started by viewing the relationships between the tables.
Step1. To activate the Database Tools tab, on the Ribbon,
Click the Database Tools tab
Step2. To view the database relationships, in the Relationships group of the Ribbon,
Click 
Step3. Close the Relationships window.
Reviewing Forms and Reports
Since the focus of this workshop is on creating forms and reports, we will begin by reviewing a form and a report created in a previous workshop.
First, we have a number of queries that were created in Access: Structuring & Relating Data that we won't be using for a while, so let's hide them for now.
Step1. To hide the list of queries, in the Navigation Pane,
Click 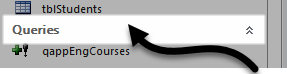
Step2. To view a relational form,
Double-Click frmDepartmentsAndFaculty
Step3. To view a relational report listing a department and its faculty,
Double-Click rptDepartmentsWithFaculty
Step4. To close both objects,
Right-Click ![]() , Click Close All
, Click Close All