

Once you have created all of the interface objects you want, you can package your database. Packaging an Access database means configuring it to behave more like a standalone application for your users, rather than an Access database. There are several main steps needed to do this:
- Delete unneeded objects
- Create a navigation form
- Set the navigation form as the default form
- Change other database startup settings
Deleting Unneeded Objects
As we build a database, we may create temporary tables for data we imported or backed up, or we may have created queries we no longer need. For the final application, they won't serve a purpose and should thus be deleted before packaging.
NOTE: Always ensure that everything is working properly before deleting any temporary objects.
The temporary objects were already removed from our database, so we can move on.
Creating a Navigation Form
The navigation form is a form with several buttons that allow a user easy access to various parts of the database. It makes some or all of the objects in the database accessible from a single form.
We can configure a navigation form to display a number of tabs horizontally or vertically, and lay it out to provide instant access to the forms and reports that exist in our database without forcing users to use the Access interface.
Here is a simple navigation form with horizontal tabs:

Notice that it only has three tabs. The simple Horizontal or Vertical navigation form works fine for databases with a small number of objects, but we have quite a few forms and reports, so we will need to use a more advanced layout. We'll create several tabs as categories for our objects, and then add the objects in a second level to the appropriate tab.
Step1. To begin to create the form, on the Ribbon,
Click the Create tab, Click![]()
Step2. To create the form,
Click Horizontal Tabs, 2 levels
Step3. To close the Field List pane, in the upper right corner of the pane,
Click ![]()
Deleting the Form Header
Before we start creating the form itself, we will delete the Form Header. It isn't needed since it only displays the words Navigation Form at the top.
Step1. To select the Form Header section,
Click the title, Click
Step2. To delete the Form Header section, press:
Delete key
Grouping Information on a Navigation Form
We chose the Horizontal Tabs, 2 levels layout to help simplify the interface for our users. We have several types of objects, including ones related to students, faculty, departments, and rosters. With this layout, we can create top-level tabs to group our objects, and then create a set of tabs appropriate to each category in the second level.
We'll name our top-level tabs for each object group first.
Step1. To name the tabs across the top row,
Click the ![]() tab, type: Students Enter key
tab, type: Students Enter key
Step2. To change the text of the second tab in the top row,
Click the ![]() tab, type: Faculty Enter key
tab, type: Faculty Enter key
Step3. Repeat the previous step to create additional tabs for Departments and Rosters.
![tabs for Students, Faculty, Departments and Rosters. There is also a [Add New] tab to the right of the Rosters tab.](img/img_navigationform_tabs.png)
NOTE: We will see a fifth tab in the top row, but if we do not rename it, it will not be included in the final form.
Step4. To get back to the Students group,
Click the Students tab
Step5. To change the colors used in the theme, on the Ribbon,
Click the Design tab, Click![]() , Click the first palette of colors (Office)
, Click the first palette of colors (Office)
Step6. To add the Student Registration form, from the Navigation pane,
Press & Drag frmStudentRegistration to ![the [Add New] below the Students Tab](img/img_adding_object_navigation_WithArrow.png)
Step7. To add the related student reports to the subtabs, to the right of the previous subtab,
Press & Drag rptStudentTranscript, rptStudentMailingLabels

Step8. To change the text of the first tab,
Click frmStudentRegistration, Double-Click the text, type: Student Registration
Step9. Repeat the previous step to make the remaining subtabs read Student Transcript and Mailing Labels.
Step10. Switch to Form view and, if necessary, select the Students tab in the top row.
Step11. Click on another top-level tab.
Step12. To start saving the navigation form,
Click![]()
Step13. To name the form, type:
frmMainMenu Enter key
Step14. Close the form.
Setting the Default Form for the Database
Each time the database is opened, we would like for this navigation form to display so that it can serve as the primary navigation tool for our database. This will enable users to have access to all of the objects that they will use in one place.
Let's see how to set this form as the default when users open this database.
Step1. Switch to the File tab.
Step2. To open the Access Options dialog box, in the left pane,
Click Options
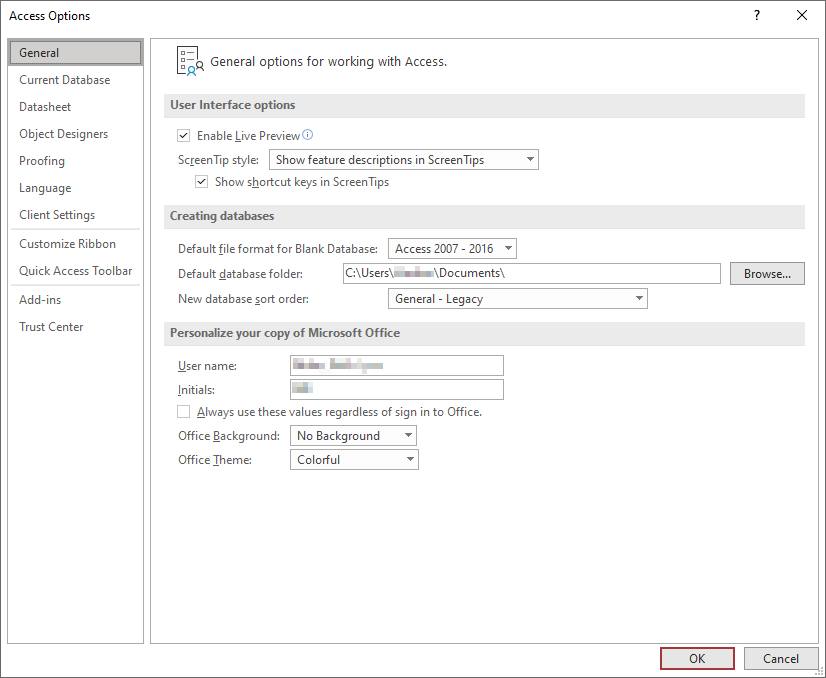
Step3. To view options for this database, in the left pane,
Click Current Database
Step4. To select the form to be displayed when this database is opened, in the Display Form drop-down list under the Application Options heading,
Click![]() , Click frmMainMenu
, Click frmMainMenu
Step5. To disable the Navigation Pane, under the Navigation category,
Click the "Display Navigation Pane" checkbox
Changing Other Database Startup Settings
While we are modifying the Current Database settings in the Access Options dialog box, we can change other default startup behaviors when users open the database. This will prevent users from accessing editing options we don't want them to use, and will also customize the interface to focus just on the navigation form when they open the database.
We will start by modifying the title of the application,. The text in the Application Title box will display on the main title bar. If you don't enter a different title for the distributed application, the title "Microsoft Access" will appear on the title bar of the application.
Let's set the Application Title to University of the Midwest Registration System.
Step1. To set the Application Title, in the Application Title field at the top of the dialog box, type:
University of the Midwest Registration System
Step2. To disable the status bar,
Click the "Display Status Bar" checkbox
Step3. To deselect the Use Access Special Keys option,
Click the "Use Access Special Keys" checkbox
NOTE: Special keys that display the Navigation pane will not work if this option is deselected.
Step4. To disable Layout View,
Click the "Enable Layout View" checkbox
Step5. To disable design changes to tables in Datasheet View,
Click the "Enable design changes for tables in Datasheet view" checkbox
Step6. To deselect the Allow Full Menus option, in the Ribbon and Toolbar Options section,
Click the "Allow Full Menus" checkbox
Step7. To deselect the Allow Default Shortcut Menus option,
Click the "Allow Default Shortcut Menus" checkbox
Step8. To save all of these settings,
Click![]()
Step9. To continue past this warning,
Click![]()
NOTE: Changing Startup settings should not be thought of as a security measure because any knowledgeable Access user can circumvent them. For example, to bypass the Startup options, press and hold the Shift key when opening the database.
Using the Updated Database
Now that we have our database packaged, let's see how it will work when we open it from scratch.
Step1. Close the database and save any changes as necessary.
Step2. Open the database.
Step3. Enable the content in the database, if necessary.
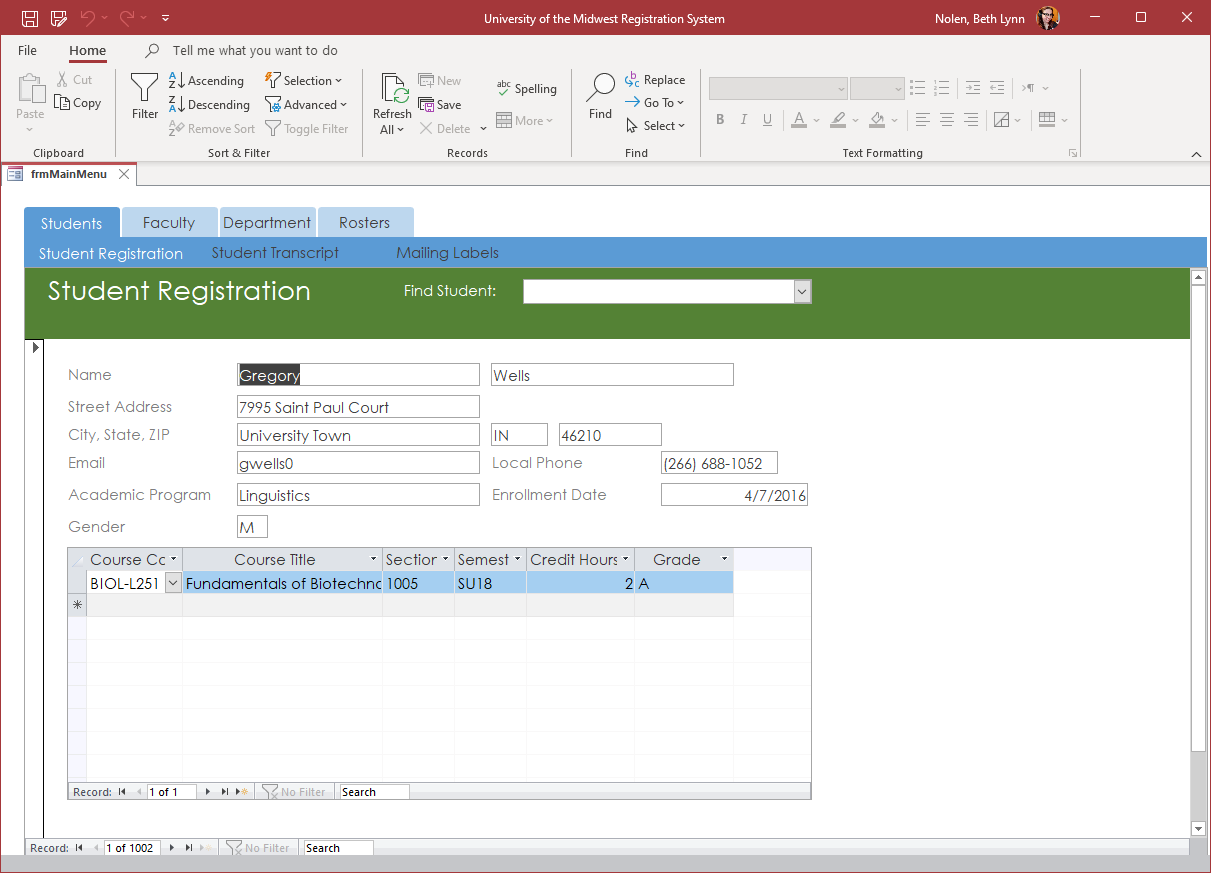
Step 4. Confirm that the Student Registration form is active.
Step5. To navigate to a specific student, in the combo box drop-down list,
select student Teresa Evans
Step6. To assign her a grade in her Statistics for Non-Majors course, in the Statistics for Non-Majors course,
choose a valid grade
Step7. Close Access.