In this course, we'll first use After Effects to create a lower third graphic. While we're creating the lower third graphic, we'll also be introduced to the After Effects interface. For the main project, we'll be creating a 30-second movie trailer. We have been given a starting project for the trailer with a few pieces already created. Our task is to create the individual pieces that will be used in the final project and arrange them into the final version. As we're creating both projects, we will learn the After Effects interface and how to use the animation and effects systems that will help us make compelling projects.
Before we begin working in After Effects, let's examine how we might use it.
After Effects is an animation program which outputs to standard video formats like MP4 and AVI, among others. While After Effects outputs to video formats, it is not necessary to start with a video. It is entirely possible to create projects in After Effects without pre-made video. Often, when we do use video, it will be as a background to the rest of our project.
With After Effects, you aren't limited to working with just video files. After Effects can import and work with files from other Adobe programs, including Photoshop and Illustrator. When we import these files, we can also import individual layers of a.psd, or import a layered file with the layers intact, so we can continue working with them. We also have some vector tools, such as the Pen tool, which works exactly the same way it does in other Adobe programs.
You can also use After Effects to create many different types of text animations and video effects, including green screen or blue screen effects. After Effects can easily create the opening and closing credits to television shows and movies, text to display with video, commercials, and of course, movie trailers. It can also do advanced video effects like motion tracking and rotoscoping.
After Effects is a program with many functions and a complex interface, but by understanding some of the underlying systems it uses, we can become proficient very quickly.
Let's begin by opening After Effects and taking a look at the interface.
Step 1. Launch After Effects.
Step 2. To create a new project, in the Start screen,
Click ![]()
The Start window will close, and After Effects will create a new project.
Working with the After Effects Interface
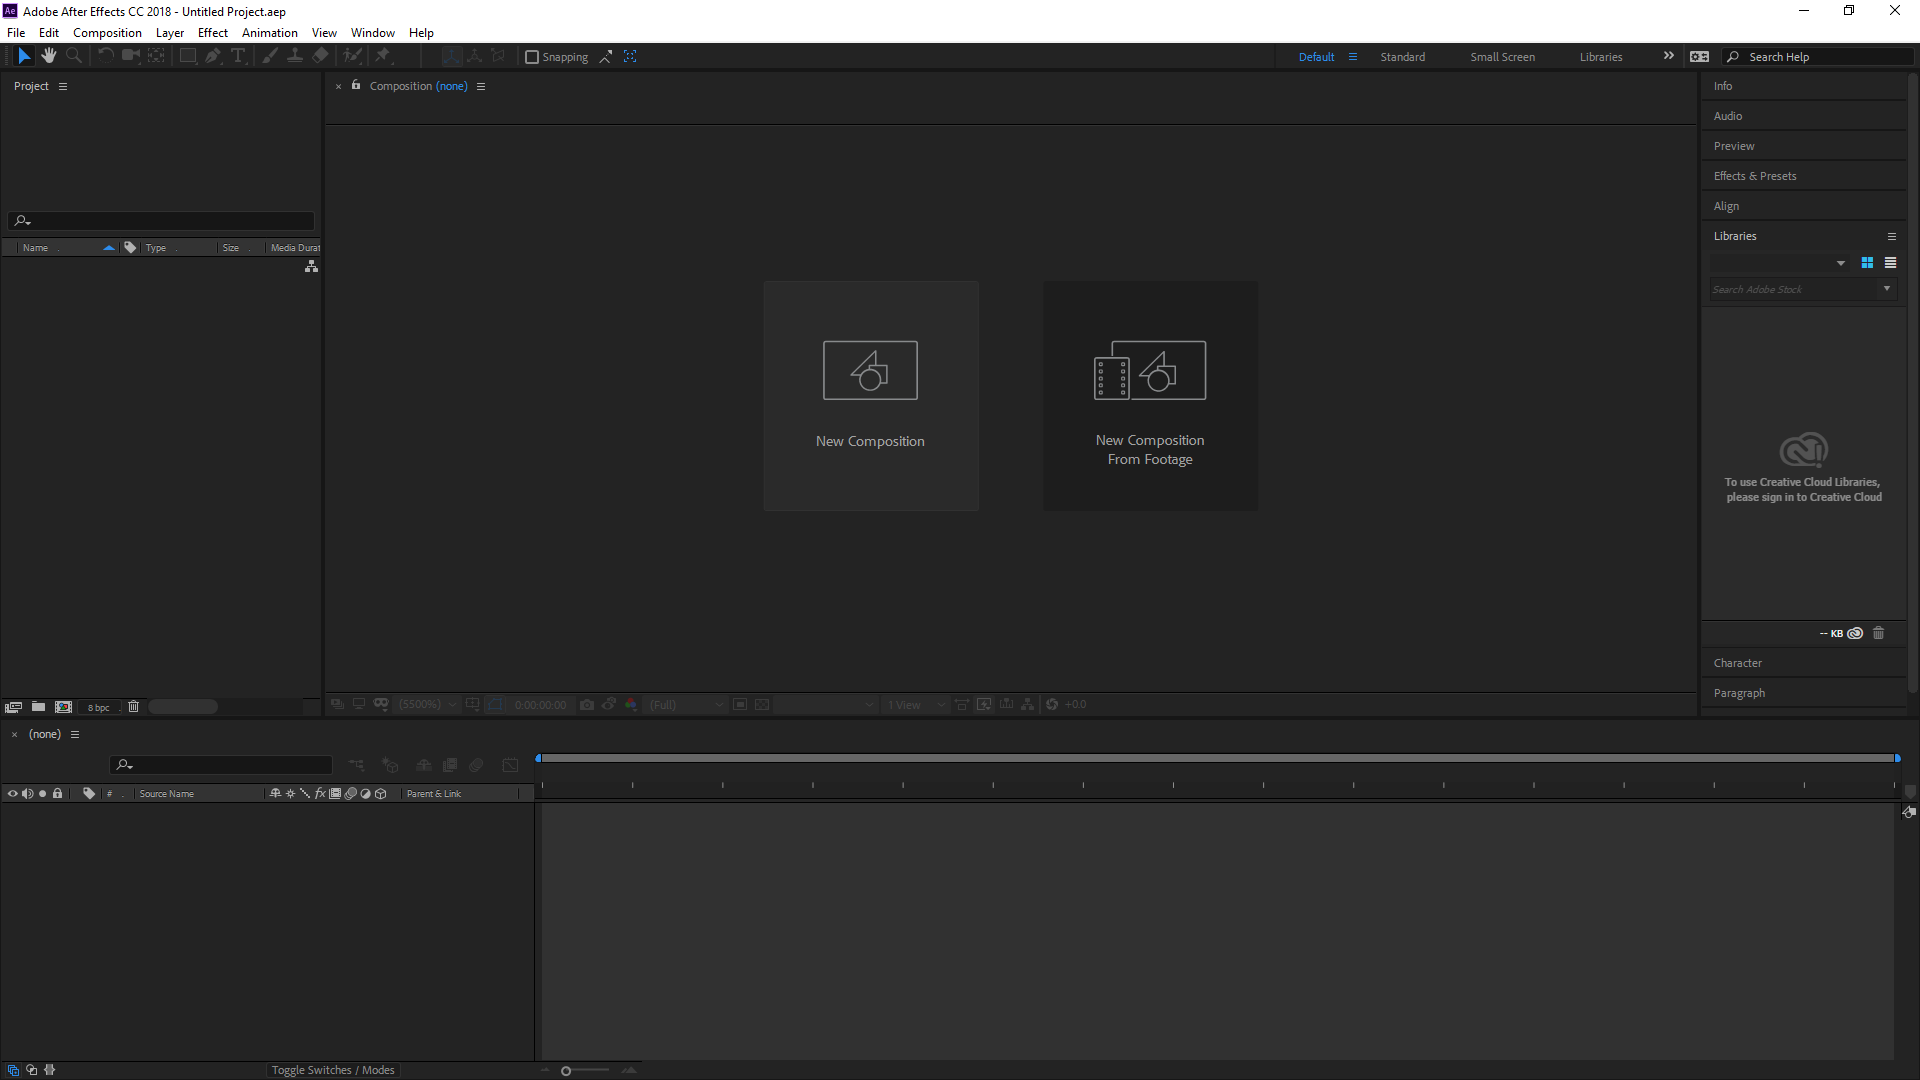
Now that you've created a new project, you're presented with the After Effects interface:

We see the default After Effects interface. One confusing aspect of this interface is that several panels are named after the composition that they are displaying. Since we currently have no compositions, some of the panels seen in the interface are not named.
NOTE: The After Effects interface is intentionally dark, so that the video being edited will stand out from the interface. This might be too dark for some users. To brighten the interface, from the Menu bar, Click Edit, Point Preferences, Click Appearance. In the window that appears, Press & Drag the Brightness slider to the right to brighten the interface. The screenshots in these materials were taken with the default brightness value.
Note for MacOS Users - To brighten the interface on a Mac, from the Menu bar, Click After Effects, Click Settings..., Click Appearance. In the window that appears, Press & Drag the Brightness slider to the right to brighten the interface.
Across the top of the interface, we see the the Menu bar and the Tools panel. The Tools panel contains many tools we can use to create and edit video effects, many of which will be familiar to Adobe veterans. In today's workshop we will only use a few of these, including the Selection and Type tools.
On the left side of the screen is the Project panel. This is where all of the assets for the current project are stored. Assets are any external file used to create our project, such as audio, video and graphic files. After Effects is a program where much of what we do is use pieces created in other programs and assemble them in After Effects to create the final video project.
The panel dominating the lowest portion of the screen, currently named (none), is the Timeline panel. Each element in an After Effects composition will be placed on its own layer in the Timeline panel. The left side of the panel will indicate the layer name, it's current visibility, and eventually, animation and effect options. The right side contains the timeline for each individual layer in the project. A normal project will have several layers, while complicated compositions might have upwards of 20 or 30 layers, so it's easy to see how this panel can become very complicated with so many potential entries. We will discuss ways to organize the Timeline panel and its contents later.
The panel dominating the center of the screen is the Composition panel. This panel will show us the content of the currently open composition. Since we have no composition right now, it will not show us anything.
On the right side of the screen, we have the Preview and Properties panels. We may see other panels on this side of the screen as we work in different parts of AfterEffects today.
As we work and select different tools, After Effects will automatically open panels we might need, such as the Character panel and the Paragraph panel.
Like all Adobe interfaces, the After Effects interface is completely customizable. Let's see how to do this now.
Customizing the Interface
By default, After Effects uses the Default workspace, which has a collection of panels that meet most basic editing needs. We will be working with the Standard workspace today — we'll need to switch to that workspace by using the Workspace switcher, which is towards the top right side of the After Efects window. Switching workspaces is as easy as clicking on the desired workspace name.
Step 1. To switch to the Standard workspace, in the Workspace switcher,
Click Standard
The first thing we might notice is that by default this program doesn't include any floating windows. Everything is contained in panels, which all fit together neatly inside the After Effects window. We can change how much space each of the panels take up by pressing and dragging the separation bar between them.
Step 2. To increase the amount of space for the right side of the interface,
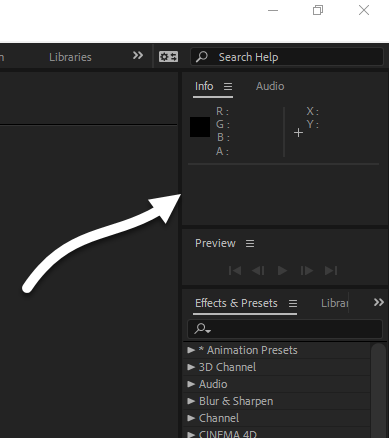
Point to the divider between the Composition and Info panels, seen here:
Step 3. To increase the amount of space for the right side of the interface,
Press & Drag the separation between the Composition panel and the Info panel to the left
Step 4. To move a panel to a new location,
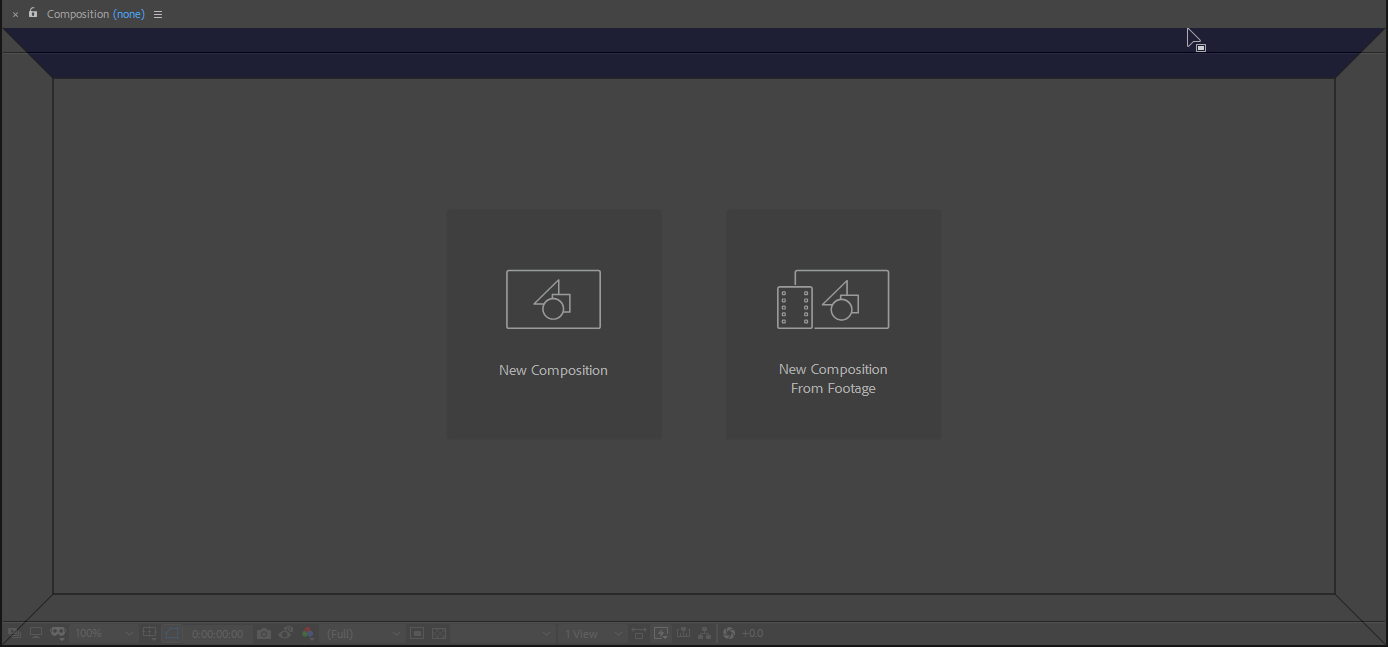
Press & Drag the Info panel tab to the Composition panel

Step 5. To make the Info panel and Composition panel share a panel space,
Press & Drag the Info panel to different locations on top of the Composition panel to see the effect
Step 6. To pull a panel out of the interface, on the keyboard,
hold Control key and Press & Drag the Info panel tab
Note for MacOS Users - To pull a panel out of the interface, hold Option key, and Press & Drag the Info panel tab.
Step 7. To return to the original settings for the workspace, in the Workspace switcher,
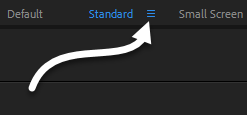
Click , Click Reset to Saved Layout
Step 8. To save the project, from the Menu bar,
Click File, Click Save
NOTE: The following steps assume you have extracted the exercise files (downloaded from the Available Files section at the top of the page) to your computer's desktop — if you've extracted the files to a different location, navigage to where your files are located instead of to the Desktop.
When the dialog box opens, it lists a default location from where the file will be saved. All of our exercise files are contained in the AE_Basics folder, located on the desktop. We'll want to change our location to this folder, and save our file here.
Step 9. To move to the desktop,
Click ![]()
Step 10. To open the correct folder,
Double-Click the AE_Basics folder
Step 11. To name the file, type:
lower third.aep Enter

