

When people are designing websites, they don't always start by opening Dreamweaver or a code editor. They often start by mocking up designs, usually using a graphics program like Photoshop or Illustrator. You should decide what your page is going to look like before you start working on the code of the site. You can do this by looking at other sites or sketching what you would like. For this workshop, to save time, we're starting with a site design that was previously created.
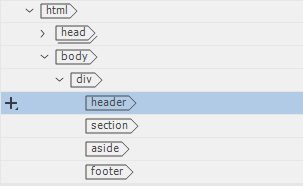
The basic structure we want for the page is:
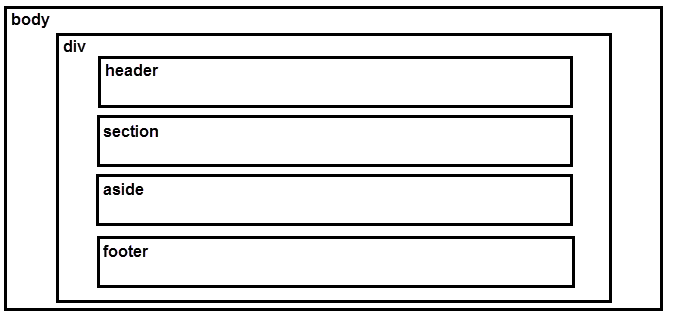
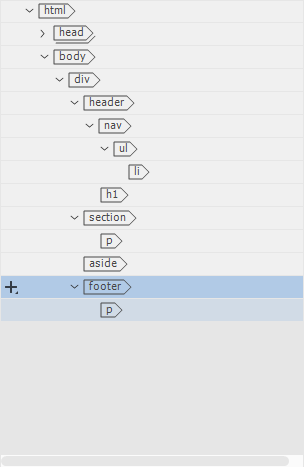
Notice that we are placing a div (division) element inside the body element. Remember that the body element is a required element. Inside the div we will have four child elements: a header, section, aside, and footer. The header will eventually hold our navigation and a heading. The section will contain the main content of our page. The aside will give information about top African destinations. The footer will contain a paragraph of text including the date of last update.
The image below shows a finished page, with the HTML structure highlighted:
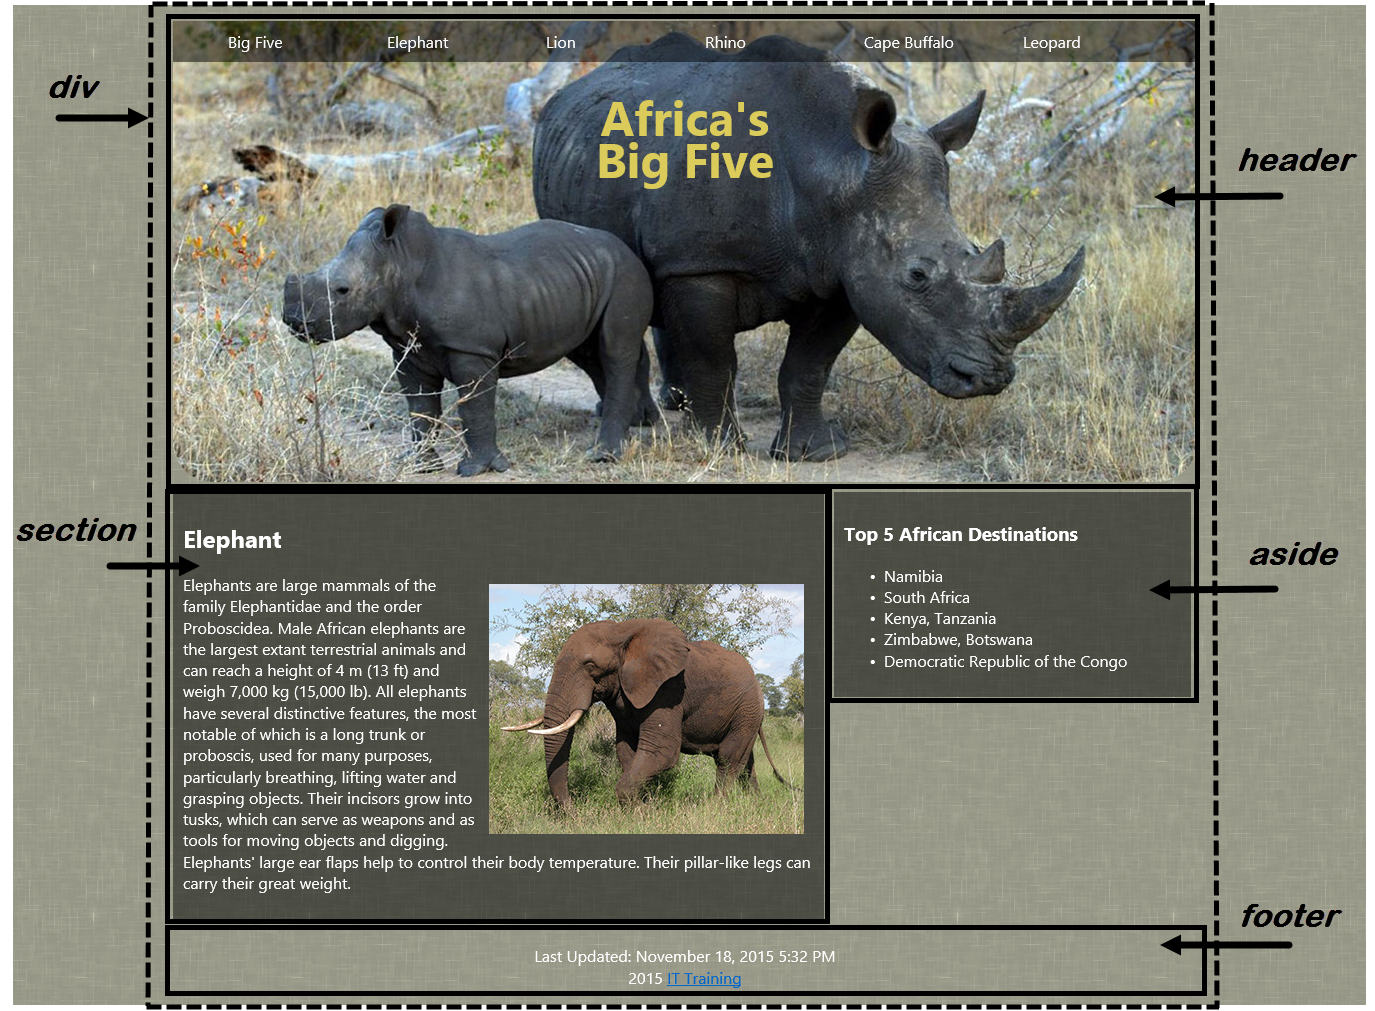
The structural elements are positioned and styled using Cascading Style Sheets (CSS) to create an attractive web page. The final design is centered on the page and includes a large banner image. The section and aside elements are used to create two columns in the center of the page, with the banner and footer spanning both columns.
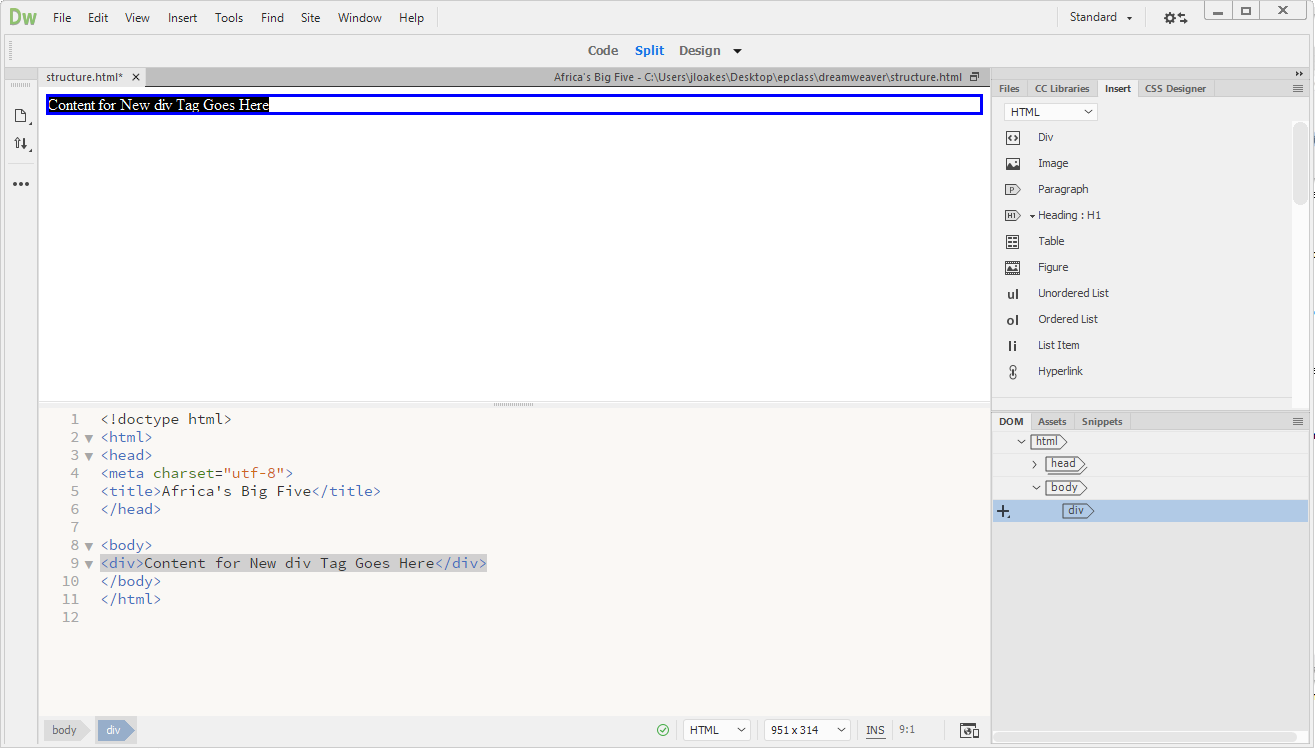
Building Page Structure Using the DOM Panel
We are going to use Insert panel and something called the DOM panel to help build the structure we want for our site.
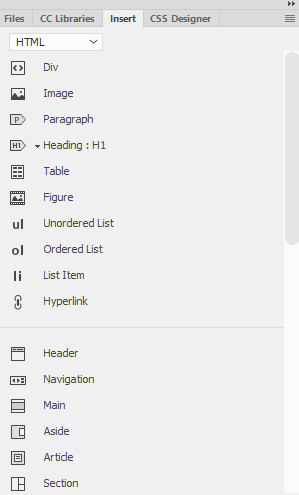
The Insert panel is one way to add elements to our pages. The Insert panel allows us to insert HTML, Form, Template, Bootstrap Components, jQuery Mobile, and jQuery UI objects. We will only insert HTML objects today.
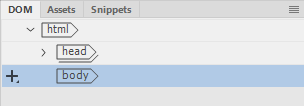
DOM is short for Document Object Model. The DOM panel lets us see the various elements that make up the document, and their relationship to each other. We can rearrange, add, and remove elements of our page using the DOM panel.
NOTE: For more information on the DOM panel see the Adobe Dreamweaver CC DOM Panel video.
Step1. Open structure.html, if necessary.
Step2. To view the Insert panel, on the right side of the screen,
Click
3. To switch to the HTML group, at the top of the Insert panel, if necessary,
Click![]() , Click HTML
, Click HTML
Step4. To add a div as a child of the body,
Press & Drag from Insert panel
on top of  in DOM panel
NOTE: Make sure when dragging the mouse that the div is located on top of the body element in the DOM panel. It should look something like this:

NOTE: If you don't see the div element in the DOM panel, the body element may be collapsed. If the body element is collapsed, the icon will appear like this  . To see the div, click on the body element.
Adding Children to the Div Element
Now we will add elements we want to be children of the div to our page. When we drop an element on top of another in the DOM, the element becomes the first child of that element. That means the element is placed before any existing child elements. Because of this, it's easiest to create the elements starting from the footer and building up to the header.
Let's add children to the div element.
Step1. In the Insert panel, scroll down until the footer element is visible, if necessary.
Step2. To add a footer element as a child of the div,
Press & Drag on top of
Step3. To add an aside as a child of the div,
Press & Drag to
to 
Step4. To add a section as a child of the div,
Press & Drag to
to
Step5. To add a header element as a child of the div,
Press & Drag to
to
Adding Elements to the header
The header element's structure is the most complicated part of our page. The structure of the header will be:
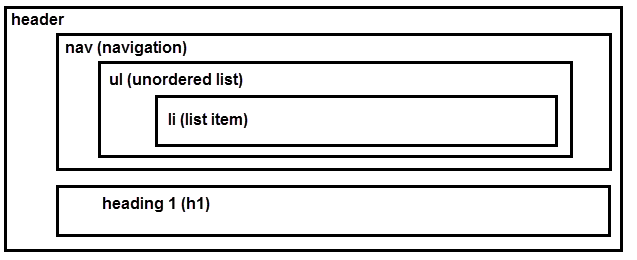
Again, we are adding things we want at the bottom of the header first, and working our way up. So first we want a h1 (heading 1) in our header. The headings work a little differently than the other items in the Insert panel. The first time we click Headings, a drop-down menu automatically opens to allow us to pick the heading we want.
The next time we try to drag a heading element from the Insert panel, Dreamweaver assumes we want to use the same heading level as before, so the drop-down doesn't open. If we want to change heading levels, we have to click the arrow after the heading icon.
Since we haven't used the headings before, using the drag and drop method won't work to add the h1. Let's use a different method.
Step1. To select the content to turn into a heading, in Design view,
Press & Drag "Content for New header Tag Goes Here"
Step2. To change the text to a heading, in the Insert panel,
Click , Click H1
Step3. To add a nav element as a child of the header,
Press & Drag to
to 
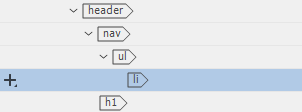
Step4. To add an ul to the nav,
Press & Drag to
to 
NOTE: When doing this step, if the DOM grays out, or only the ul element or only an li element appear, undo the last step, click anywhere inside Design view and then repeat step 4. This error occurs when the cursor is in Code view.
Adding Paragraphs
Now we will add some paragraph (p) elements to our structure.
Step1. To add a paragraph as a child of the section,
Press & Drag to
to 
Step2. To add a paragraph as a child of the footer,
Press & Drag to 
Step3. Save the page.