

When using Google Docs, we can insert images we find online or we can bring in images from other sources. We can use digital pictures that we have taken ourselves, scanned photographs or drawings, and images taken from the Internet.
Copying the practice document
If you are beginning this course at this point, you will need to copy the practice document to your Google Drive.
NOTE: If you have been working through the course, your file should be up to date and you will not need to copy the practice document. You may continue at Copying the image.
- To begin copying the practice document in a new browser window,
Right-click Copy practice document, Click Open link in new window
The file begins to open in a new window of the web browser. Before the document will open and can be edited, we need to make a copy of it.
Move to the new browser window.
- To copy the document file, in the browser window,
Click ![]()
A copy of the file is now open and, by default, is saved in your Google Drive. The filename now has the words "Copy of" at the beginning.
Copying the image
For this course, we will insert a picture that was taken by a staff member and saved on Google Drive. Before we can work through adding the image to the document, you will need to copy the image to your Google Drive.
- To copy the image file, click the following button:
Copying an image works differently than copying a presentation. The image opens in a web browser. Before you can add this image to your document, you need to add it to your Google Drive.
NOTE: Depending on your browser and browser settings, you might see a pop-up hint or other information. The Google Drive button may be behind this pop-up.
- To add this image to Google Drive, in the upper right corner of your browser window,
Click

A copy of the image is now saved in your Google Drive.
- To return to the Google Doc, in your browser,
Click the Google Doc tab
Inserting an image
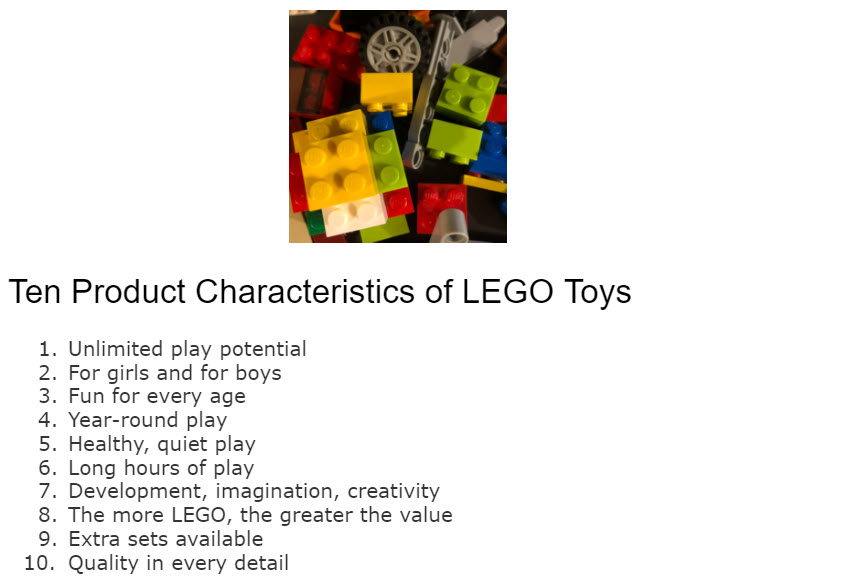
Let's add a photo of LEGO bricks above the "Ten Product Characteristics of LEGO Toys" list. When an image is added, it will be placed wherever the cursor is in the document and will be in-line with the text. We will place the cursor in the blank line above the list.
- To move to the "Ten Product Characteristics of LEGO Toys" list,
scroll to the list
- To place the cursor,
Click in the blank line above the list
- To open Google Drive, on the toolbar,
Click
 , Click Drive
 - To insert the image, in the Google Drive panel,
Double-click LEGO_Picture.jpg
The image is placed above the list. However, it is way too big. Let's make some adjustments.
Adjusting the image
First, let's resize the image. When the image is selected, we see the border and small resizing handles. We can resize the image by pressing and dragging it in any direction.
- To select the image,
Click the image
- To resize the image,
Press & drag the lower right handle up and to the left
NOTE: Use the ruler as a guide when resizing images and other graphic elements.
Now that the image is smaller, let's center it on the page.
NOTE: By default, images are set to be in line with the text. There are other text wrap options that give the user more control over the placement of the image. However, these options are not accessible and can not be accessed by readers utilizing screen reading software.
- To center the image, on the toolbar,
Click
 , Click
The image is centered on the page:
Adding alternative text
Images and graphics used in Google Docs should be given alternative text that can be read by a screen reader. This is especially important when the image contains content that is essential to the understanding of the text. Google Docs makes adding alt text easy.
- To open the Alt Text options,
Right-click the image, Click Alt text
The Image options panel opens to the Alt Text options:
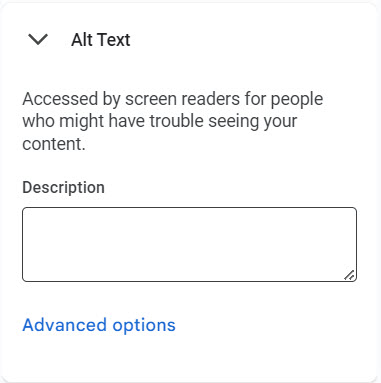
In the Alt Text options, we can add a description for our image. The text we enter here will be read by a screen reading program and should be detailed and descriptive.
- To add a description,
Click in the Description field, type: Image of several types of LEGO Bricks
- To accept this description and close the Image options pane, in the upper right corner of the pane,
Click

- To deselect the image,
Click in a blank area of the document
No noticable change takes place, but the alt text has been added.
Alternative instruction: Using a table to anchor an image
When using Google Docs, images don't always move when text alignment or spacing is adjusted. In these cases, it may be necessary to use a table to keep the image with the corresponding text. Using a table to lay out a document is not accessible and therefore not recommended. However, this may be the only way to keep an image in the correct place. If you are having trouble with image placement, please see: Anchoring an image.