Let's finish our project by making our page more attractive with some challenge exercises that will allow us to practice the skills we just learned. If for any of these exercises, you need some inspiration or a hint as to how to create the markup and css required, refer to finished.html and finished-style.css in the GOAR FAQ folder.
Available Files
The following files are available for download:
Need help with the available files?
Challenge Exercise: Cleaning Up the Page Style
Challenge Solution
The following files are available for download:
Need help with the available files?
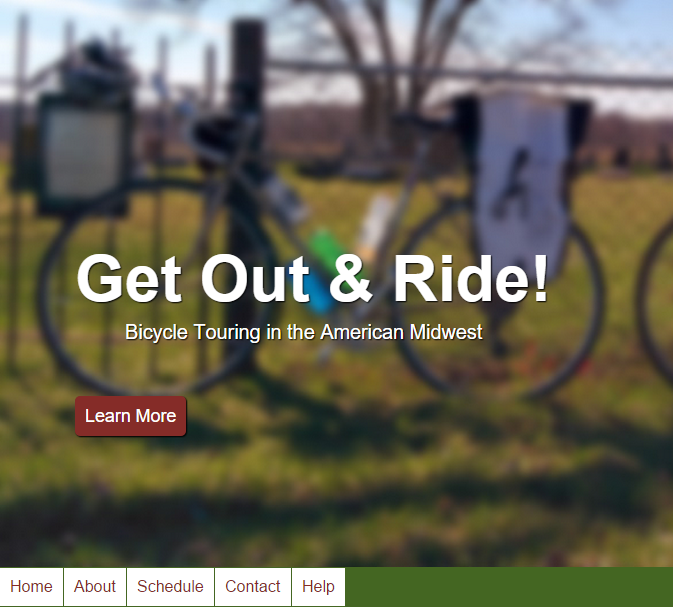
Let's work on the header and the sidebar. Specifically, for the header, the paragraph following our main heading should be indented more to the right and closer to the heading and the button should be aligned with the heading:

1. Write the appropriate CSS to move the paragraph and button.

2. Write the appropriate CSS to add a box-shadow and rounded-bottom corners to the sidebar.
Step3. Save style.css and refresh index.html.
Modifying the Site Header
When solving this solution, it's important to start small. For example, start by changing the position of the paragraph.
There are a couple of choices to accomplish this: the margin, padding, and text-indent properties. Each of these have their own benefits and drawbacks. Let's explore those now:
| Property name | Effect on the display of the content |
| margin | The entire content box will be shifted based on the margin property. This moves the entire element. |
| padding | The content is shifted based on the padding property. This leaves the element in its original place, but moves only the content. |
| text-indent | The first line of text is indented based on the text-indent value. If the screen is small, the second line of the text will not be indented. |
Based on this, none of the options are ideal. You could, however, target just that paragraph with a class, then use either margin or padding to shift the paragraph rightward. Some potential code solutions are:
.tagline {
  padding-left: 3em;
  margin-bottom: 2em;
}
Exiting code block
Remember, you will need to add the .tagline class to the paragraph.
Shifting the paragraph upward is tricky. There are two margins at play here. As mentioned in previous content, margins on the web collapse, so we will have to modify both the margin for the h1 and for the tagline paragraph. Let's start with the code for the h1 margin:
.jumbohead h1 {
  margin-bottom: 0;
}
Exiting code block
This will shift the paragraph upward, but not as much as we would like. To finish, let's shift the paragraph itself upward:
.tagline {
padding-left: 3em;
  margin-top: 0;
  margin-bottom: 2em;
}
Exiting code block
That should bring the site's header close to the desired outcome.
Modifying the Sidebar
Compared to the header, the sidebar is rather simple. Let's start with the easiest piece, a shadow.
We'll add a shadow like we did for the button and header text earlier. Modify the sidebar class as follows:
.sidebar {
float: right;
width: 30%;
padding: 5px;
background-color: white;
box-shadow: 2px 2px 2px gray;
}
Exiting code block
Rounding just the bottom two corners is slightly more complicated. We'll use border-radius, but we'll have to call out individual radius properties. Modify the sidebar class as follows:
.sidebar {
 float: right;
 width: 30%;
 padding: 5px;
 background-color: white;
 box-shadow: 2px 2px 2px gray;
 border-bottom-right-radius: 3px;
 border-bottom-left-radius: 3px;
}
Exiting code block
Those two modifications will bring the sidebar where we would like it to be.
Challenge Exercise: Adding Content Before the Blockquote
Challenge Solution
The following files are available for download:
Need help with the available files?
Let's add a large quotation mark before the text of our <blockquote> to add some visual interest.
Step1. Add a large quotation mark before the <blockquote> like in the following screenshot:

NOTE: You may have to use the float property to make the quotation mark move to the left like in the screenshot.
Step2. Save style.css and refresh index.html.
Adding a Large Curly Quote
To add the large curly quote, we'll be using the :before pseudo class and some floating. Let's start by getting the curly quote to the apropriate size and location. Add this code to the stylesheet:
blockquote:before {
  content: "\201c";
  font-size: 600%;
}
Exiting code block
This will put the quote in place. To get the text to wrap appropriately and have some space between the quote and the content, modify the rule as follows:
blockquote:before {
  content: "\201c";
  font-size: 600%;
  float:left;
  margin-right: 20px;
}
Exiting code block
That should position the quotation mark apropriately, give space, and wrap the text.

