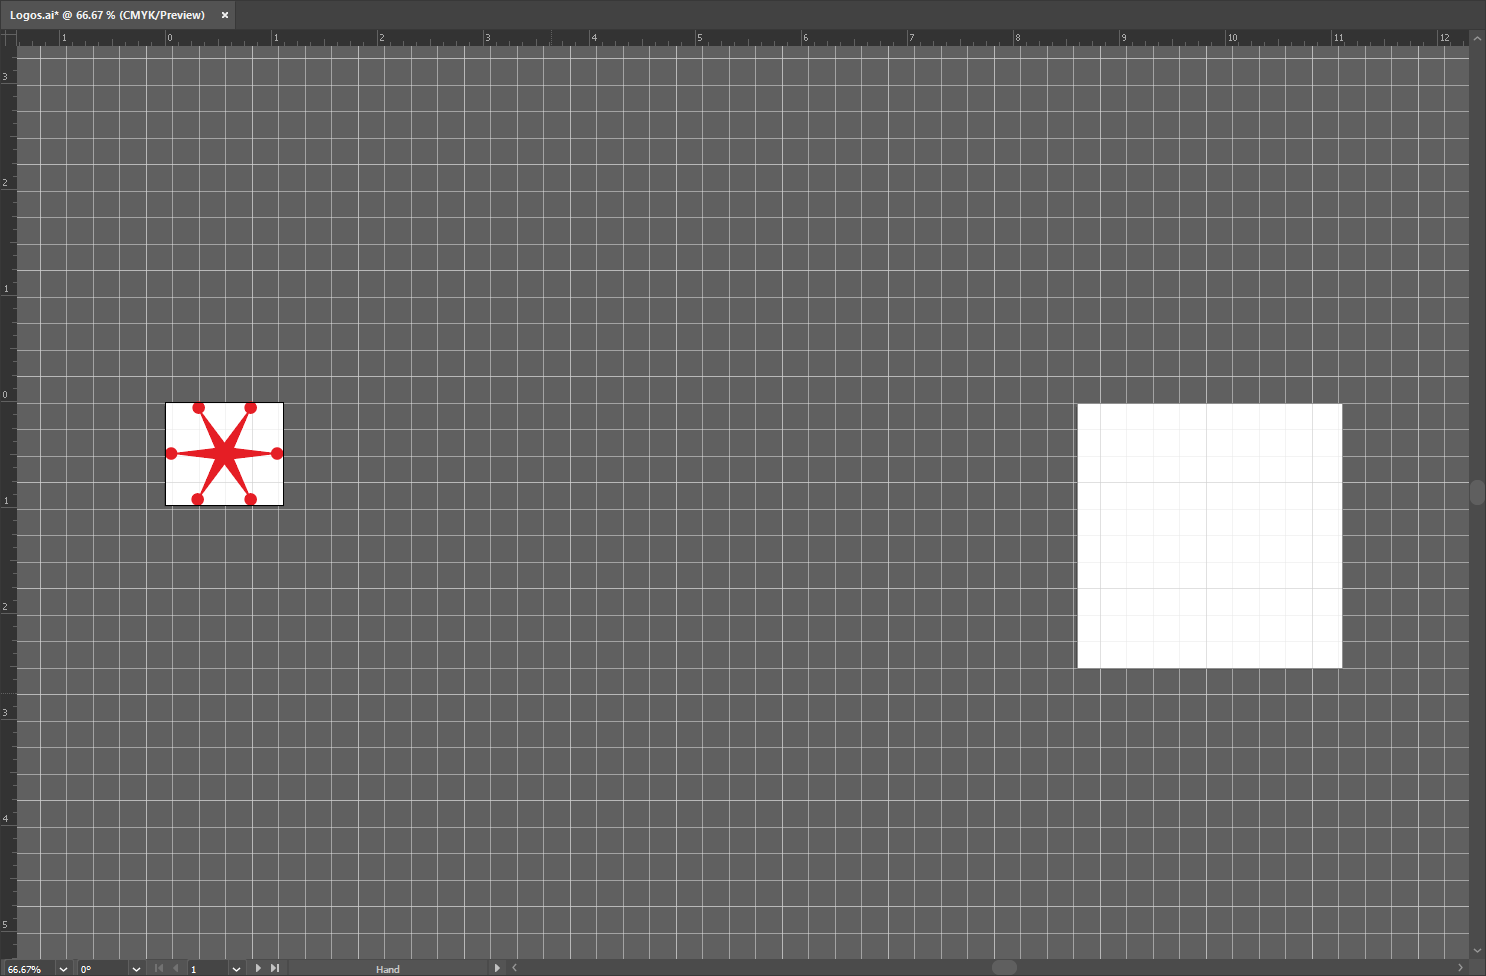
Before we continue creating more logos, let’s take a moment to explore how to use artboards in Illustrator. Artboards allow you to create multiple pieces of art that are all contained in a single file. It might help to think of artboards as individual sheets of paper where you create your artwork, and the Illustrator document as a folder that contains all the sheets of paper with artwork on them. You can use artboards to create individual graphics for a website (such as a header and other needed elements), or to create multiple different versions of a logo. When you’re ready to use your graphics outside of Illustrator, each artboard can be exported to its own individual file that can then be used wherever it’s needed.
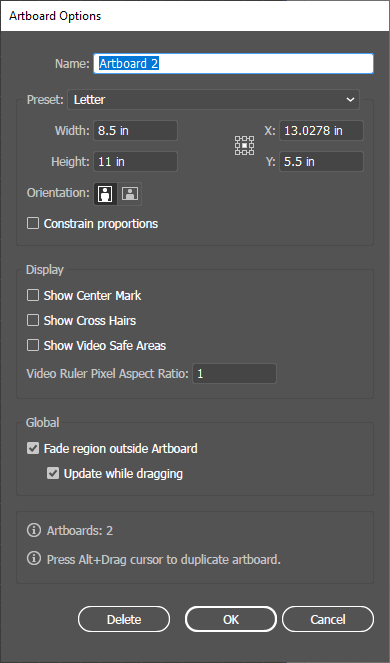
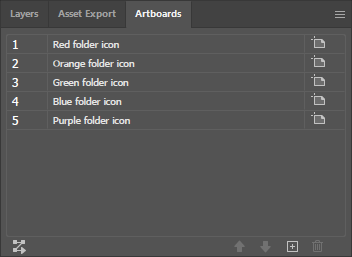
In this section, we’ll explore how to create, resize, and rename artboards as we prepare to create two more logos.
Creating a new artboard
In Illustrator, a document can hold up to 1,000 artboards, allowing us to create plenty of artboards for whatever our needs may be. For Logos.ai, we need three artboards — one for each logo. Let’s create another artboard, with the help of the Artboards panel.
Exploring the Artboards panel
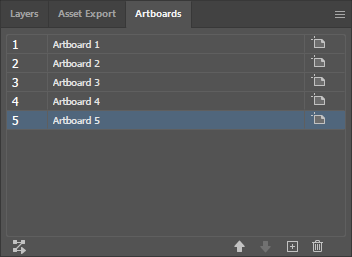
The Artboards panel gives us a place to access and manage all of the artboards in a document.
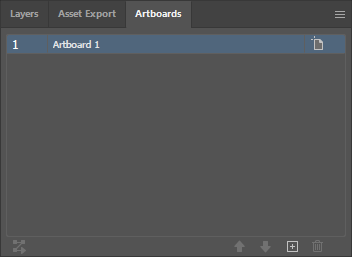
The Artboards panel contains the artboard list, which shows all of the artboards present in a document. We can easily navigate between artboards here by double-clicking on an artboard’s name. (We currently only have one artboard, Artboard1.)
At the bottom of the Artboards panel, we have a number of icons that allow us to manage our artboards, including:
- Rearrange All Artboards, which makes it easier to reposition all artboards in a document
- Move Up/Move Down, which moves the selected artboard up or down in the list of artboards
- New Artboard, which creates a new artboard
- Delete Artboard, which deletes the selected artboard
Let’s zoom out a bit so we can see the full artboard we've been working with, then create a new artboard for our second logo using the New Artboard button.


