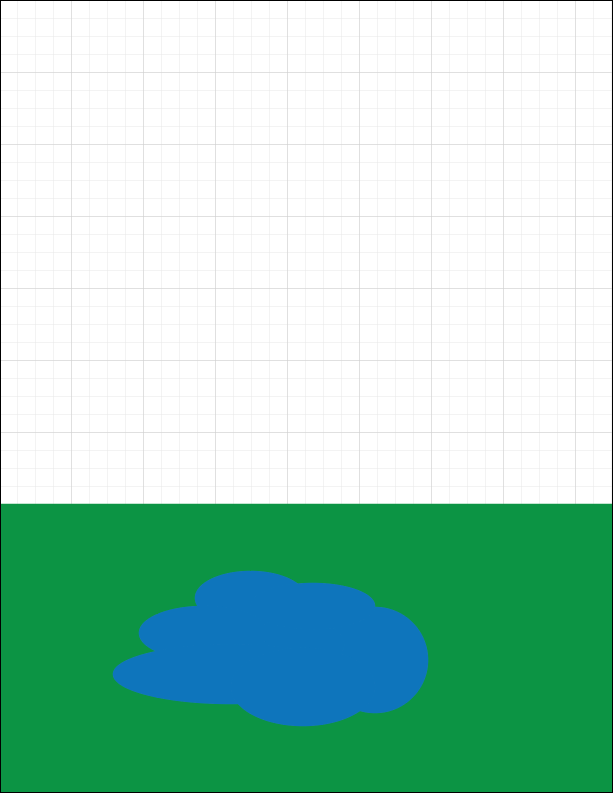
To help us get more familiar with the tools in Illustrator, we'll be creating a simple landscape scene using the shape tools. It will include a sun, a little boat on a pond, and a sky that appears to fade to white in the distance. It will look something like the following illustration:
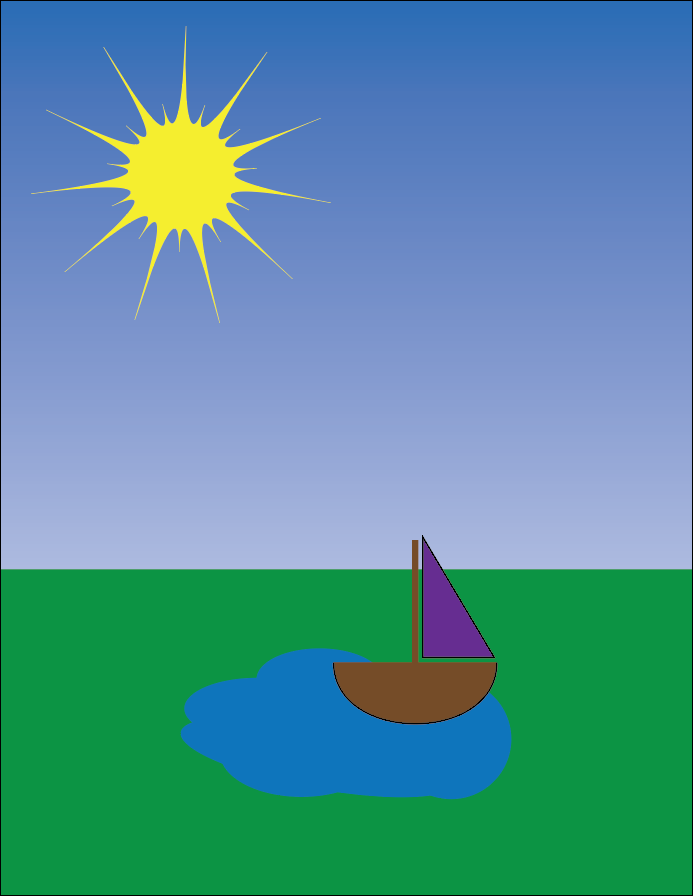
An important part of working with Illustrator is understanding how to use the shape tools. Basic shapes, such as rectangles, ellipses, and polygons, are available as shape tools — however, almost any shape we need can be made by combining and altering these basic shapes. As we work on the landscape drawing, we'll get comfortable with the Illustrator interface and become more familiar with how the different shape tools work.
Before we go much further, let's learn more about the anatomy of a shape.
Exploring the elements of a shape
Knowing the individual parts of a shape — and the terms used to refer to those parts — is important when working with shapes in Illustrator.
Every object in Illustrator is defined by a path, which is made up of one or more line segments connected by anchor points. It might help to think of paths and anchor points like a "connect the dots" puzzle — the anchor points are the individual dots we want to connect, and the path is the line connecting those dots. This concept is illustrated in the following image:
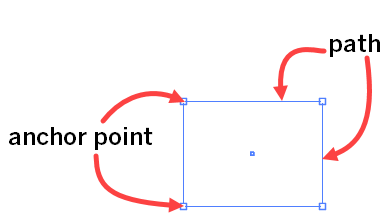
As we can see, the rectangle in the image has four anchor points — one at each corner — and a single path that connects the four anchor points together.
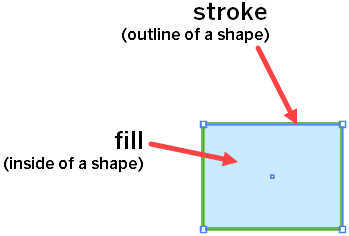
Right now, the rectangle in the previous example is only visible because it is selected. If we deselect it, the rectangle will seem to disappear. To make a path visible, we need to add color to either the outline of the path, known as the stroke, the inside of the path, known as the fill, or to both the stroke and the fill. Following is the same rectangle we saw previously, this time with a green stroke and blue fill color applied to it:
Now that we know more about the building blocks of shapes in Illustrator, let's create a shape and add color to it.
Creating a rectangle with the Rectangle tool
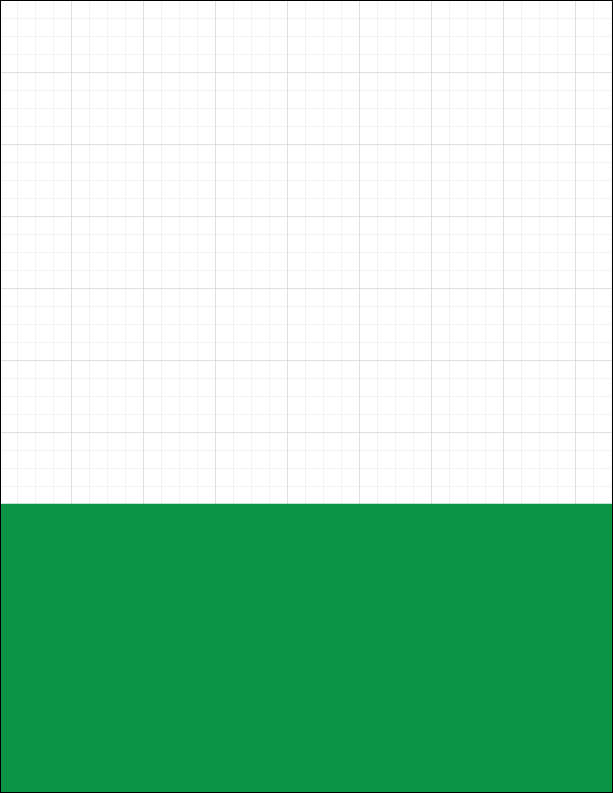
To start the landscape drawing, we'll add a rectangle that will serve as the ground in our image. To create a rectangle, all we need to do is activate the Rectangle tool, then press and drag on the artboard to create a rectangle of any size we need.
When pressing and dragging to draw a shape, you'll see a tooltip appear next to your cursor, like we see in the following image:
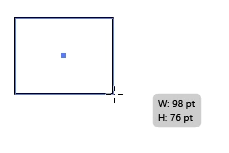
This tooltip indicates the width and height of the object being drawn, and can be helpful when trying to make a shape of a specific size.. The values displayed will change as you move your mouse.
Let's draw a rectangle now. We'll make use of the rulers to help us position our rectangle.


 ,
, 