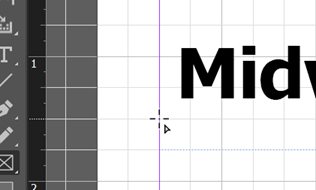
Up to this point, we've been working with a single text frame — now that we're ready to add more information to the nameplate, like the issue number and publishing date, we'll need a place to put that content. Since we want to have this information under the newsletter's name and apply different formatting to the new content, the easiest way to accomplish this would be to create a new frame that overlaps the bottom of the existing text frame.
Earlier, we created a text frame by pressing and dragging with the Type tool. However, if we try to do the same thing to create a text frame that overlaps the bottom of an existing frame, it won't work — since the existing frame is already a text frame, the Type tool thinks we're trying to modify the text inside the frame. We'll need to use a different tool to create the overlapping text frame: the Rectangle Frame tool.
The Rectangle Frame tool is used to create rectangular frames with unspecified content. Once the frame has been created, we can then indicate whether the frame is a text frame or a graphic frame.
Let's use the Rectangle Frame tool to create the overlapping text frame we need for the second part of the nameplate. This frame will be 1/4 inch (or one grid square) tall and span all three columns. Once the frame is created, we'll indicate to InDesign that the frame is a text frame.
The following video will walk you through the process of creating an overlapping text frame — if desired, you can instead follow the step-by-step instructions in the accordion that follows the video.


 , type: Georgia,
