We're almost done with adding content to the newsletter — there's only one article left to add on the back page: an advice column in a sidebar article at the bottom of the page. Adding the advice column sidebar will involve creating a text frame with a fill color, importing text and images, and formatting the text. This is a good opportunity to practice what you've learned so far on your own.
Since this section has less guidance than other sections of the course, if you'd like a step-by-step walkthrough of one solution to the exercise, watch the video On Your Own: Adding the Sidebar Article to Page 4.
- Create a 3.25 inch tall by 7.5 inch wide text frame, starting at the 7.25 inch mark on the vertical ruler.
- Place the Word document Dear Buddy.docx into the text frame.
- Change the fill color for the text frame to Pet Pals Blue, and adjust the tint to 35 percent. If desired, you can also add a stroke color using one of the Pet Pals colors.
- Using the Text Frame Options dialog box, adjust the inset spacing for the frame to 0.125 inches on all sides. (If desired, you can also change the number of columns from 1 to 2 before closing the Text Frame Options dialog box.)
- Create a .5 inch tall text frame for the headline, and apply a text wrap to the frame.
- For the headline text, type "Ask Buddy: Advice from one animal to another". Format the headline text using 20 pt Verdana Bold font.
- Center the headline text vertically inside the frame, and set the left inset spacing to 0.125 inches.
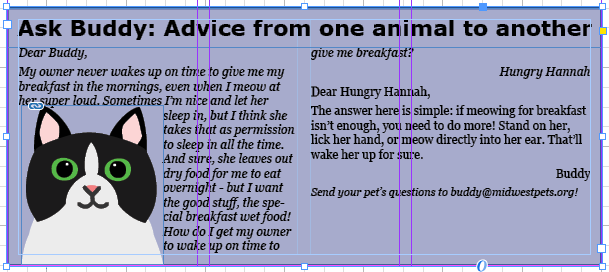
- Place the Illustrator file buddy the cat.ai in the lower left corner of the sidebar article, with the left side of the image lined up with the left side of the text. The image should be roughly 1.75 inches high once placed. (Hint: positioning your cursor at the 8.5 inch mark is a good place to start.)
- Wrap the text around the graphic of Buddy the Cat.
- Save the file.
Expand the following accordion fold to see one example of how to complete this exercise:


