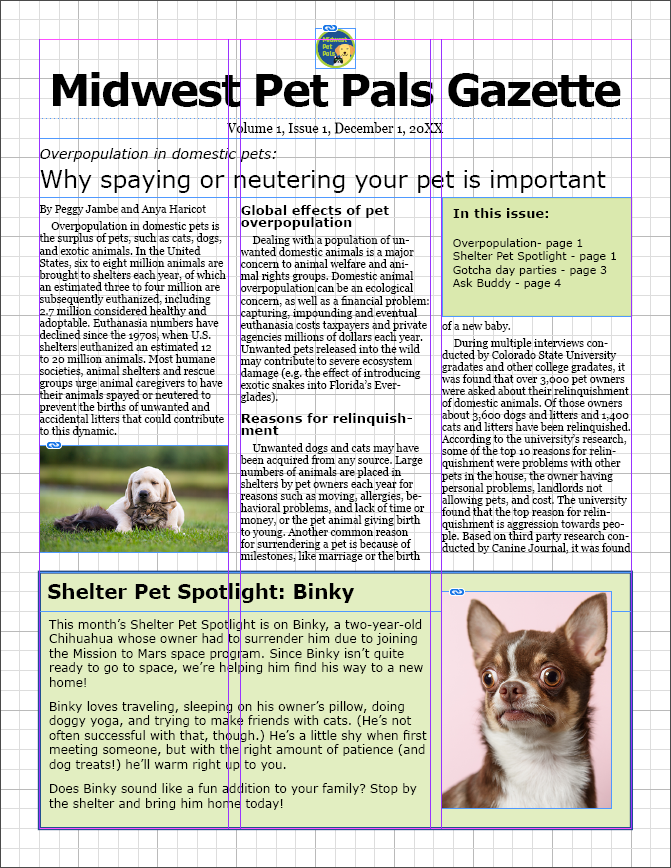
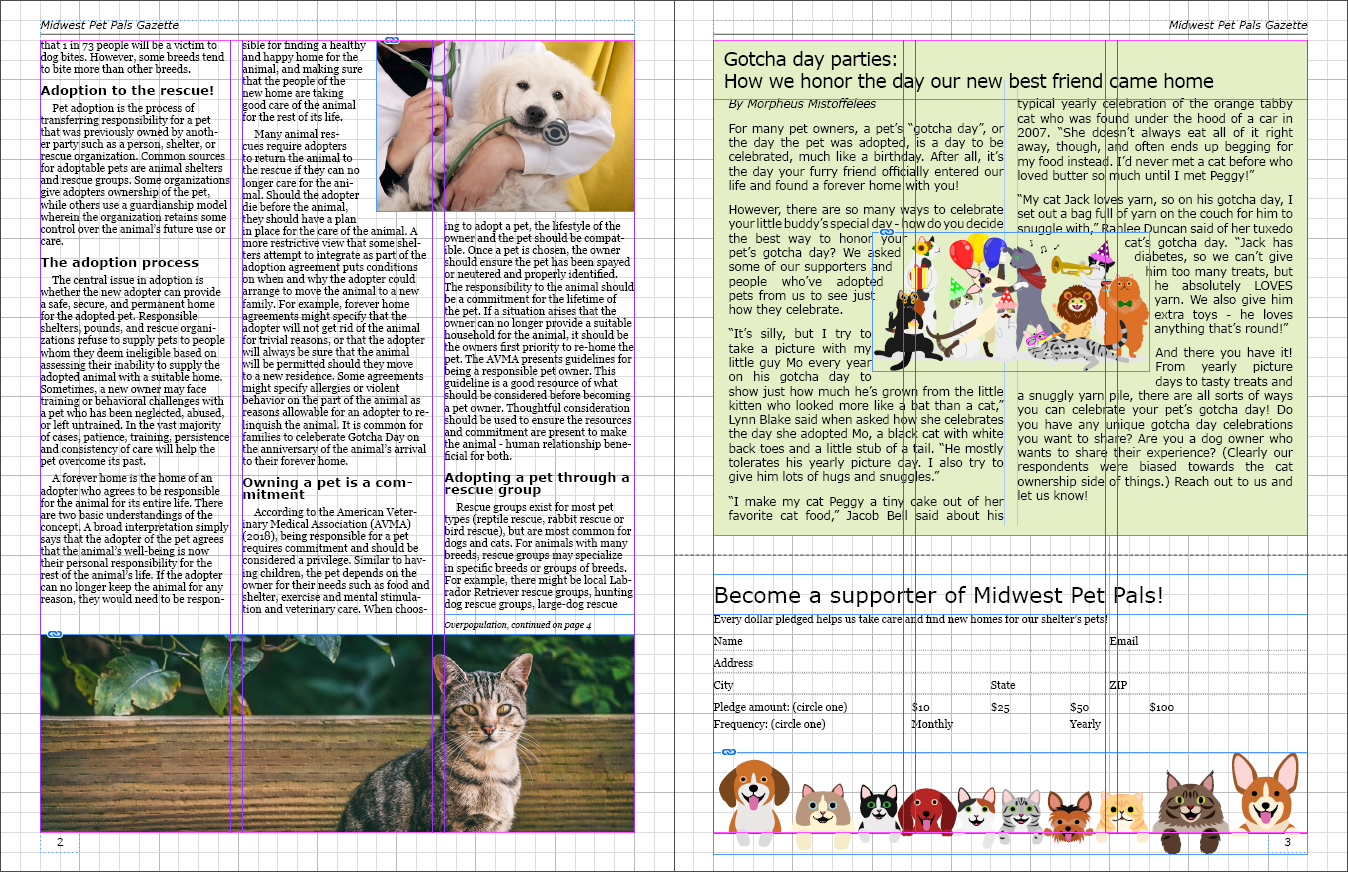
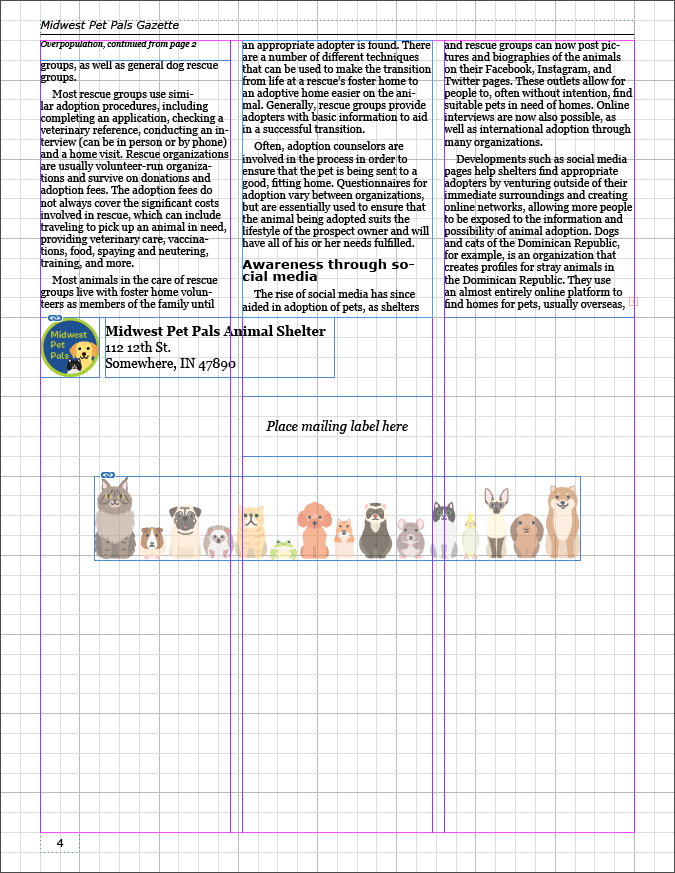
At times, we may have content in another InDesign document that we might want to use in the document we're currently working with. In this case, we have some articles that another designer who works on the Midwest Pet Pals Gazette put together in an InDesign document for another issue. This file also contains other newsletter elements that we may not want to re-create from scratch, such as a donation form and the mailing information on the back page. While we could theoretically copy and paste these elements from one document to another, InDesign offers a much easier way for us to import this content: by using the Content Collector and Content Placer.
Available Files
The following files are available for download:
Using the Content Collector
InDesign offers a nifty tool called the Content Collector that allows us to collect objects from other InDesign documents and keep them in the Content Conveyor until we're ready to place them using the Content Placer.
One way to think of how the Content Collector works is to imagine that you're shopping in a store — when you find something you like, you take it and put it in your shopping basket until you're ready to buy it. In InDesign, the Content Collector is what picks up the items from one InDesign document. The Content Conveyor acts like the shopping basket, holding the items until you're ready to put them in another document.
We'll practice using the Content Collector with some of the contents of the file extras.indd — there are a number of items we want to collect from this document, including a copy of the Midwest Pet Pals logo, a table of contents template, an article we can place on the 3rd page along with a donation form, and the mailing information field on the back page.
- Navigate to the first page of extras.indd, if necessary.
- To activate the Content Collector, in the Tools panel,
Click

- To select the small Midwest Pet Pals logo from the top of page 1, with the Content Collector active,
Click the logo
After clicking on the logo, a thumbnail representing the image will appear in the Content Conveyor:

The cursor also changes and displays a number next to it:
![]()
This number indicates how many items (or bundles of items) have been added to the Content Conveyor.
- To collect the table of contents on page 1,
Click the table of contents
- Move to page 3 of the document.
- To zoom out so all the contents of page 3 are visible, in the Status bar,
Click
 , Click 25%
NOTE: The zoom percentage displayed in the Status bar on your computer may be different than the value shown in the above screenshot.
- To collect all of the contents on page 3,
Press & Drag a selection from the top left corner of the page to the bottom right corner
We see a different thumbnail in the Content Conveyor for the contents of page 3:

Instead of an image representing the item we clicked, we see a thumbnail representing one element on the page and the number 7 in the upper left corner of the thumbnail, indicating there's a bundle of seven elements here.
- Move to page 4 of the document.
- To collect the contents of page 4,
Press & Drag from the upper left corner of the mailing section to the lower right corner of the graphic
The Content Collector should look like the following image at this point:

Let's go ahead and put the collected items into Pet Pals Gazette.indd.
Using the Content Placer to place collected items
With the Content Conveyor full of items we want to put in the newsletter, now we can switch back to the issue of the Midwest Pet Pals Gazette we're working on and place the collected items into the document.
Placing the items we've collected is simple — all we need to do is position our cursor where we want the item (or items) to be placed, then click once to place the item(s).
- To switch back to the file Pet Pals Gazette.indd, at the top of the document workspace underneath the Control panel,
Click

- To navigate to page 1 of the document, in the Panel dock,
Click
 , Double-Click
- To switch to the Content Placer, in the Tools panel,
Press & Hold
 , Click
The cursor changes to display a thumbnail of the first item we collected:

Now we're ready to start placing content.
- To position the cursor in the right location to place the logo, at the top of the first page,
Point to the 4 inch mark on the horizontal ruler, between the top margin of the middle column and the next grid line above the margin, as shown below:
- To place the logo,
Click the page
- To place the table of contents, in the third column of text,
Point to where the left margin of the third column meets the headline text frame, Click to place the table of contents
- Move to page 3.
- To place all the contents of page 3, at the top of the page,
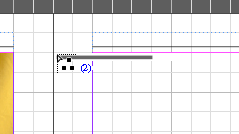
Click the middle dividing line between page 2 and 3, two grid squares down from the top:
- Move to page 4.
- To place the address section on page 4,
Click the left margin of the first column at the 4 inch mark on the vertical ruler
- To close the Content Conveyor, in the upper right corner of the Content Conveyor,
Click

Adjusting the text on page 4
We've now placed all the content for our newsletter — however, the text of the main article on page 4 flows underneath the address label:
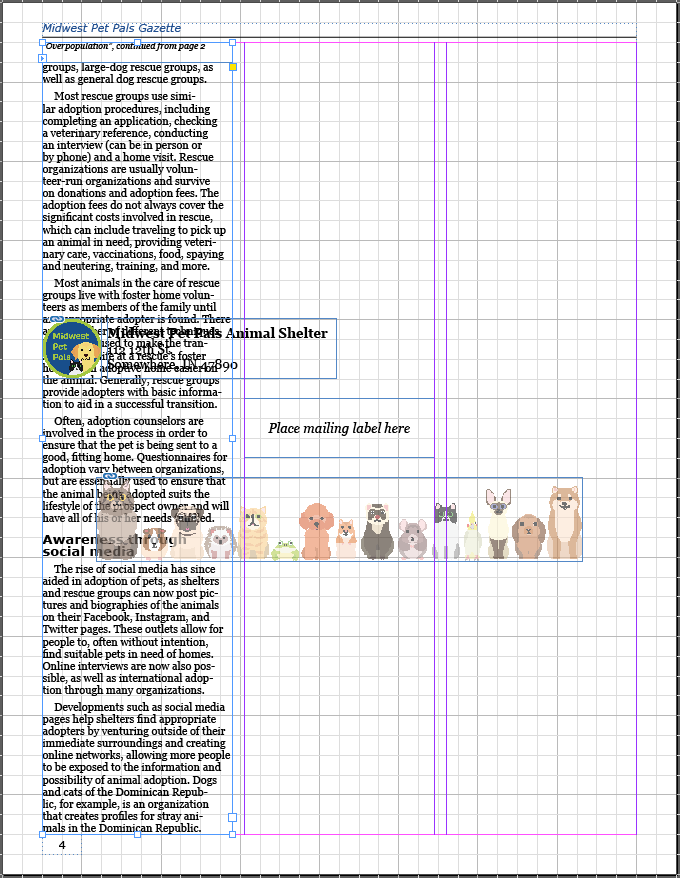
Let's fix this, and in the process get some more practice using the in and out ports on text frames.
- Activate the Selection tool.
- To select the first column of text, with the Selection tool active,
Click the first column
- To resize the column, at the bottom of the page,
Press & Drag the bottom middle handle of the first column up to the 4 inch mark on the vertical ruler
- To load the cursor with overset text, at the bottom of column 1,
Click

- To place the overset text into column 2,
Click the top left corner of column 2
- Resize column 2 so the bottom lines up with the bottom of column 1.
- Repeat steps a-c to place the overset text in column 3, and resize column 3 so it's the same size as the other columns.
We still have a little bit of overset text in column three, but we'll fix that later on.
Adjusting the display quality of placed images
The images that were part of the content we collected from extras.indd might be displaying at a lower quality than the images in the rest of the newsletter. Let's fix this by changing the display quality of the images. After doing that, we'll save Pet Pals Gazette.indd and close extras.indd.
- To change the display quality of the images in the document, in the Menu bar,
Click View, Point Display Performance, Click High Quality Display
- To save Pet Pals Gazette.indd, on the keyboard, press:
Control key + S
- To close the file extras.indd, at the top of the document window,
Click
All of the images in the newsletter are now displayed at high quality.
At this point, the newsletter should look like the example pages located in the following accordion folds:
