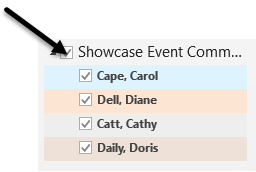
Outlook's Calendar Groups feature makes it easy for us to see the combined schedules of a number of people or resources at a glance. We can assemble lists of people and resources in any way we choose, then name and save them as groups to use later.
Let's use Calendar Groups to organize a planning session with the Senior Showcase Event planners.
Step1. To begin creating a new Calendar Group, in the Manage Calendars group,
Click , Click Create New Calendar Group
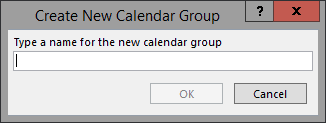
Step2. To name the new group, in the dialog box, type:
Showcase Event Committee Enter
Step3. To add the names of our committee, at the bottom of the dialog box, in the Group Members field, type:
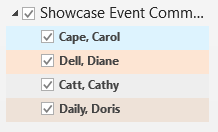
Cape, Carol; Dell, Diane; Catt, Cathy; Daily, Doris
NOTE: These are all demo accounts and can be freely used for this course.
Step4. To continue, in the bottom right corner of the dialog box,
Click
Understanding Out-of-System Scheduling
As we communicate with others who are using different email systems, it is important to understand how the Outlook process works.
In an organization such as ours, a server that manages Outlook accounts is called an Exchange server. Those who work with Outlook in conjunction with an Exchange server are using Exchange accounts. The connection to the server make it possible to share calendars and other information.
People who are using Outloook with non-Exchangeaccounts don't have access to the Exchange server, so they don't have the option of sharing Outlook features like calendars.
Inviting Non-Exchange Users
We will first use our Calendar Group to create a meeting invitation, and then we will add a non-Exchange user to the meeting.
Step1. To open a new meeting form, in the New group,
Click , Click New Meeting with All
Step2. To open the Scheduling Assistant, in the Show group,
Click
Step3. To begin to add a new user, in the All Attendees list, on the far left side of the window,
Click "Click here to add a name"
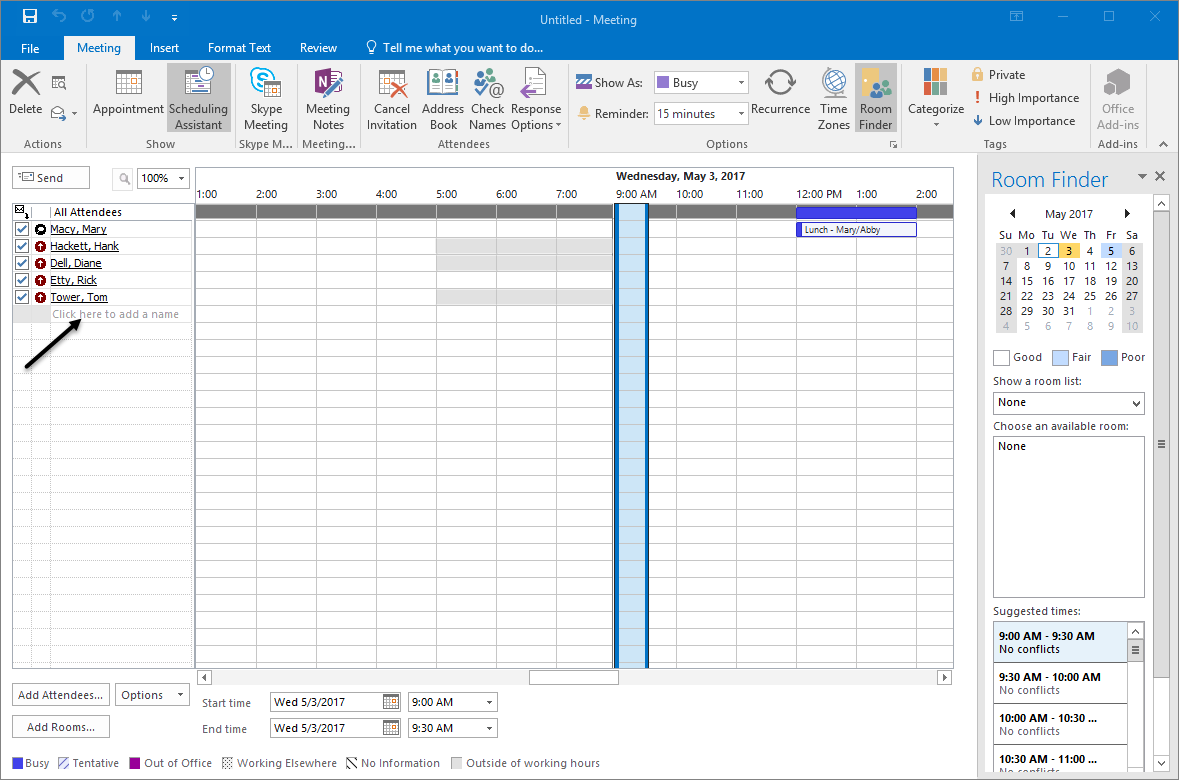
Step4. To add the non-Exchange user's name, type:
student@example.com Enter
NOTE: When the person is not an Exchange user, you must type in the entire email address.
Selecting Required Meeting Attendees
One way to choose a meeting time that is convenient for all attendees, is to use the Suggested times pane, located in the lower right corner of the meeting form.
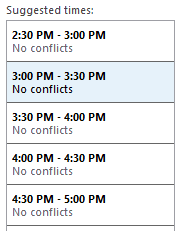
The Suggested times pane locates the best time for our meeting, which is defined as the time when the most required attendees are available. The best meeting time appears at the top of the pane. To select any of the suggested times, we simply click one of the boxes.
When setting up meetings with a large number of individuals, it can be difficult to find a time when everyone is free. When this is the case, it sometimes helps to specify required attendees and optional attendees. Required attendees are people who absolutely must attend the meeting.Optional attendees are people who may attend, but the meeting will go on even if they can't be there.
If a person is given the status of Optional Attendee, the Suggested times pane will ignore that person's schedule when searching for available times.
Let's say that the individual who owns the gmail account is a student hourly, and it is not absolutely mandatory that he attend the meeting. We can use the small icon in front of the name to indicate this.
Step1. To change the required status of the student@example.com meeting attendee, in the Attendees list, on the far-left side of the screen,
Click , Click Optional Attendee, press: Enter
Step2. To select one of the suggested times, in the Suggested times pane,
Click the first suggested time
Step3. To activate the Meeting form, in the Show group,
Click
Step4. To enter a subject for this meeting, in the Subject field, type:
Meeting of Senior Showcase Committee Tab key
Step5. To enter a location for the meeting, in the Location field, type:
IT 123
Step6. To add a message, in the body, type:
This is the first meeting for all members of the Showcase committee.
See you there,
Mary
Step7. To send the request,
Click
Step8. To close all calendars except our own, in the Navigation pane,
Click