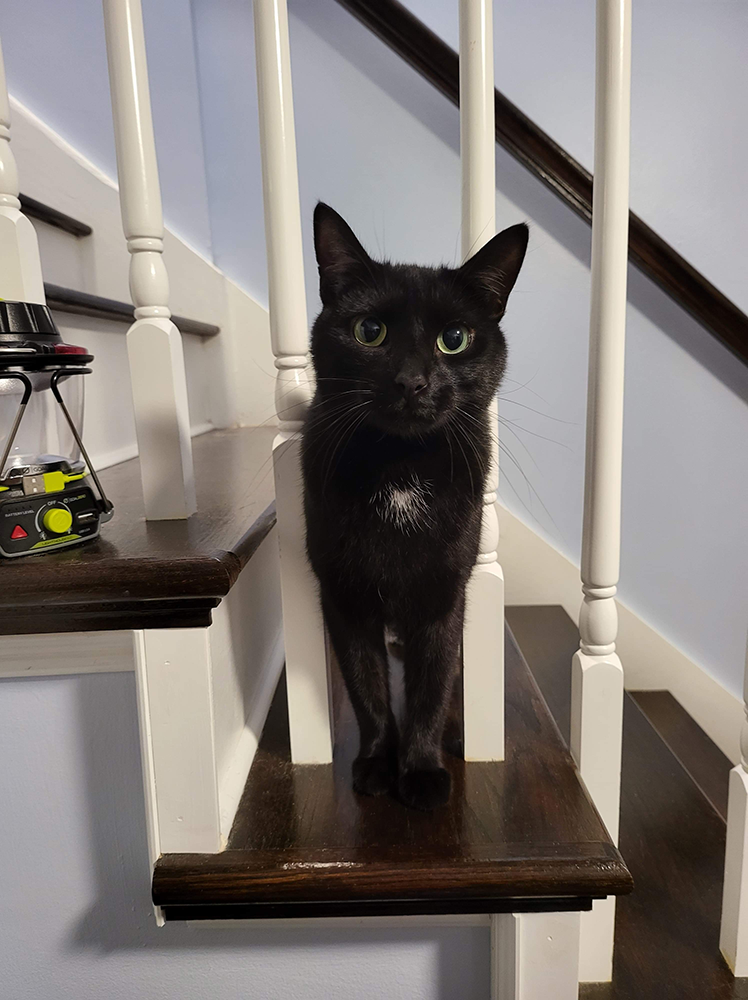
In this exercise, we’ll gain more experience using the Selection Brush tool and the Generative Fill option to remove objects from an image. We’ll also see how to add new objects to an image with Generative Fill. We’ll be working with the following photo of a black cat standing on a set of stairs, with a flashlight visible on the left side of the image:
To start, we’ll remove the flashlight, then we’ll generate a winter hat and scarf for the cat to wear. Both of these tasks can be done using Generative Fill.
Removing complex objects with Generative Fill
In the previous exercise, when removing the electrical towers from the photo of the sunset, we didn’t enter a prompt for the Generative Fill option – while leaving the prompt field blank works well for simple objects or objects over a relatively simple background, we might encounter some issues when removing a more complex object if we don’t enter anything into the field.
Let’s open the file Cat on stairs.jpg, then see what happens when leaving the prompt field blank when we try to remove the flashlight.
To open the file, on the Menu bar,
Click File, Click Open…
Navigate to where the exercise files are located on your computer.
To open Cat on stairs.png, in the Open dialog box,
Double-Click Cat on stairs.jpg
To save the file as a Photoshop document, on the Menu bar,
Click File, Click Save As…
Navigate to the folder containing the exercise files, if necessary.
To change the file type, in the Save as type: dropdown,
Click, Click Photoshop (*.PSD; *.PDD; *.PDTT)
To finish saving the file, in the lower right corner of the Save As dialog box,
Click
Ensure the Selection Brush tool is still active.
To select the flashlight, with the Selection Brush tool,
Press & Drag over the flashlight on the left side of the image
To view the Generative Fill options, in the Contextual Task bar,
Click
To remove the flashlight, on the far right side of the Contextual Task bar,
Click
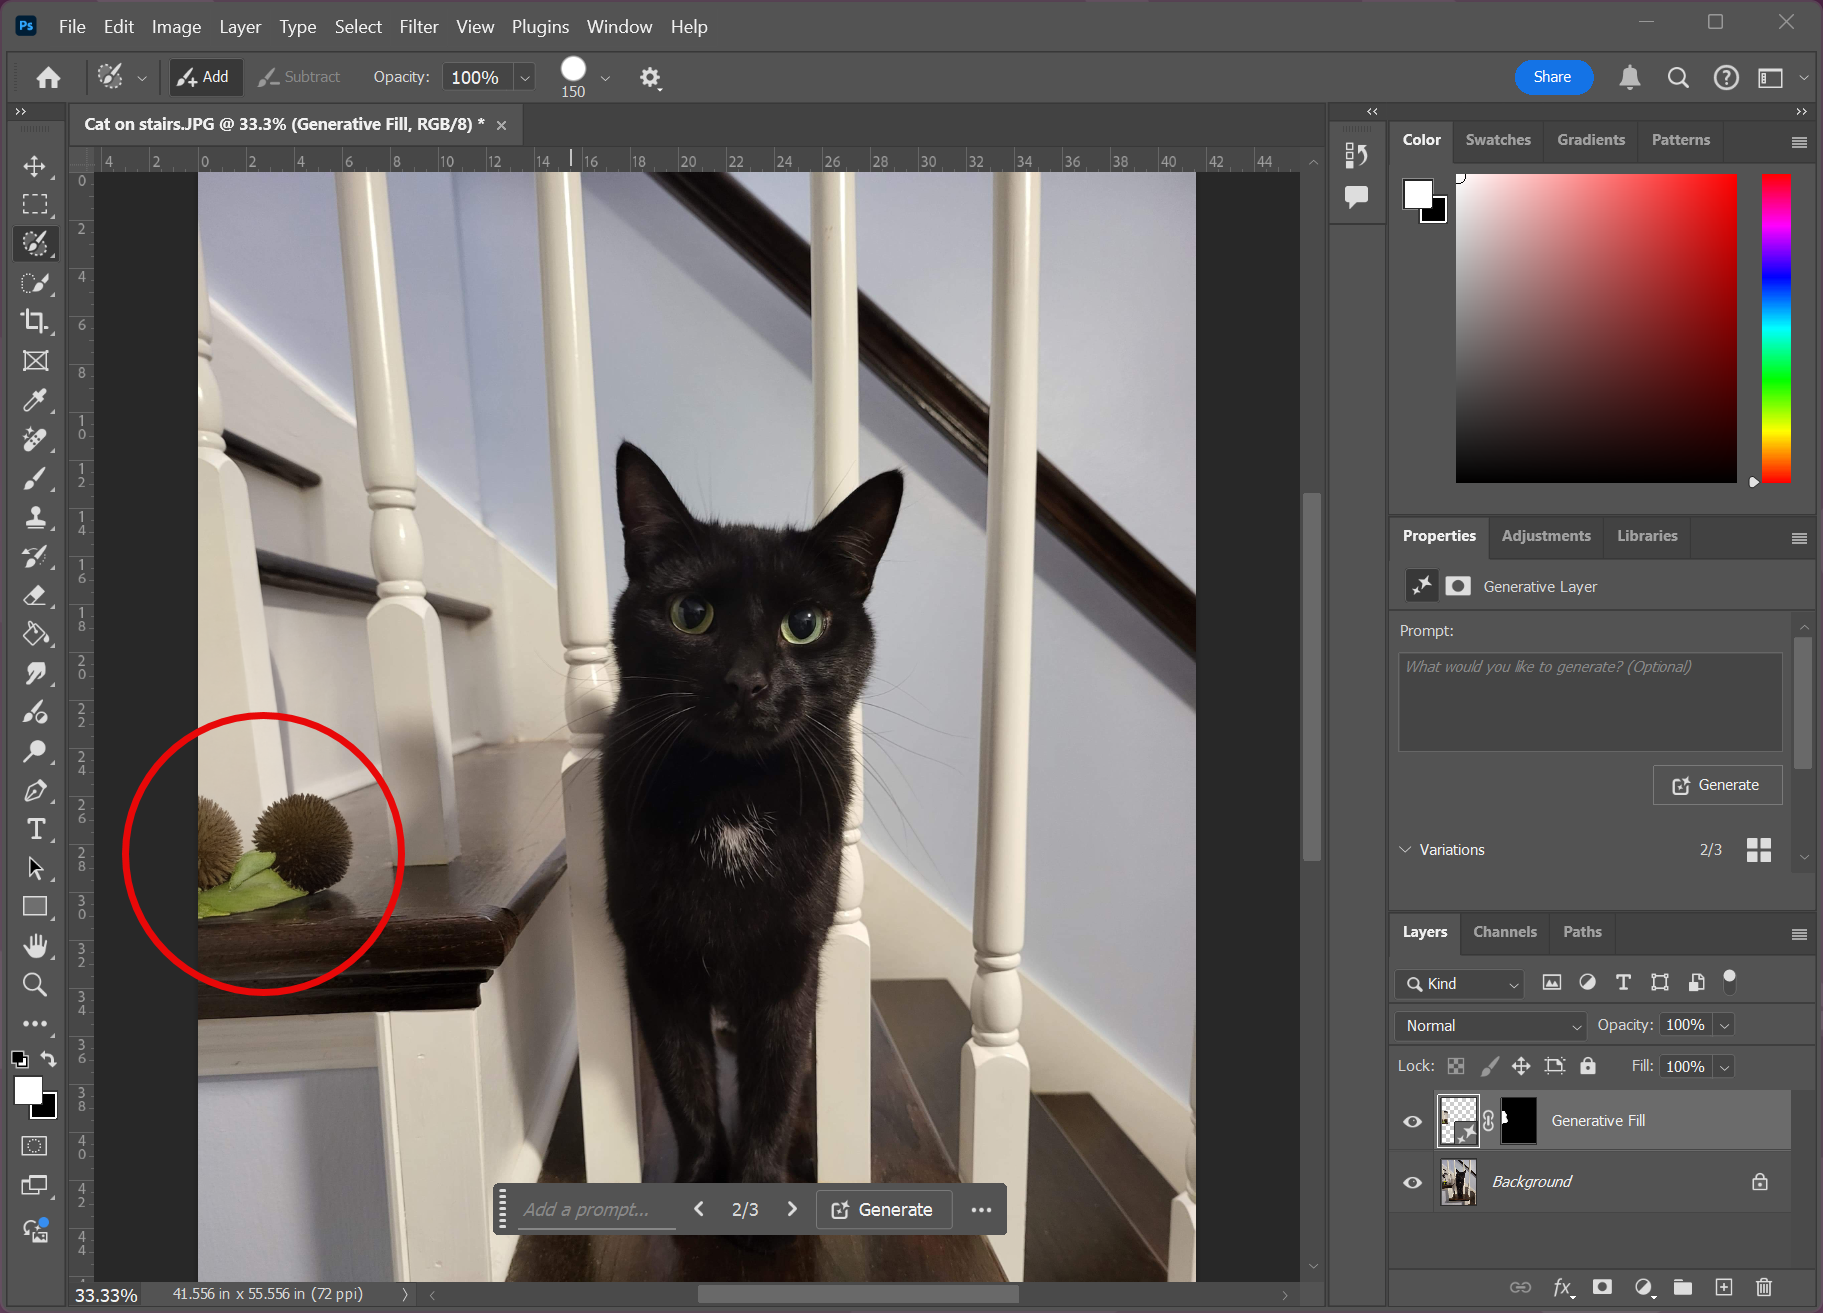
After clicking Generate, it’s highly likely that instead of removing the flashlight and leaving empty space behind, Photoshop may have instead created some sort of strange vegetation or other random object, like we can see in the following screenshot:
Let’s try this again, but instead of leaving the prompt field blank, we’ll enter the word “remove” before clicking the Generate button.
To undo the Generative Fill action completed in step 1, on the keyboard, press:
Control key + Z
The item generated in the previous step should disappear, and the flashlight should still be selected with the colored overlay – if not, make sure to re-select the flashlight before completing the next step.
To view the Generative Fill options, in the Contextual Task Bar,
Click
To indicate that the selected object should be removed, in the “What would you like to generate? (Optional)” text entry field, type:
remove
To finish removing the object, on the far right side of the Contextual Task Bar,
Click
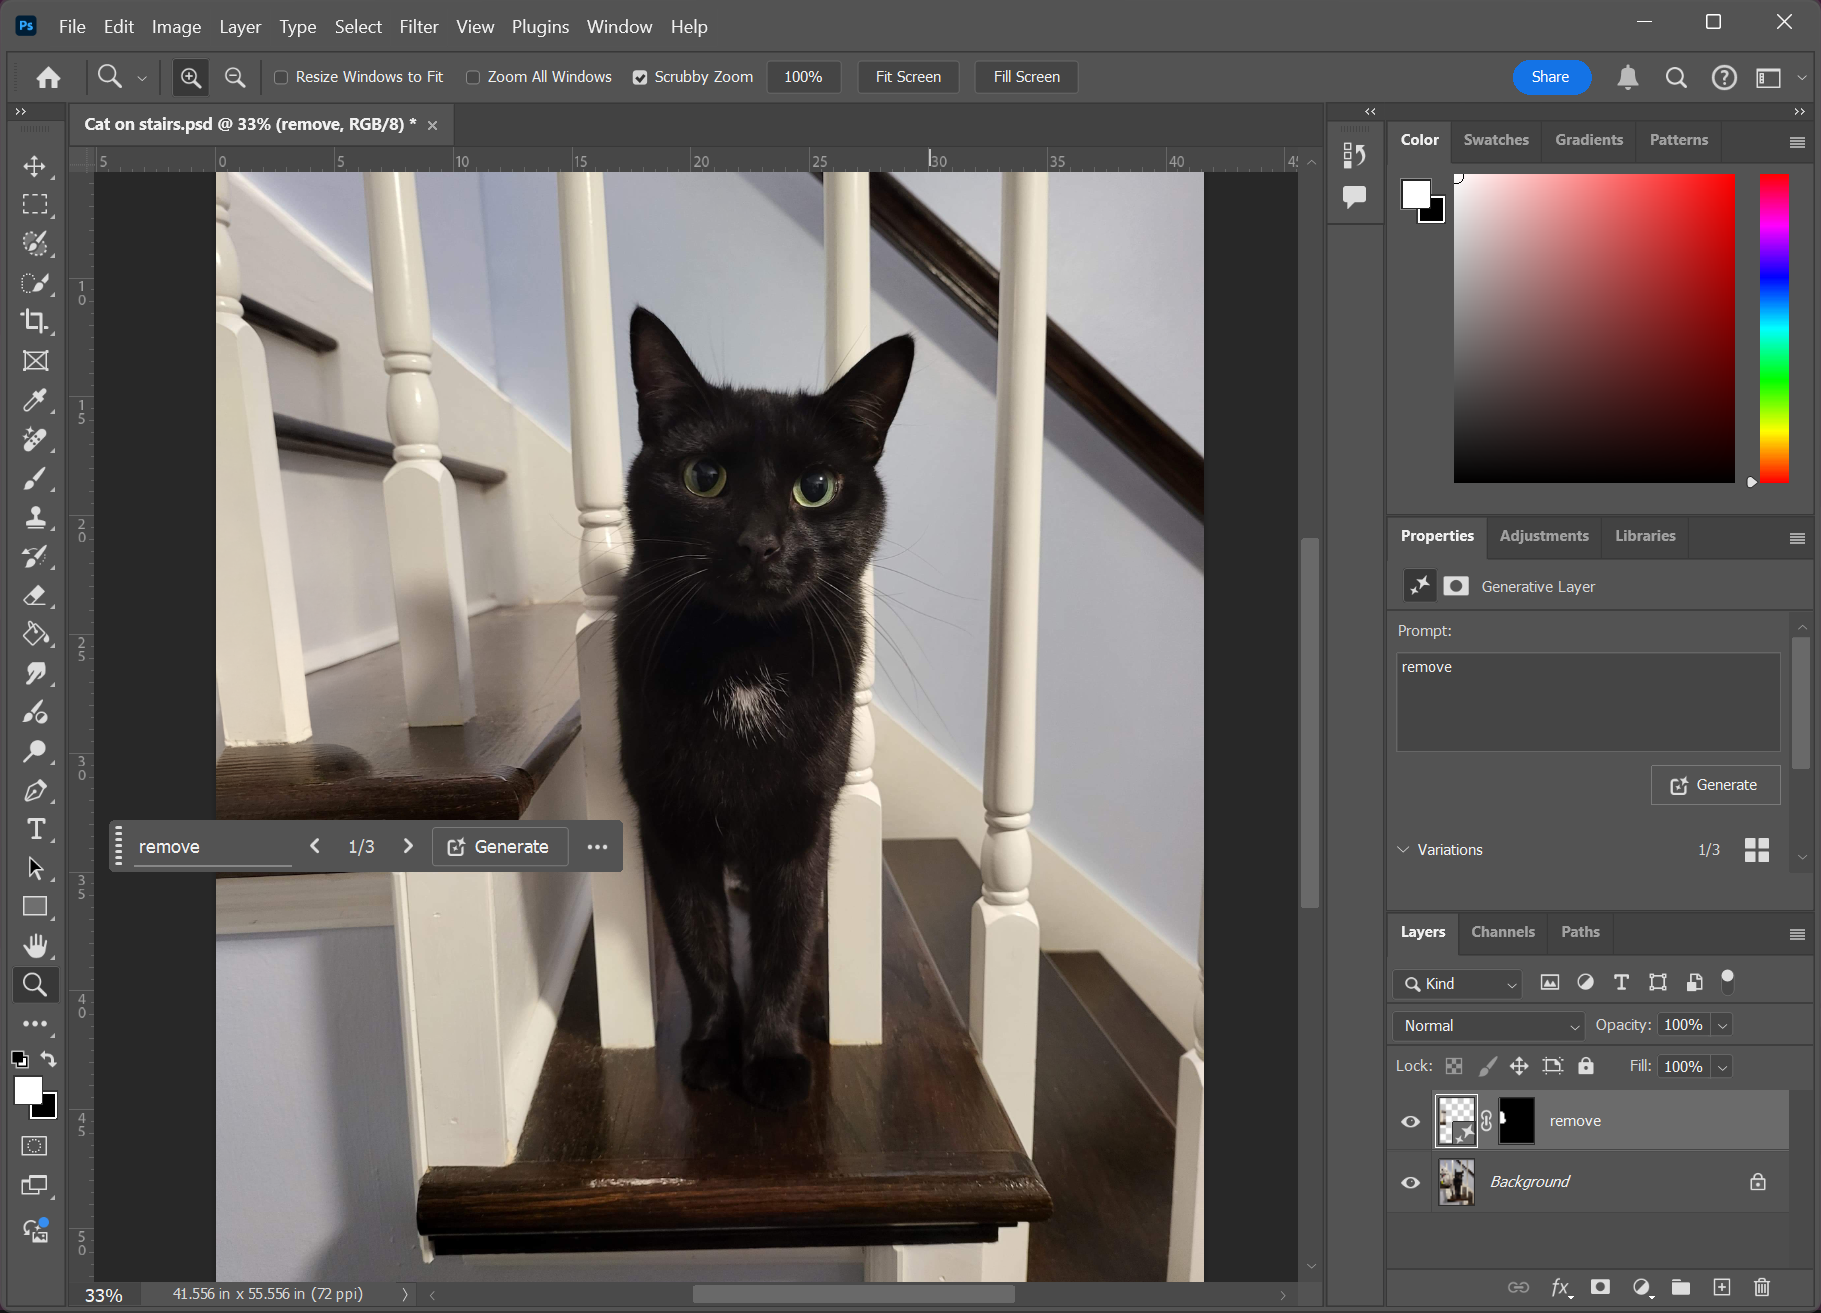
This time, the flashlight should be removed entirely, and Photoshop should generate the bottom of the stair post instead, like the following example:
NOTE: If the generated stair post bottom looks a little strange, check the variations in the Properties panel to see if a different version of the stair post looks better, and select that variant to use it instead of the initially generated results.
Now that we’ve removed the flashlight, let’s see how to add objects using Generative Fill.
Adding objects using Generative Fill
With Generative Fill, we can add completely new objects to an image – as mentioned previously, we’ll use Generative Fill to add a winter hat and scarf to the cat photo we’re working with. The process of adding objects to an image is similar to the process we followed for removing the flashlight from this image. We’ll start by selecting the area where we want to add the object, then click on Generative Fill in the Contextual Task Bar and type in a description of what we want to generate in the prompt field.
Let’s start by generating a hat for the cat.
To activate the Selection Brush tool, if necessary, in the Tools panel,
Click
To select the area where the hat should be generated, with the Selection Brush tool active,
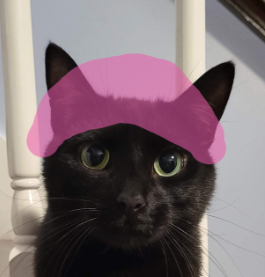
Press & Drag to paint a selection on top of the cat’s head
The selection should look similar to the following image:
To start generating a hat for the cat, in the Contextual Task Bar,
Click
To indicate what type of object to generate, in the “What would you like to generate? (Optional)” field, type:
knit hat in green and white with a pom pom on top Enter key
NOTE: Feel free to change the colors for the hat to something different if desired.
To view different variations on the generated prompt, under the Variations heading in the Properties panel,
Click any of the thumbnails to display a different variation
At this point, the cat should now have a knit cap on its head – now it's time to generate the scarf.
On your own: Generating a matching scarf for the cat
The last thing we’ll add to this image is a scarf that matches the hat we generated. The following steps outline what you’ll need to do to complete this exercise:
Ensure the Selection Brush tool is still active, then paint a selection over the cat’s neck and front that’s shaped like a scarf.
Use the Generative Fill tool in the Contextual Task Bar to generate a scarf for the cat.
Explore the other variations in the Properties panel to see if you prefer one example over the others.
Save and close the file.
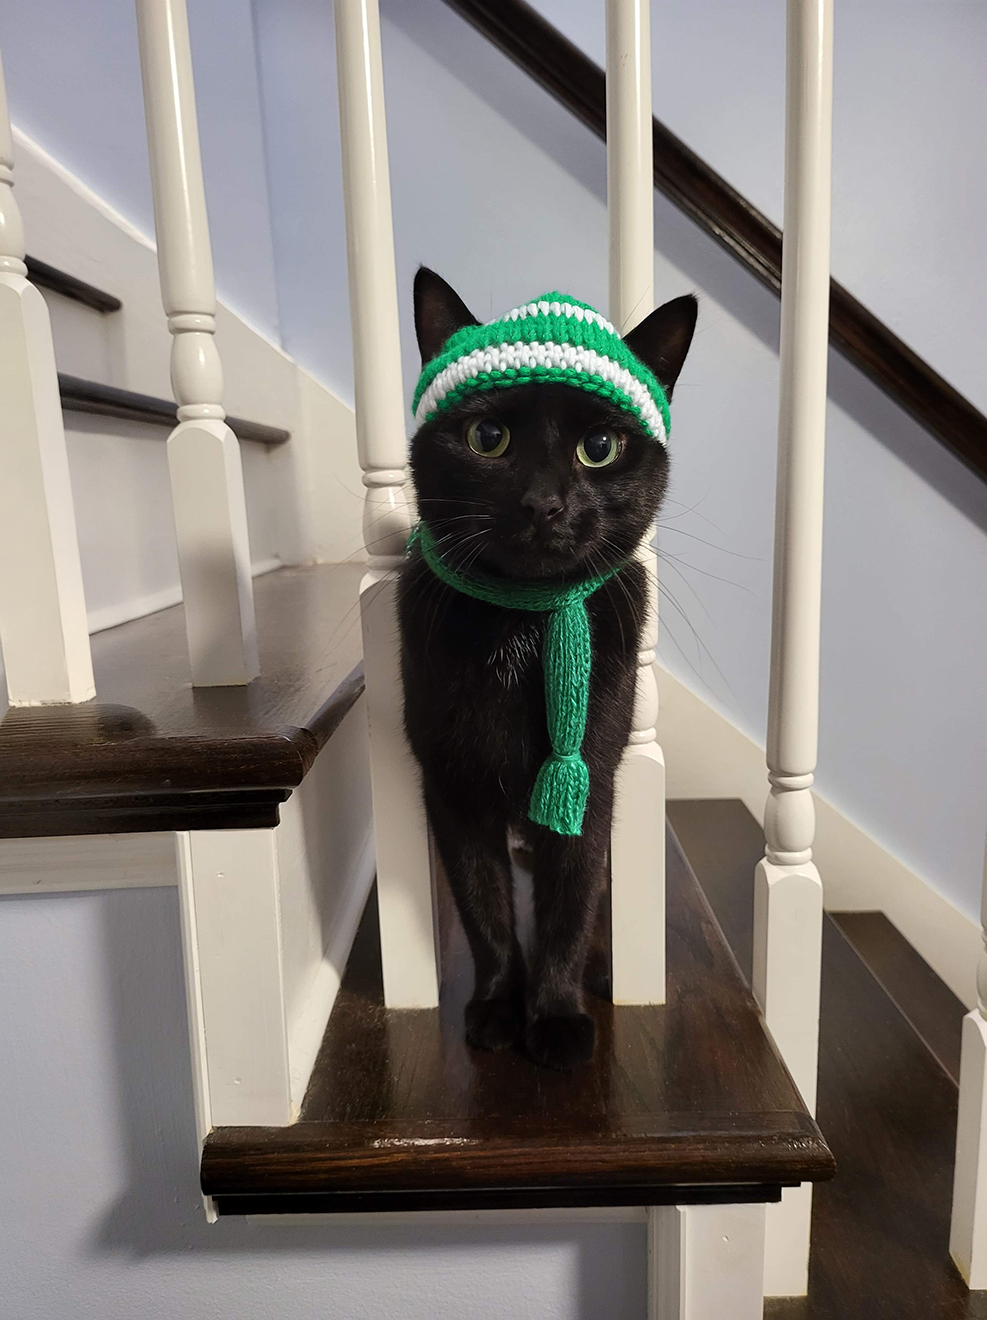
The following accordion fold contains a possible solution to the exercise:
The following image shows one example solution for the On your own exercise: