Using the Crop tool
One of the ways we can adjust an image is by using the Crop tool to reframe the image. This can be helpful if you want to focus on a specific element or person in an image.
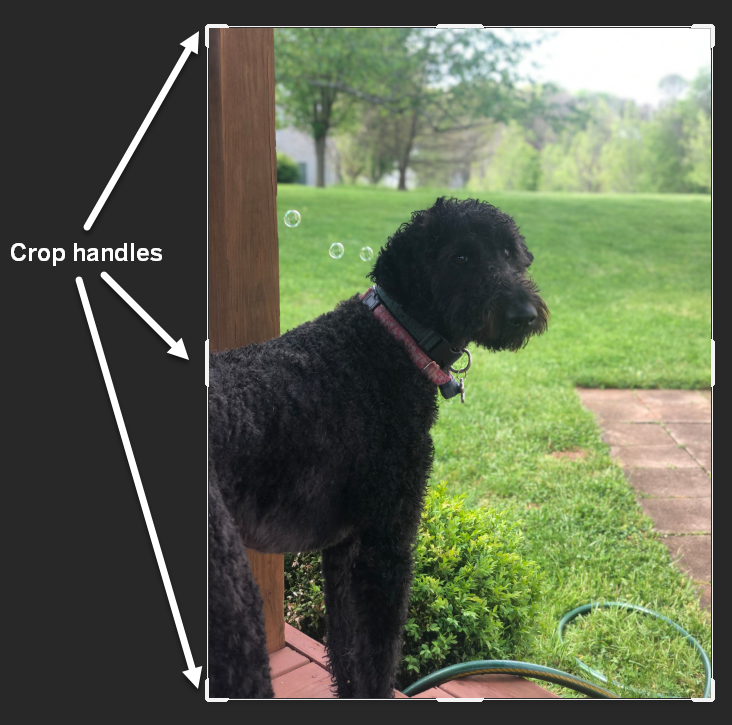
When we activate the Crop tool, a crop frame will appear around the outside of our image with handles on the sides and corners, like seen in the following image:

We can resize the crop frame as desired by pressing and dragging the frame's handles. Anything outside of the frame will be grayed out to show that it will be removed once the crop is completed. We’ll adjust the framing of the image so the garden hose is outside of the crop frame, since we don’t want it to appear in the final image.
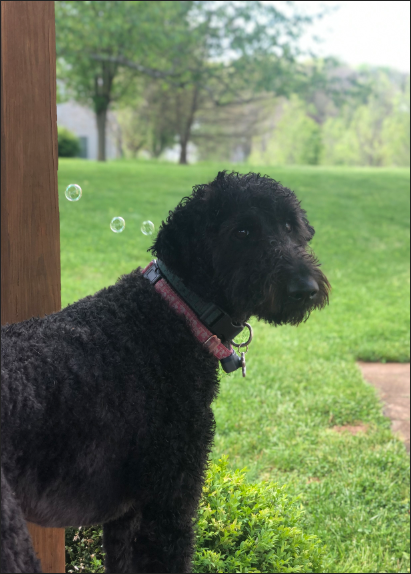
One of the features of the Crop tool is the ability to constrain our cropping frame to a specific proportion. For example, if we plan on printing an image and want it to fit a specific frame size, or need it to be a certain set of dimensions, constraining the Crop tool to a specific ratio will help us make sure our image is at the right proportions for our needs. For today, we’ll crop the photo using a ratio that will ensure it fits into a 5 by 7 inch photo frame in case we want to print and frame it later. We can adjust the ratio of the crop frame using the Options bar.
The cropped image should look similar to the following image:

Now we can focus on removing the bubbles from the image. Before we do that, let's save the work we've done so far.


 ,
, 