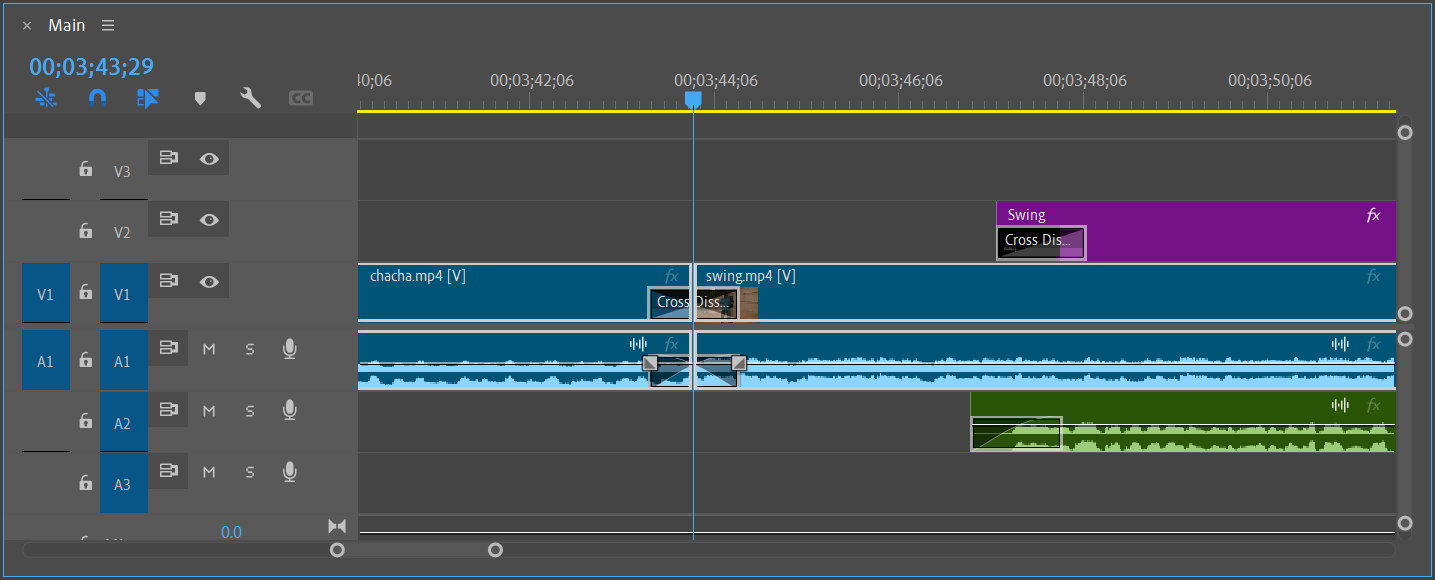
As we place clips next to each other on the timeline, there may be times where we want to add a transition between clips to make the switch from one clip to another less jarring. We can apply transitions to any type of clip in Premiere Pro. When we have two clips next to each other on the timeline, the place where one clip ends and the next begins is referred to as a cut. Transitions are typically placed on the cut line between two clips, but you can also add a transition to the beginning or end of a clip.
When applying transitions to video clips, we'll first need to trim the clips in the sequence. The extra footage that's trimmed from the beginning and end of a clip will be used to ensure the transition is smooth and doesn't occur when any important action is on screen. The video clips in this sequence have already been trimmed and are ready for a transition to be applied to them.
Cross Dissolve is the default video transition used in Premiere Pro. It works by fading out the first clip in a pair of clips while fading in the second clip. If applied to the beginning or end of a sequence, it will fade in or out from a black screen.
The default audio transition used in Premiere Pro is Constant Power. This transition decreases the volume of the first clip slowly at first, then more quickly at the end of the transition. For the second clip, it increases the volume quickly at first, and then more slowly towards the end. Overall, it creates a smooth and gradual audio transition.
Let’s apply the default audio and video transitions to the sequence to make the transition between video clips less jarring. Applying transitions to the titles will make their appearance on screen less abrupt as well. We’ll want to make sure the Timeline panel is the active panel before selecting all the clips and applying the transitions. Once we’re done, we’ll preview the transitions and save our work.


