Premiere Rush offers multiple ways to edit video clips. In this lesson, we'll explore many of the different methods for editing and arranging video footage in a project.
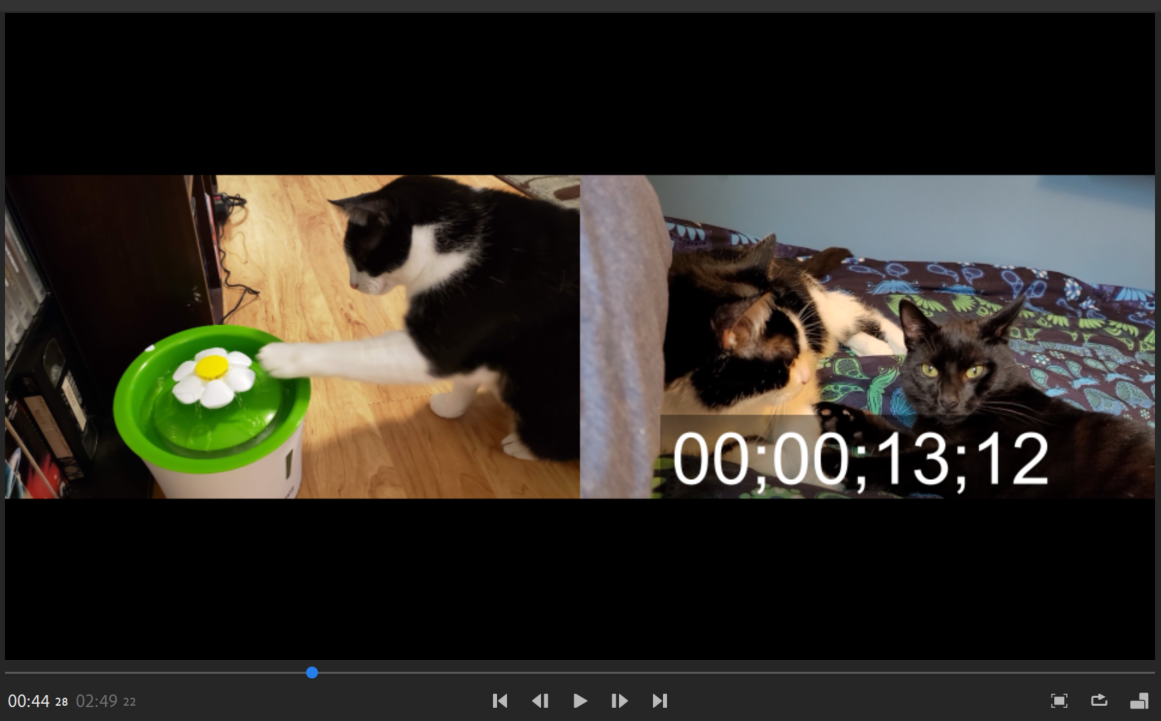
When editing video, the majority of your work will be done on the timeline, which is shown in the following image:

The timeline consists of the following pieces:
- Video and audio tracks: The video and audio tracks hold the clips that compose your project. While a project starts with one track, additional tracks can be added as needed to overlap video and audio files.
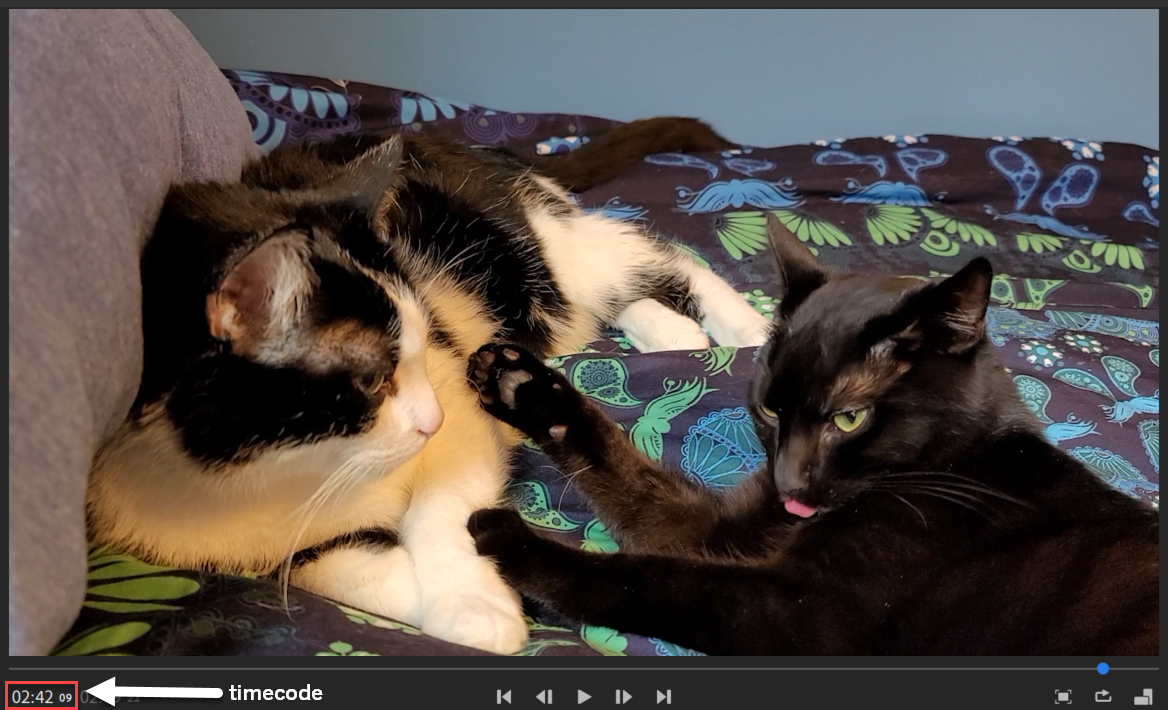
- Playhead: This indicates the current frame displayed in the preview monitor.
- Clips: These are the individual files, or pieces of files, that compose your video. Video clips will show individual frames of video on the timeline, while still images will only show one image. Audio clips on the timeline will show a small waveform of the audio file.
The timeline is where your video will come together. Clips can be added to the timeline and rearranged as needed to tell the story you want your video to tell. All of the content on the timeline — including audio clips, video clips, and still images — is collectively referred to as a sequence. Once on the timeline, clips can be edited in various ways, including trimming out unwanted content, splitting a clip in two, adjusting a clip's speed, and muting a clip's audio track. Additionally, clips can be duplicated or deleted as needed. We'll learn how to perform all these tasks in this lesson.
Before getting started with the lesson
Before starting this lesson, you'll need to complete the following steps:
- Download the exercise files for this lesson and extract them to your desktop, if you haven't already done so.
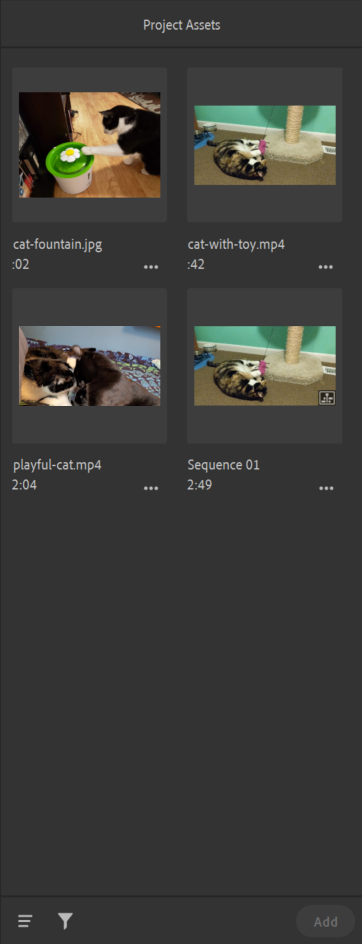
- Create a new project named Editing Clips, and import the following exercise files from the RushBasics_EditingClips folder following the steps outlined in the lesson Starting a project and importing media:
- cat-fountain.jpg
- cat-with-toy.mp4
- playful-cat.mp4
Zooming in and out on the timeline
Sometimes, we might want to get a closer look at files on the timeline, so we can be more precise in our edits. We can do this with the zoom control at the bottom of the timeline – this also doubles as a scroll bar, allowing us to scroll through our project if needed. The zoom handles will appear on the scrollbar when we hover over it, as seen in the following screenshot:

We can press and drag these handles to zoom in and view our clips in more detail, or to zoom out and see our entire sequence all at once.
Since it may be necessary to zoom in and out of the timeline many times while editing a project, we'll take the time to practice using the zoom control before moving on.


