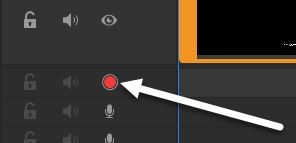
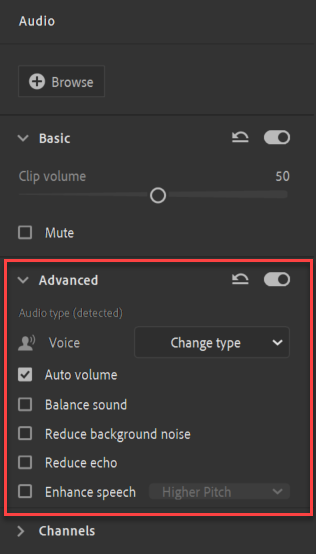
Many video projects will make use of audio files, like pre-recorded narration, sound effects, background music, and more. Premiere Rush provides some basic tools for recording and editing audio — for example, you can record narration for a video without needing to leave Premiere Rush, and refine audio clips without needing an additional program for audio editing. Audio clips are edited on the timeline, using many of the same techniques used for editing video clips. Additionally, the Audio panel provides some tools for refining and enhancing audio clips used in your project.
Before getting started with the lesson
Before starting this lesson, you'll need to complete the following steps:
- Download the exercise files for this lesson and extract them to your desktop, if you haven't already done so.
- Create a new project named Working with Audio, and import the following exercise file from the RushBasics_Audio folder following the steps outlined in the lesson Starting a project and importing media:
- catfacts_draft.mp4
Muting a clip's audio
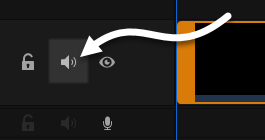
We'll start out working with audio by exploring how to mute a clip. There are many reasons why you might want to mute the audio for an individual clip, or even an entire track. For example, you may want to add narration or background music to a sequence and not use a clip's original audio, or you might want to temporarily mute one track so you can focus on the audio contained on another. Thoere are two ways we can mute audio in Premiere Rush: we can mute an individual clip in the Audio panel, or we can mute an entire track using the track controls.
If we take a look at the timeline, we'll see that catfacts_draft.mp4 already has an audio track — however, we only want to have narration and background music for this sequence, so we'll mute the entire track using the track controls.


