Photoshop allows us to create graphics that incorporate transparency, which can result in some visually interesting effects for our web graphics. Hannah has asked if we could take a photograph of a dog and make it into the shape of a heart, with a transparent area around the heart. We can do this easily in Photoshop, by making use of masks.
We'll need to create a new document to house our image.
NOTE: If you would like a walk-through of the steps below, watch this videoabout Creating Graphics with Transparency in Photoshop.
Step1. To create a new image, from the Menu bar,
Click File, Click New...
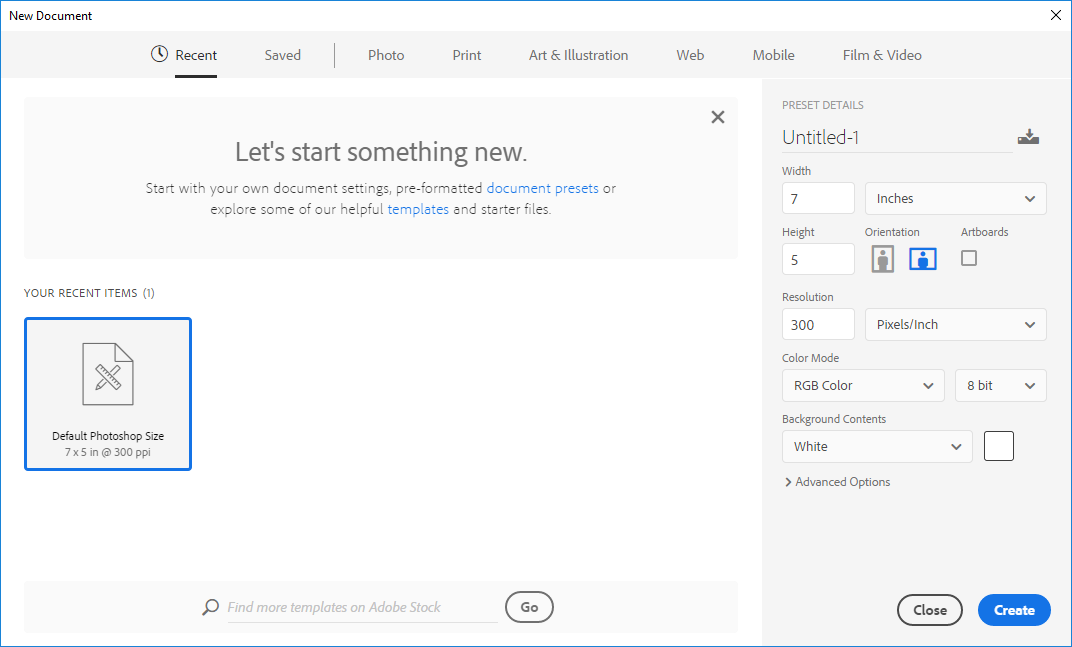
Step2. To change the type of document we're creating, in the bar across the top of the New Document window,
Click Web
Step3. To change the size of our artboard, in the Width field on the right side of the New Document window,
Press & Drag the current value, type: 300 Tab key 300
Step5. To indicate that we want a transparent background color, in the Background Contents section of the New Document window,
Click , Click Transparent
Step6. To ensure we're working in the RGB color mode, if necessary, in the Color Mode drop-down,
Click , Click RGB
Step7. To finish creating our new document,
Click
Using the Place Command
To add images to our Photoshop document, we'll be using Photoshop's Place command to import the images. In Photoshop CC, we're given two options for placing images: Place Embedded and Place Linked. Each of these options functions differently:
- Place Embedded allows us to place the entire document into our Photoshop document, and it is treated as a Smart Object. It functions like the Place command did in previous versions of Photoshop.
- Place Linked lets us place a link to an existing file into our Photoshop document, and makes it easier for us to update an image that is included across a range of documents. Place Linked behaves similarly to the how the Place command works in InDesign.
For today, we'll be using Place Embedded, as we won't be modifying the images outside of this document.
Step1. To import the first image, in the Menu bar,
Click File, Click Place Embedded...
Step2. To open the file we want,
Double-Click white_dog.jpg
Step3. To position our cursor where we need it to be,
Point to the upper right corner of the image
Step4. To resize the image,
Press & Drag up and to the right until the dog appears larger
NOTE: In Photoshop CC 2018 and older, to keep the image proportional while resizing it, Press & Hold the Shift key, then Press & Drag up and to the right until the image is larger.
Step5. To move the image so the dog is centered on the artboard,
Point to the image, Press & Drag the image until the dog is showing in the center of the artboard
Step6. Repeat steps 4 and 5, if necessary, to make the dog large enough to take up most of the artboard and to position it in the center.
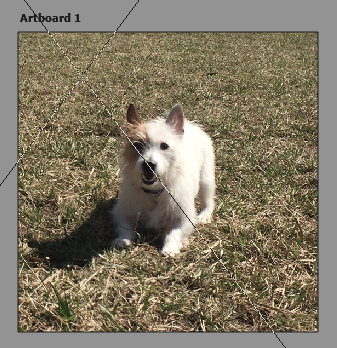
Step7. To finish placing our image, on the keyboard, press:
Enter
Step8. Repeat steps 1 and 2 to place the file heart.png.
Step9. To finish placing the image, on the keyboard, press:
Enter
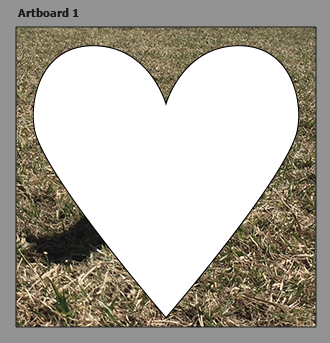
Turning Artwork Into a Layer Mask
We'll be using the Layers panel to turn the heart shape into a frame for our image - this process is also called creating a layer mask. Layer masks are transparency adjustments that we apply to layers, which essentially hide pixels from view without deleting them. This means we can return to redefine transparent areas later, because we haven't deleted any pixels.
First, we'll need to prepare the heart graphic for the layer masking process. We'll need to rasterize the heart layer to turn our placed image into a bitmap graphic, instead of treating it as a Smart Object.
Step1. To prepare the heart layer for masking, in the Layers panel,
Right-Click the blank area next to the layer name, Click Rasterize Layer
Step2. Ensure the heart layer is the active layer in the Layers panel.
Step3. To begin making the mask, in the Menu bar,
Click Layer, Point Layer Mask, Click From Transparency
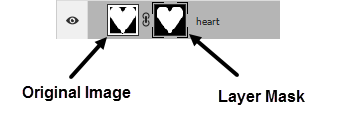
Step4. To apply the layer mask to the correct layer, in the Layers panel,
Press & Drag the layer mask to the white_dog layer
NOTE: Make sure that your cursor is pointing at the layer mask before you press and drag the mask to the white_dog layer; otherwise, the entire heart layer will be moved below the white_dog layer.

Step5. To hide the heart shape, in the Layers panel,
Click
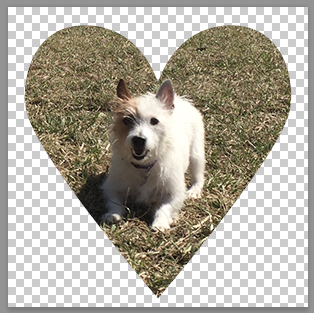
Step6. Save the file as dog.psd.

