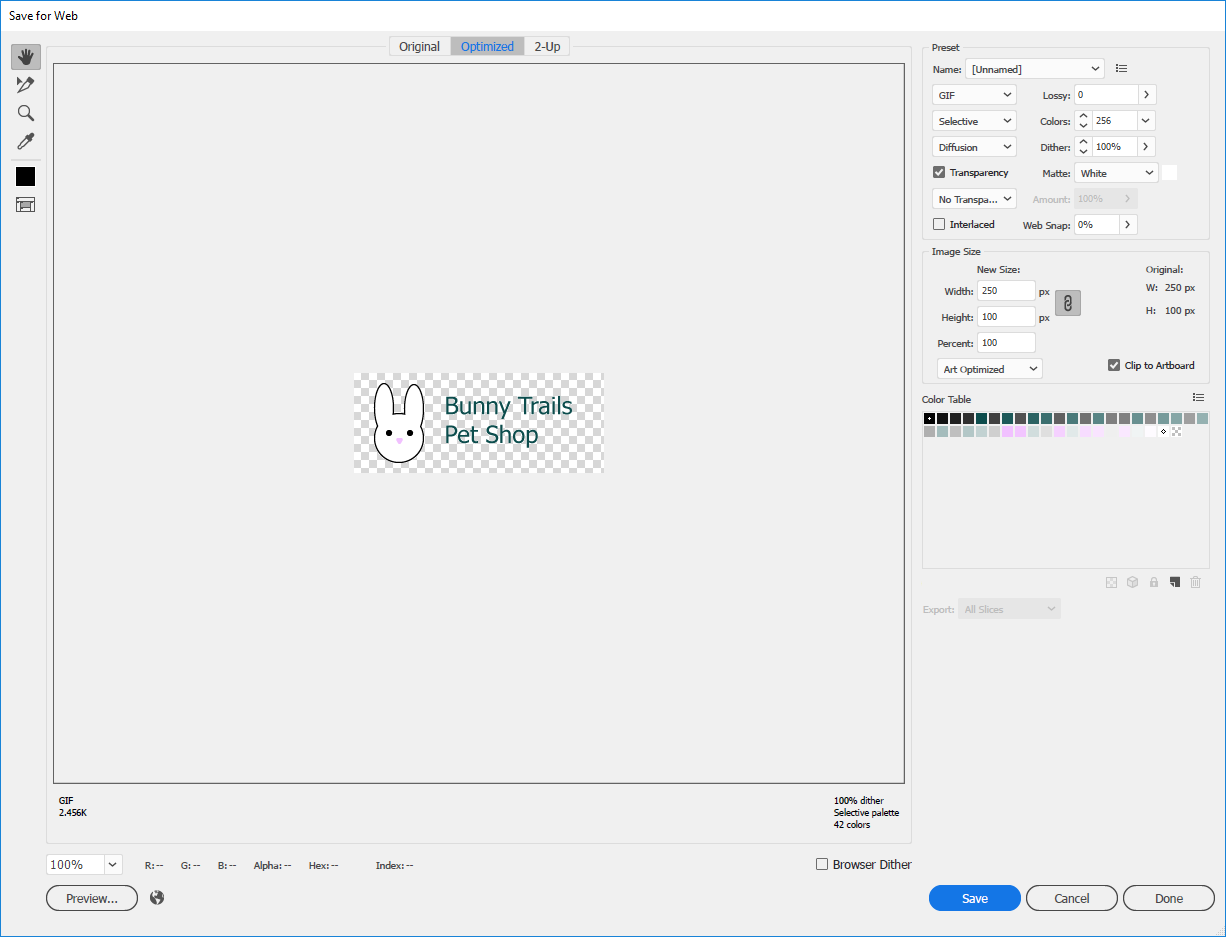
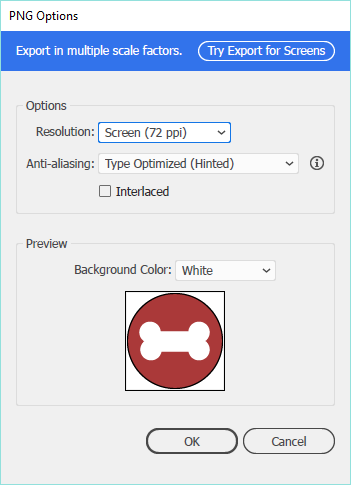
We will use a couple of different export options in Illustrator to optimize the images for our site. Using Illustrator's Export menu options will ensure that our graphics are web ready. To start, we'll need to select the artboard with the image we want to export. We'll be working with the logo first.
Step1. Activate the Selection tool.
Step2. To select the first artboard to export, in the Artboard panel,
Double-Click the Logo artboard
Step3. To begin the optimization process, in the Menu bar,
Click File, Point Export, Click Save for Web (Legacy)...

NOTE: An additional dialog box indicating that we should try out "Export For Screens" might pop up when the Save For Web dialog box opens. To close this, in the lower left corner of the dialog box, Click Close.
Step4. To see two image previews at the same time, at the top of the Save for Web window,
Click 2-Up
Step5. To switch to a JPEG preview, in the Save For Web window,
Click anywhere in the left preview image, Click , Click JPEG High
Step6. Repeat step 5 for the preview on the right, selecting PNG-24 from the Preset dropdown.
Step7. To zoom in to see the logo better, in the Tools panel on the left side of the window,
Click , Click the image until it is visible in more detail
Step8. To start the process of saving the PNG image,
Click the right preview image
Step9. To save the logo image as a PNG,
Click Save
Step10. Navigate to the epclass folder.
Step11. To open the correct subfolder,
Double-Click the Bunny Trails Site folder
Step12. To open the images subfolder,
Double-Click the hannah_website folder, Double-Click the images folder
Step13. To name our file, in the File name field,
Press & Drag to highlight text, type: logo.png Enter
NOTE: Ensure the filename is typed exactly as seen in the step - this will ensure our images will display correctly when we preview them in the finished website.
Exporting Our Icons
Next, we will export our icons using Illustrator's Export As option. As the icons are relatively simple and are only composed of a few colors, we'll export these as PNG files as well.
Step1. To start the process of exporting the icons, in the Menu bar,
Click File, Point Export, Click Export As...
Step2. If necessary, navigate to the images folder inside the hannah_website folder.
Step3. To name our files, in the File name field, type:
icon
Step4. To choose the PNG file type, in the Save As type field, if necessary,
Click , Click PNG
Step5. To indicate that we want Illustrator to export each individual artboard as its own file,
Click the checkbox next to Use Artboards
Step6. To indicate we want to export a range of artboards, in the bottom section of the Export As dialog box,
Click the Range radio button
Step7. To specify which artboards we want to export, in the Range field, type:
3-4
Step8. To continue the export process,
Click

Step9. To indicate that we want a transparent background for our icons, if necessary,
Click , Click Transparent
Step10. To complete the export process,
Click
Step11. Save the document and close Illustrator.

