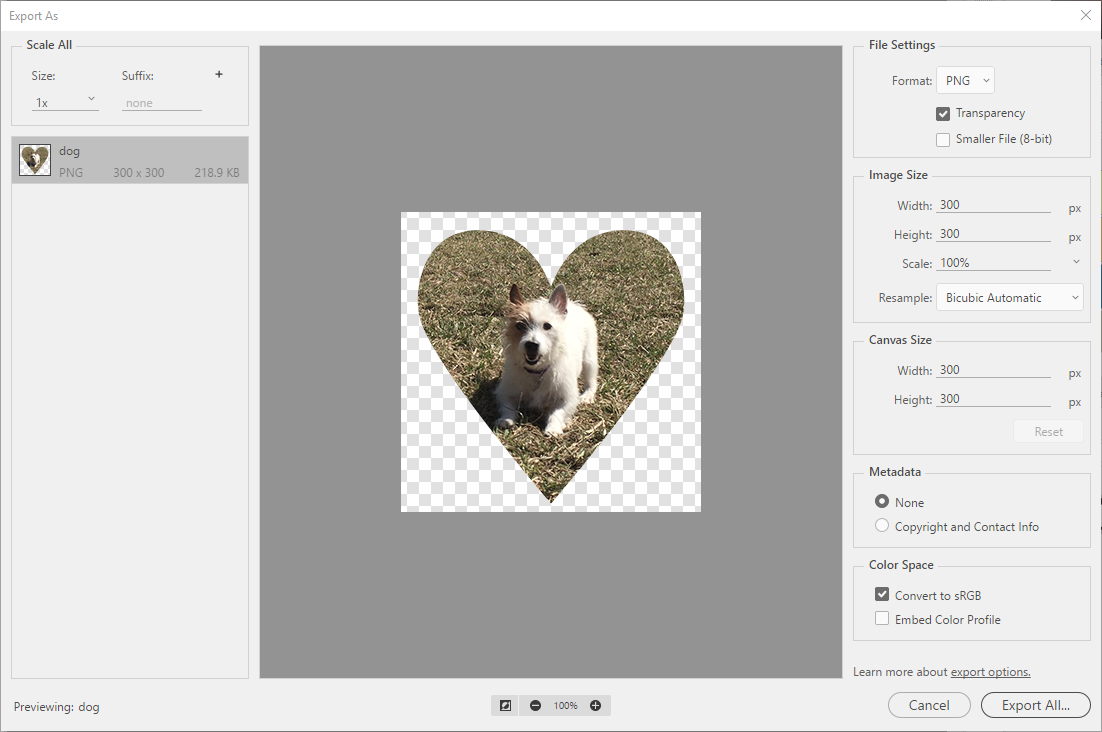
Photoshop gives us a number of different methods for exporting our images. The Export option will help us decide on the best file format for our image and see how quickly our image will load on various connection speeds. We also have access to the more familiar Save for Web option, which functions the same way as Illustrator's Save for Web (Legacy) option.
Since we've finished creating the graphics we needed to make in Photoshop, we're now ready to optimize them and save them in a web-ready format. We'll use the Export option today to ready our images for the web.
Let's work on exporting our graphics now. We'll start with the shaped image.
Step1. Switch to the Photoshop window, if necessary.
Step2. Switch to the dog.psd tab, if necessary.
Step3. To begin exporting the shaped image, in the Menu bar,
Click File, Point to Export, Click Export As...

Step1. To complete exporting our image,
Click
Step2. To export our images to the right folder, in the Export to Folder dialog box,
Double-Click the hannah_website folder, Double-Click the images folder
Step3. Ensure that the filename in the File Name field is dog.png - if it is not, rename file to dog.png.
Step4. To finish saving the file,
Click Save
Exporting Images Using Save for Web
We've previously used the Save for Web option in Illustrator, and it works similarly in Photoshop. Let's now use it in Photoshop to export the rest of our images.
Step1. Switch to the banner.psd document tab.
Step2. To open the Save for Web dialog box, in the Menu bar,
Click File, Point Export, Click Save for Web (Legacy)
Step3. Export banner.psd as banner.jpg, and save in the images folder inside the hannah_website folder.
Step4. Close Photoshop.

