Our document is complete. While we won't print the document at this time, let's take a moment to explore the printing options and the print preview feature.
The following files are available for download:
Exploring the print options
When printing in Microsoft Word, there are several ways to customize what is printed.
Depending on your settingss, you may see different options.
- To see your print options,
In Microsoft Word for Windows, on the Ribbon, Click File, Click Print
In Microsoft Word for macOS, on the menu bar, Click File, Click Print
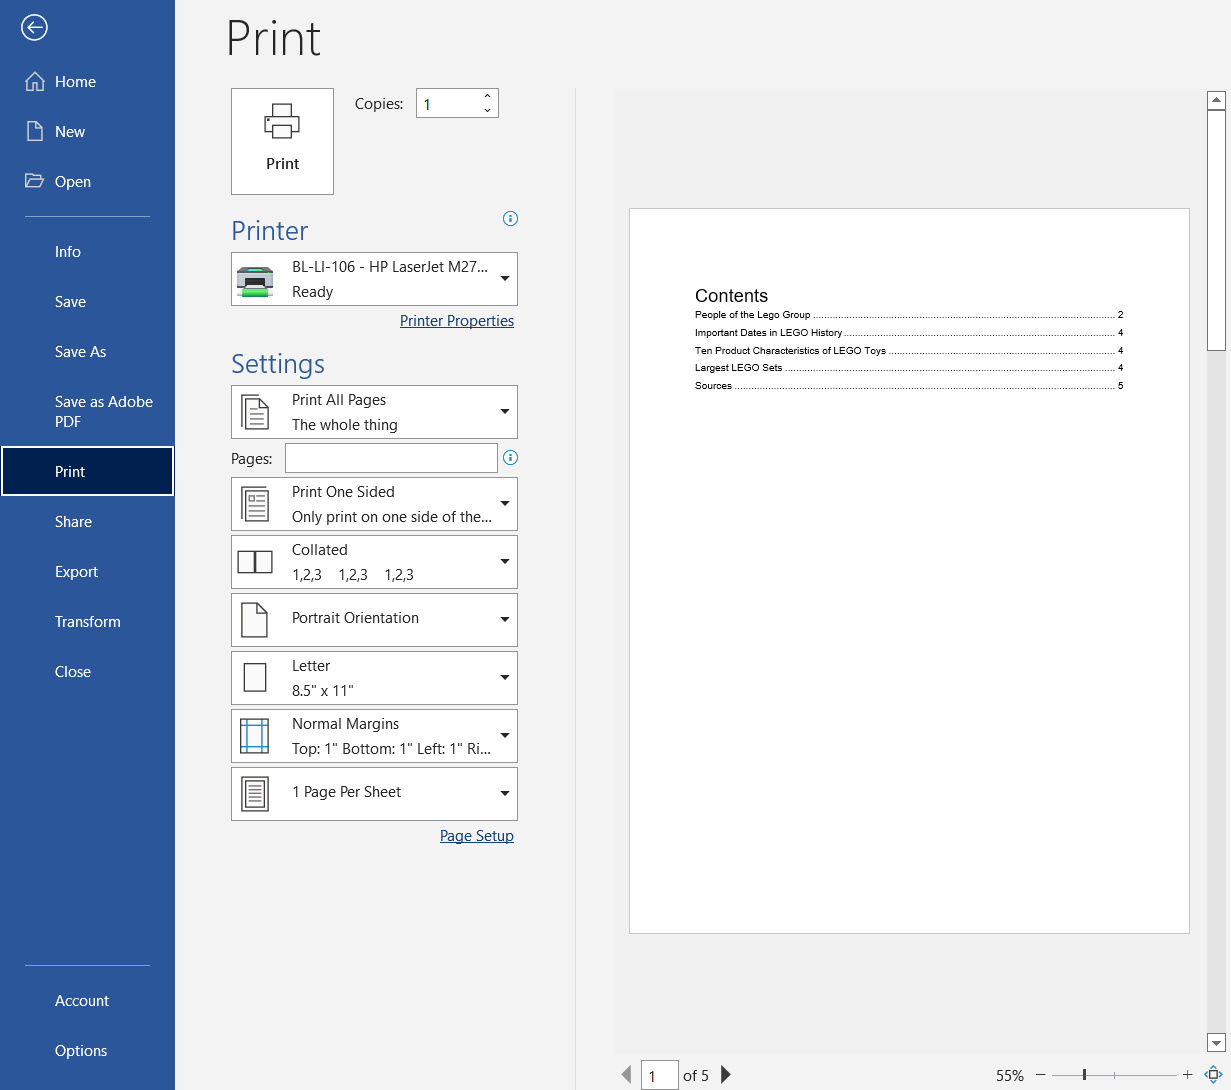
In Microsoft Word for Windows, we see the Print options:

On the right side, we see a preview of the first page of the document. We can use the naviagtion buttons at the bottom to move through the pages.
To the left of the preview, we have options to change how many copies are printed. We can also choose which printer we want to use. Under the Settings heading, we can choose to print the entire document or specific pages, one sided or two sided, collated or not collated, portrait or landscape orientation, paper size, margin size, and how many pages to print per sheet.
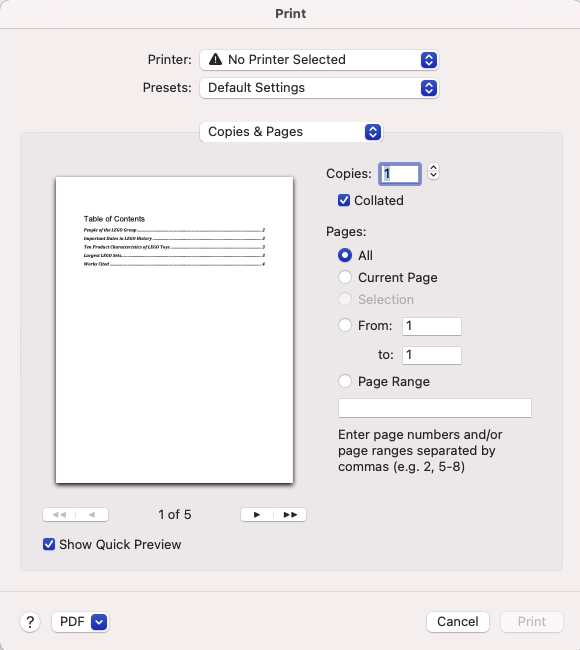
In Microsoft Word for macOS, the Print dialog box appears:

In this dialog box, we can choose a printer and preset settings. We can change the number of copies and which pages to print. On the left, there is a small preview of the current page. The arrows underneath the preview can be used to move through the pages.
We won't print today. Let's return to the document.
- To return to the document,
In Microsoft Word for Windows, Click

In Microsoft Word for macOS, Click
We are returned to the document and can continue editing if necessary.
If you have been working through the course in sequential order, you have reached the end of Microsoft Word: The Basics.

