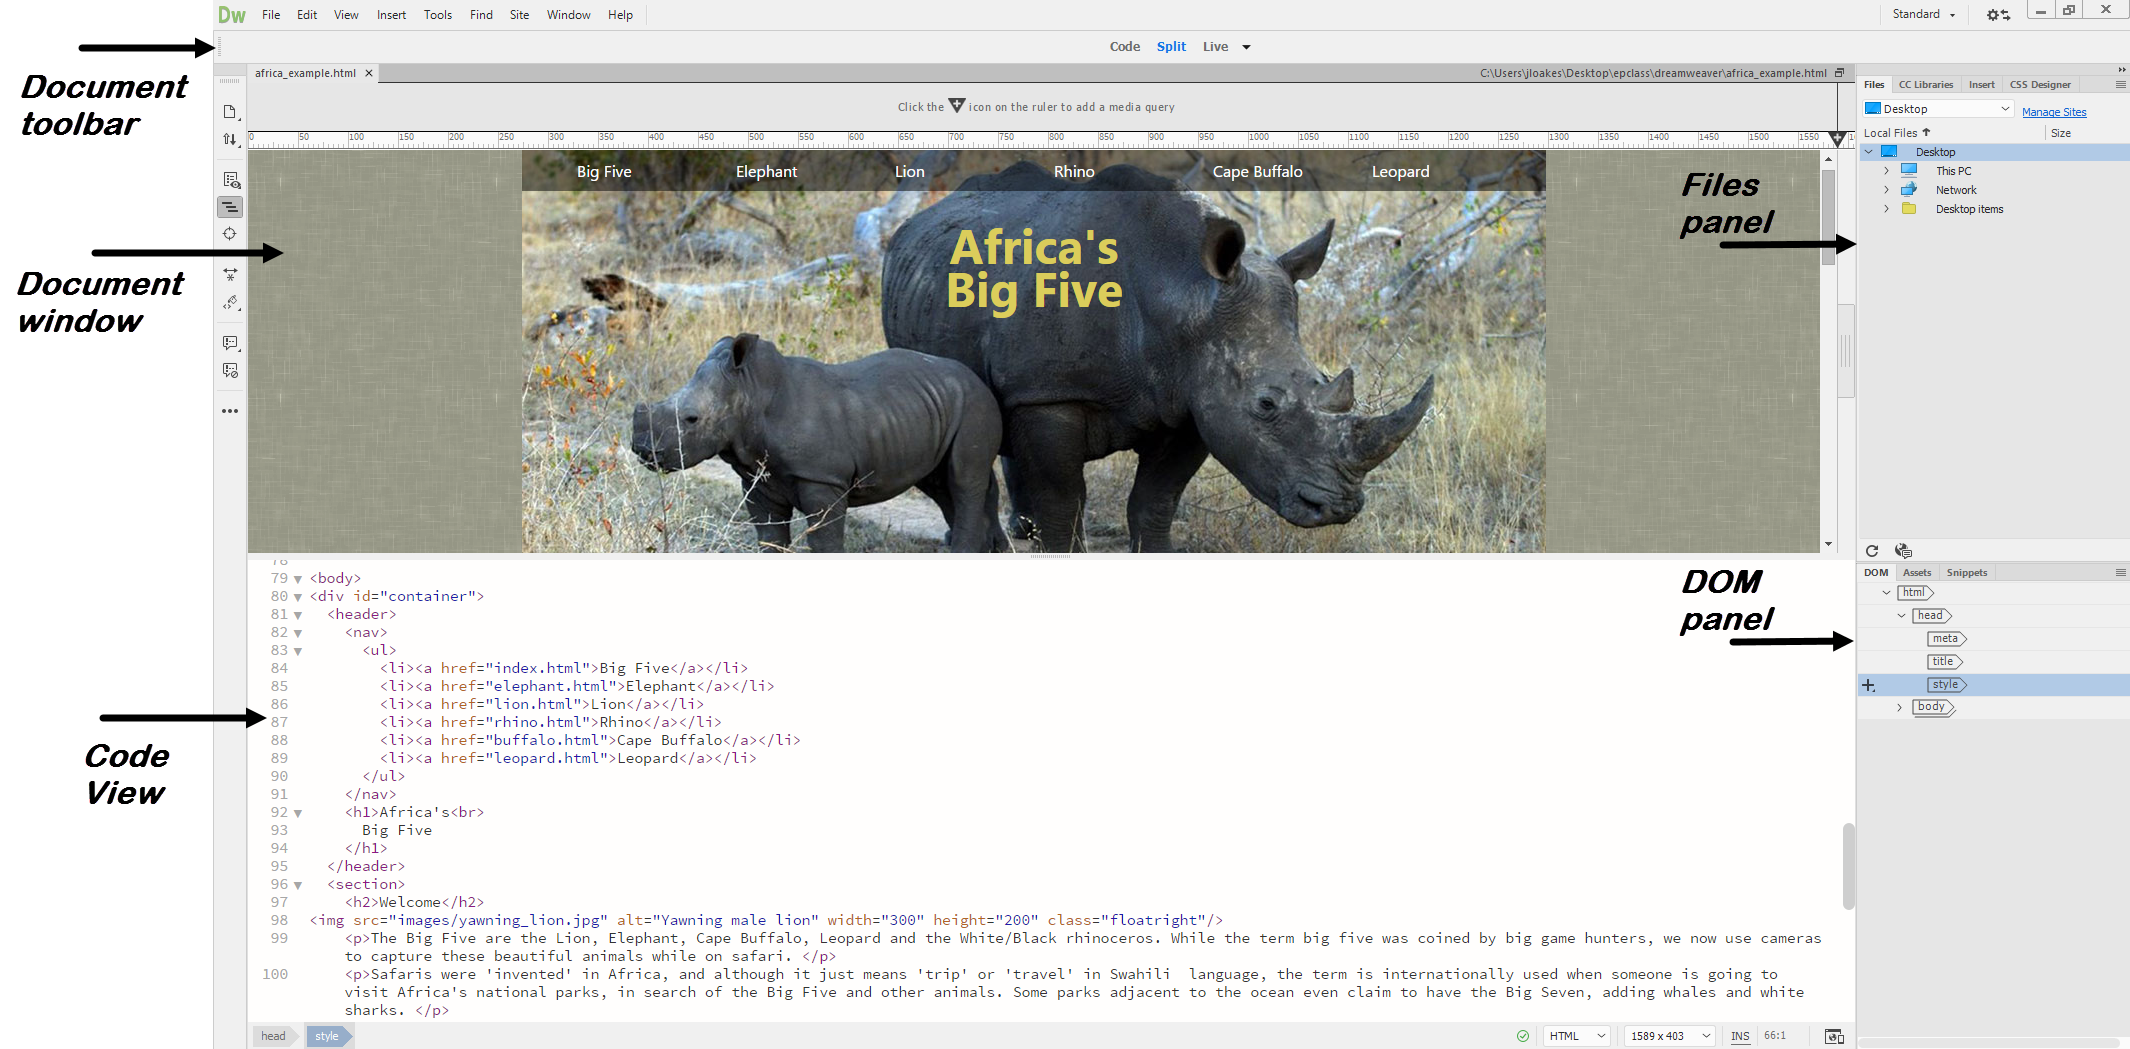
Dreamweaver is a web authoring application that offers the capabilities of both a text editor and a WYSIWYG (What You See Is What You Get) editor.
Opening an Existing Document
Dreamweaver can be used to view and edit HTML documents that have already been created, so let's launch Dreamweaver and open an existing document to explore the Dreamweaver interface.
NOTE for MacOS Users: These materials are written for a PC environment. Changes for Macintosh users are noted when necessary. In general, Enter is equivalent to Return on the Macintosh, and Control key is equivalent to Command key.
Step1. Launch Dreamweaver CC.
Step2. To begin opening an existing file, on the menu bar,
Click File, Click Open
Setting the Location for Opening Your File
When the dialog box opens, it lists a default location from where the file will be opened. All of our exercise files are contained in the epclass folder, located on the desktop. We'll want to change our location to this folder.
We will start at the desktop, since our exercise file folder, epclass, is located there.
Step1. To move to the desktop,
Click
Step2. To open the epclass folder,
Double-Click![]()
Step3. To open the correct folder,
Double-Click the dreamweaver folder
Step4. To open the correct page,
Double-Click africa_example.html
Changing Workspaces
The layout of the window and which panels you see is controlled by the workspace. As is mentioned in the Adobe Creative Cloud: Interface Basics video in Dreamweaver CC, there are a few predefined workspaces.
To ensure we are seeing the same panels, let's switch to the Standard workspace.
Step1. To switch to the Standard workspace, on the upper-right, if necessary,
Click , Click Standard
NOTE: These materials were captured with the Dreamweaver interface at the lightest setting. The color of your Dreamweaver interface may be darker than seen here.
Exploring the Views
In Dreamweaver CC, documents can be displayed in different views, which include:
- Code view: Displays the source code for the page
- Split view: Splits the window and displays both the source code and either the Live or Design view
- Live view: Allows us to edit content and view a realistic rendering of a page as it will appear in a browser, without leaving Dreamweaver
- Design view: Allows us to edit content and see a visual representation of the page. Design view does not always correctly display CSS styles
Let's see how the page looks in the different views.
Step1. To view only the code, on the Document toolbar,
Click
Step2. To display the Code and Live view, on the Document toolbar,
Click
Step3. To display the Design view in Split view, in Document toolbar,
Click , Click Design
Viewing Pages in a Browser
While we can use Live view to get a pretty good idea of how pages will appear in a browser, we still want to look at our pages in various browsers. Dreamweaver allows us to quickly open documents in browsers.
Step1. To view the page in a browser, press:
F12 key
NOTE for MacOS Users: To preview the page, press: Option+FN key+F12 key. Learn more about keyboard shortcuts on MacOS.
NOTE: You may see a dialog box asking you to define a primary browser. Learn more about adding browsers to Dreamweaver.
Step2. Close the browser.
Step3. To close the current document, on the menu bar,
Click File, Click Close


