The files finished for the site, and they are ready to be published to the web. Remember, at the moment, all of the files you have worked with are saved locally on your hard drive.
The files and directories that need to be published to the web include:
- index.html
- elephant.html
- the images folder and its contents
For files to be available on the World Wide Web, they need to be published on a Web server. A Web server is a software system that receives requests from clients (such as Internet Explorer or Mozilla Firefox) and sends the requested files back to the clients.
Cloaking Files and Folders
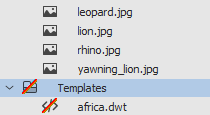
Often the root folder will contain files and folders that do not need to be published. Cloaking excludes specific folder and files from all site operations. This means anything that shouldn't be published can be cloaked. In this case, the text folder, the Templates folder, and the africa_example.html file do not need to be published.
Step1. To switch to the Files panel,
Click
NOTE: The files for the site will only be displayed in the Files panel if you defined a site. If you did not define a site do the steps in the Preparing and Managing Website lesson under the "Defining a Site Locally" heading before continuing.
Step2. To see a contextual menu,
Right-Click the Templates folder
Step3. To cloak the folder,
Point Cloaking, Click Cloak

Step4. To close the dialog box,
Click

5. Repeat steps 2 and 3 for the following folders and files:
- the text folder
- africa_example.html
- structure.html
The Web Publishing Process
The steps to publish a site are:
- Connect to the web server in Dreamweaver
- Transfer the necessary files from the local computer to the web server in Dreamweaver
Transferring Files
The process used for transferring files from one computer to another over the Internet is called File Transfer Protocol (FTP). One disadvantage of FTP is that it is not a secure method of transaction. It is possible for hackers to intercept sensitive information (such as usernames and passwords) as well as to find out which files are being transferred and where those files are being stored.
To combat this security concern, some web server administrators now require users to transfer files to and from their servers using Secure FTP (SFTP). SFTP works much like regular FTP, except all of the information, commands, usernames, and passwords are encrypted. Dreamweaver includes built-in SFTP support, making this process quite easy.
Defining a Remote Site
As mentioned before, Dreamweaver refers to the folder on the server as the remote site. It is possible to connect to the server and publish our files within Dreamweaver. First, a remote site needs to be defined.
NOTE: For a video demonstration of defining a remote site see the Getting Started with Dreamweaver CC - Part 1 - Site Setup, FTP, Connecting to Server video.
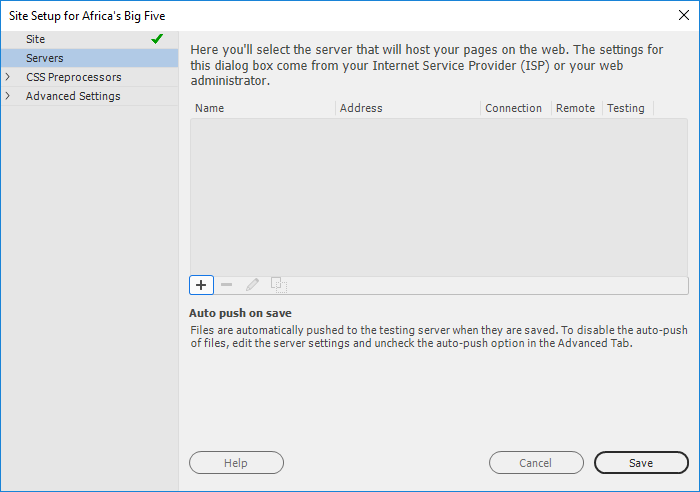
Step1. To define a server in the Files panel,
Click

Step2. To add a server, near the center of the dialog box,
Click
Setting the Remote Information
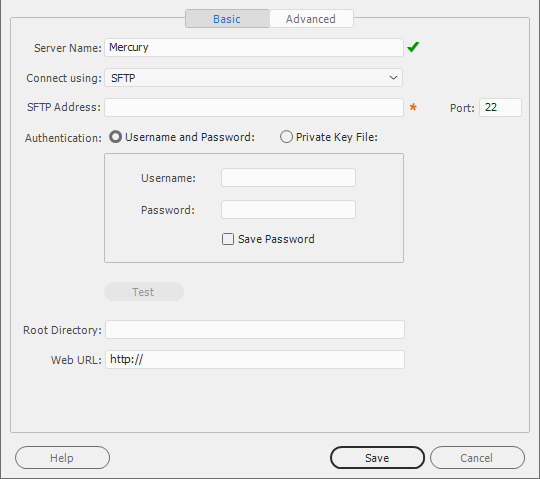
To connect to any web server, you will need to know the host name of the server and have an account on it. You need all of the following information before continuing:
- Server Name:
- FTP or SFTP Address:
- Username:
- Password:
Once you have gathered your account information, you are ready to enter the account details.
NOTE: If you need information about how to publishing web pages at IU, please see the Knowledge Base Document: At IU, how can I publish on the web?
Step1. To specify a server name,
Press & Drag the default value, type: the name of the server
Step2. To select an SFTP type of connection, on the Connect using drop-down list,
Click , Click SFTP

Step3. To specify the remote host, in the SFTP Address field, type:
the address of your server
Step4. Type the username in the Username field.
Step5. Type the password in the Password field.
Step6. To specify the root folder, in the Root Directory field, type:
www/
Step7. To specify the address to access the published site, in the Web URL field, type:
the address of your published site
Step8. To test the connection to the server,
Click
Step9. If necessary, in the Windows Security Alert dialog box,
Click
NOTE: Depending on the permissions you have on the computer we are using, you may have an allow access button instead of cancel.
Step10. To close the success message,
Click
Step11. To save the settings for this server,
Click
Step12. To accept all of the changes to the site definition,
Click
Step13. To accept the cache being recreated,
Click
Publishing Files to the Remote Server
There are two basic terms associated with SFTP: downloading (sometimes called get) and uploading (sometimes called put). Downloading transfers files from a remote computer and stores them on a local computer. Uploading transfers files from a local computer to a remote computer.
Let's connect to the remote host and put, or in other words, publish, the files on our site.
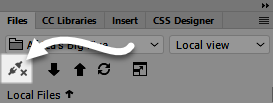
Step1. To connect to the remote host, on the Files panel,
Click
Step2. To select the site,
Click Site - Africa's Big Five...
Step3. To publish the site, on the Files panel,
Click
Step4. To confirm uploading the entire site,
Click
Step5. Launch a browser.
Step6. In the address field, type:
the address of your site

