Now that we have our structure, we can start to add content to the page. Remember, we are going to turn the page into a template, so some of the content we add will be placeholder content. We will replace it when we create our pages based on the template.
We don't really need to see the code anymore, as we aren't concentrating on the structure of our page at this point.
Step1. Open structure.html, if necessary.
Step2. To switch to Design view only,
Click![]()
Adding Text to a List
We need to add text to the unordered list. Eventually, the text will become the navigational links on our site.
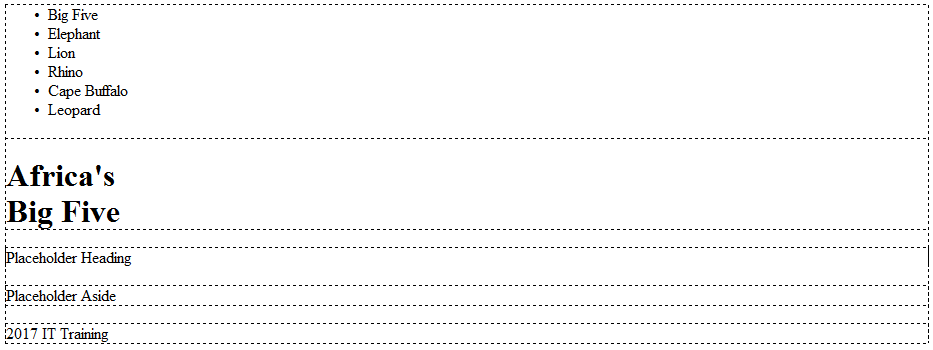
Step1. Make sure the cursor is positioned after the bullet, which is located at the top left in Design view.
Step2. To add text to the list, type:
Big Five Enter
Step3. Enter the remaining list items:
- Elephant
- Lion
- Rhino
- Cape Buffalo
- Leopard
Working with Headings
We want to replace the placeholder text that is currently inside the h1 on our page.
Step1. To select placeholder text,
Press & Drag "Content for New header Tag Goes Here"
Step2. To enter the text for the first part of our heading, type:
Africa's
Step3. To create a line break, press:
Shift key+Enter
Step4. To finish the text of the heading, type:
Big Five
Working with Placeholder Text
Dreamweaver included placeholder content as we were adding elements using the Insert panel, but we do not need all of it. We will edit some of the placeholders, and delete others that we don't need.
We'll start by editing placeholders.
Step1. To select the placeholder content in the section,
Press & Drag "This is the content for Layout P Tag"
NOTE: Make sure to select the content that is inside the section element, not the footer. Remember, the selected tag will be highlighted in blue in the DOM Panel.
Step2. To replace the current text, type:
Placeholder Heading
Step3. To select the placeholder content in the section,
Press & Drag "Content for New aside Tag Goes Here"
Step4. To replace the current text, type:
Placeholder Aside
Step5. To select the placeholder content in the footer,
Press & Drag "This is the content for Layout P Tag"
Step6. To replace the placeholder text, type:
current year IT Training
Step7. To select the placeholder content of the nav,
Press & Drag "Content for New nav Tag Goes Here"
Step8. To delete the selected text, press:
Delete key
Step9. To select the placeholder content of the section,
Press & Drag "Content for New section Tag Goes Here"
Step10. To delete the selected text, press:
Delete key
Step11. To select the placeholder content of the footer,
Press & Drag "Content for New footer Tag Goes Here"
Step12. To delete the selected text, press:
Delete key
Step13. To select the placeholder content of the div,
Press & Drag "Content for New div Tag Goes Here"
Step14. To delete the selected text, press:
Delete key

Working with Properties Panel
We want to turn the bulleted list items into links to allow users to navigate among pages in a website. We will use the Properties panel to create links to our pages. The Properties panel, sometimes referred to as the Properties Inspector, is context-sensitive and provides information about the item currently selected in the document window. The Properties panel can be used to modify the attributes of elements on the page.
Let's open the Properties panel.
Step1. To open the Properties panel, on the menu bar,
Click Window, Click Properties

Step2. To dock the Properties panel,
Point at the top edge of the pane,
Press & Drag to the bottom of the document window

Inserting Hyperlinks
Now we'll create links that help users navigate among pages in a website. As we discussed in HTML5 & CSS: The Basics, links between pages in a single site should be created as relative links because the pages are contained within the local root folder, and will therefore always be in the same location relative to one another.
Creating relative links will allow us to create a connection between the pages in our site. These links will remain the same as long as we keep both pages in the same folder. Even though we haven't created the pages yet, we know what we want to name them. When we create the pages later, we'll need make sure the file names match the links exactly.
First, we need to select the text we want to turn into a link.
Step1. To select the text, in the unordered list,
Press & Drag Big Five
Step2. To create a link, on the Properties panel, in the Link field, type:
index.html Enter
Step3. Create the rest of the hyperlinks using the following table:
| Text | Link |
|---|---|
| Elephant | elephant.html |
| Lion | lion.html |
| Rhino | rhino.html |
| Cape Buffalo | buffalo.html |
| Leopard | leopard.html |
Step4. Save the document.
Creating Absolute Links
Absolute links are typically used to link to external pages or sites. As we discussed in HTML5 & CSS: The Basics, absolute links use the complete URL to allow the user to move from a local site to an external site on the web.
We'll create a link to the IT Training website.
Step1. Locate and select the words "IT Training" in the footer.
Step2. To create the link, in the Link field on the Properties panel, type:
http://ittraining.iu.edu/ Enter
Step3. Save the document.
Using the Snippets Panel
We want to have some placeholder text that is a bit more substantial than the placeholder text Dreamweaver added when we were inserting elements. This will help when working on the design of the page. Rather than typing in text, we will use a built-in snippet to add the text. Snippets are pieces of code that are saved in Dreamweaver so they can be quickly added. There are many snippets built into Dreamweaver, and we can also add additional snippets.
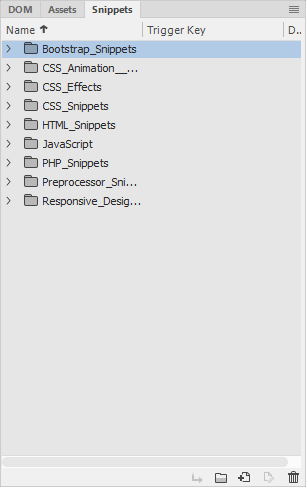
Snippets are accessed using the Snippets panel. We'll need to open this panel to view the snippets.
Step1. To show the Snippets panel, to the right of the DOM panel,
Click![]()

2. To expand the HTML snippets, if necessary,
Click![]() in front of HTML_Snippets
in front of HTML_Snippets
Step3. To add a paragraph, in Design view,
Click after "Placeholder Heading", press: Enter
Step4. To add the Loreum Ipsum snippet,
Double-Click![]()
Step5. Save the document.
Importing Content from an External Document
It's not uncommon for the text that goes on web pages to have been written previously for other purposes. If we have content in another format, Dreamweaver can help to add that content. We already have the content for the aside in a text file. We will open the text file so we can copy and paste the text content. There is a method for dragging and dropping files, however this method won't work in all cases.
Step1. To switch to the Files panel,
Click![]()
NOTE: The files for the site will only be displayed in the Files panel if you defined a site. If you did not define a site do the steps in the Preparing and Managing Website lesson under the "Defining a Site Locally" heading before continuing.
Step2. To expand the text folder,
Click![]() next to the text folder
next to the text folder
Step3. To open the file,
Double-Click aside.txt
Step4. To select and copy the text, press:
Control key+a, Control key+c
Step5. To close aside.txt, press:
Control key+w
Step6. To position the cursor,
Press & Drag "Placeholder Aside"
Step7. To paste the text, press:
Control key+v
Step8. Save the document.
Formatting Text with Properties Panel
We would like a heading in our section element. Since we just moved away from the Insert panel, let's use the Properties panel to accomplish this task.
Step1. To position the cursor,
Click on the text "Placeholder Heading"
Step2. To change the text to a heading 2, in the Properties panel Format drop-down,
Click![]() , Click Heading 2
, Click Heading 2
Step3. To position the cursor,
Click inside the text "Top 5 African Destinations"
Step4. To change it to a h3, in the Properties panel Format drop-down,
Click![]() , Click Heading 3
, Click Heading 3
Step5. To select the text,
Press & Drag from "Namibia" to "Congo"
NOTE: It may be easier to press & drag upward from "Congo" to "Namibia."
Step6. To change the text to a bulleted list, on the Properties panel,
Click![]()
Step7. To deselect the text,
Click after the text "Democratic Republic of the Congo"
Step8. Save the document.
Inserting Images
One of the advantages of the web is its ability to display images along with text on a page. Graphics can help to draw the viewer's eye to a page and add interest to it. Dreamweaver easily displays images in the primary web image formats: JPEG, GIF, and PNG. JPEG images work best with photographs and other high detail images, and GIF images are recommended for line art or images with few colors and large areas of solid color. PNG images are a newer format that work well for line art or images with large areas of a solid color, and often result in smaller file sizes than GIF.
Images that are going to be used on the web should be planned much differently than print-media images. For more information about making graphics for the web, consider taking the workshop Creating Graphics for the Web. The graphics we will use today have already been created and optimized for the web.
Let's insert a placeholder image into the section element of our web page now.
Step1. To view the Insert panel,
Click![]()
Step2. To view the DOM panel,
Click![]()
Step3. To expand the section element, if necessary,
Click
Step4. To add the image into the section element, in the DOM panel,
Press & Drag![]() between the
between the ![]() and
and ![]()


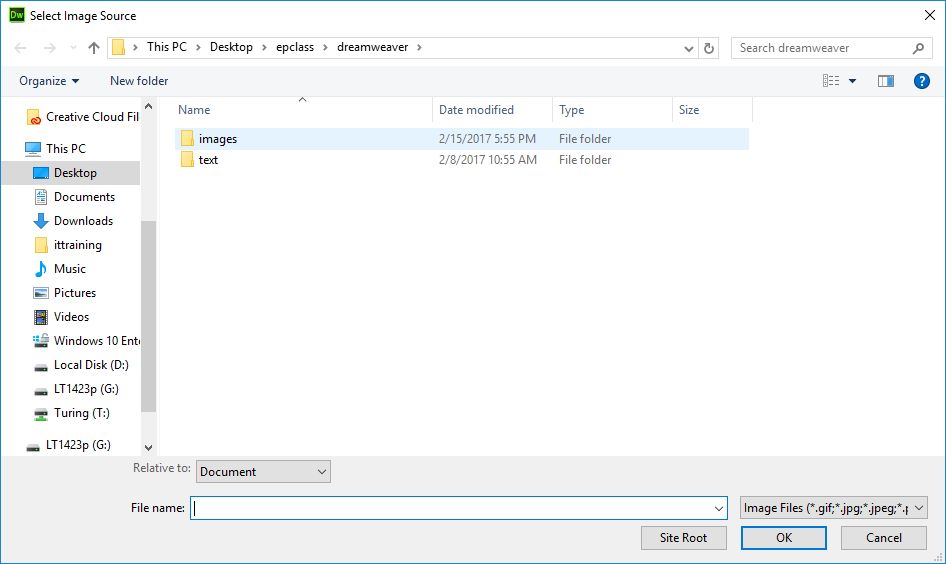
Step5. To navigate to the images folder,
Double-Click the images folder
Step6. To select the image,
Double-Click img_placeholder.gif
Step7. Save the changes.
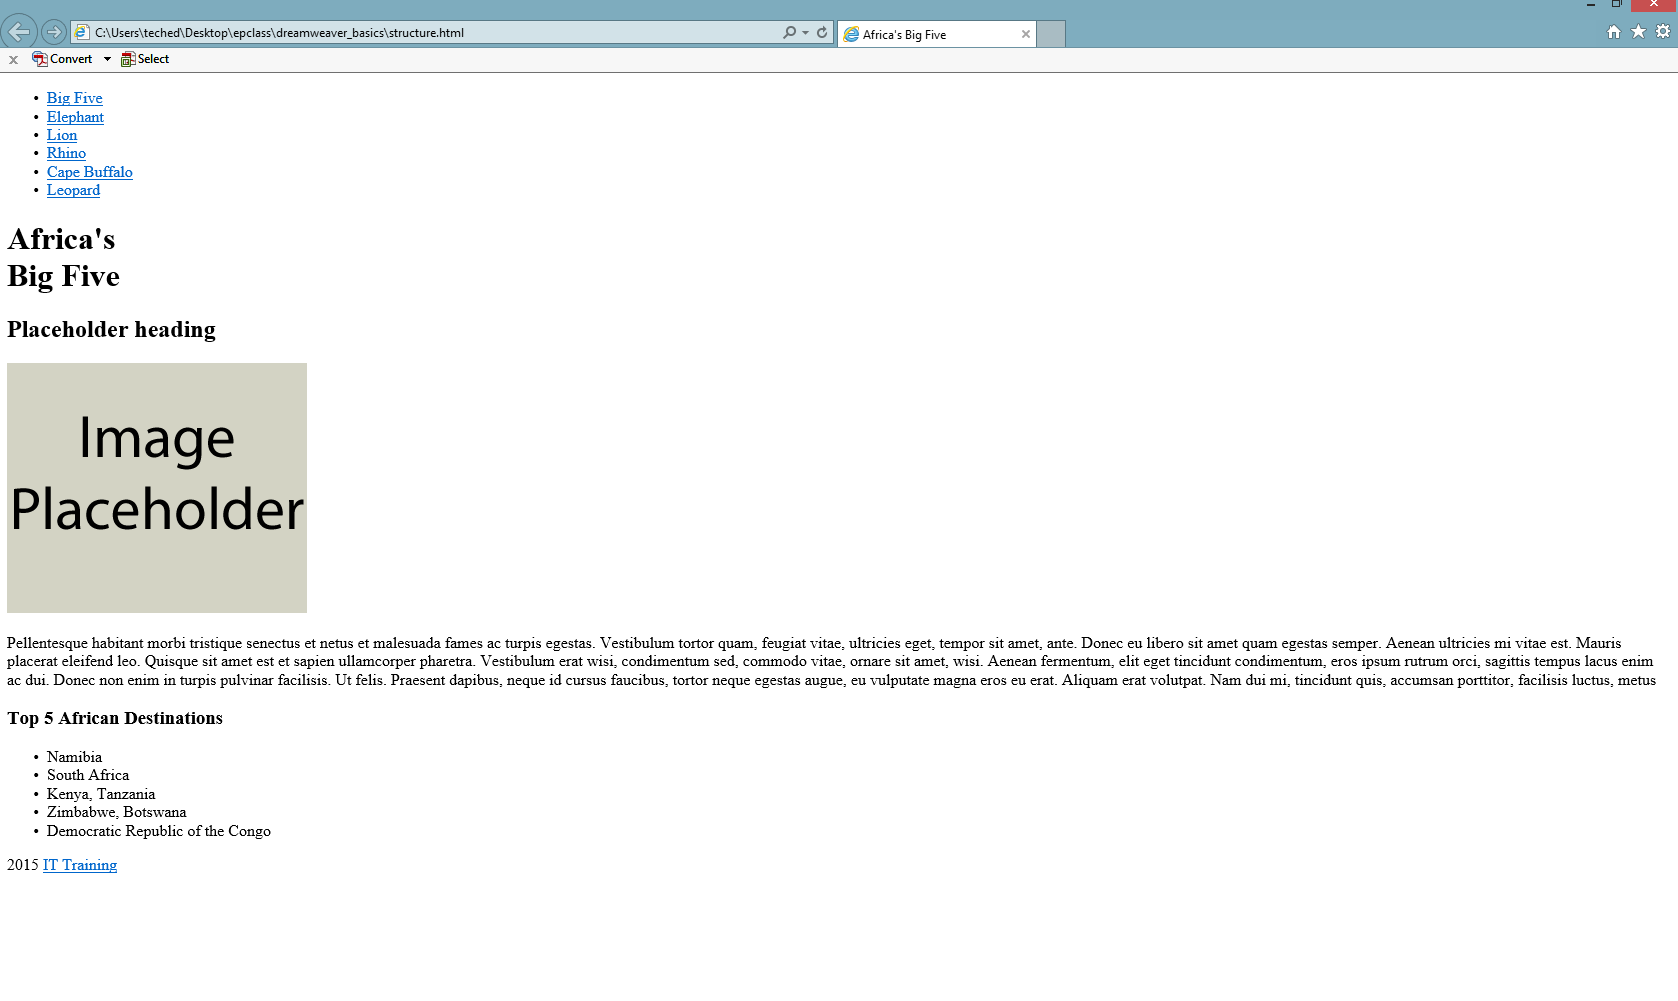
Step8. To preview the page in the default browser, press:
F12 key
NOTE for MacOS Users: To preview the page, press Option+FN key+F12 key.

Step9. To return to Dreamweaver,
close the browser window

