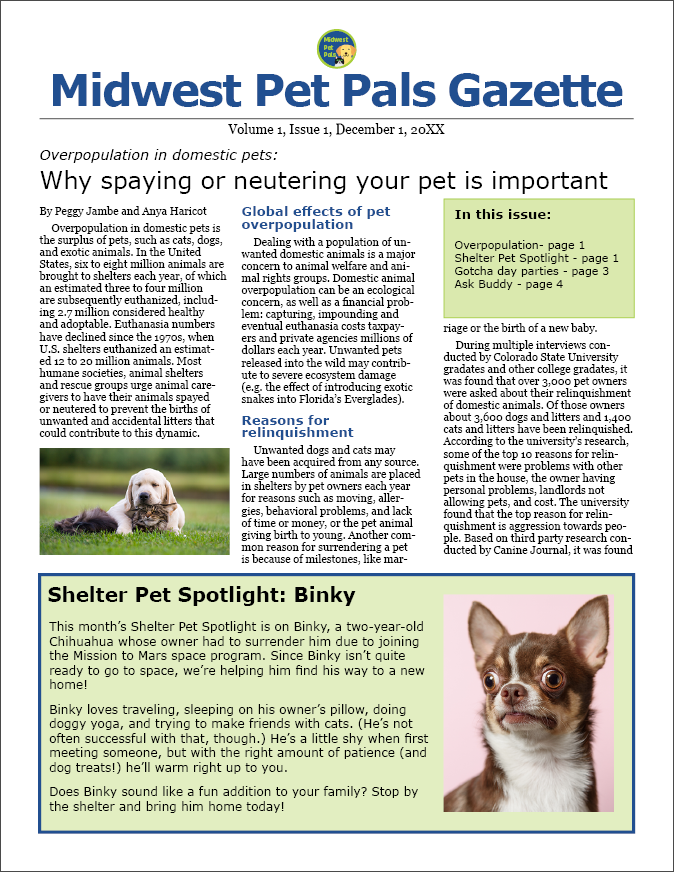
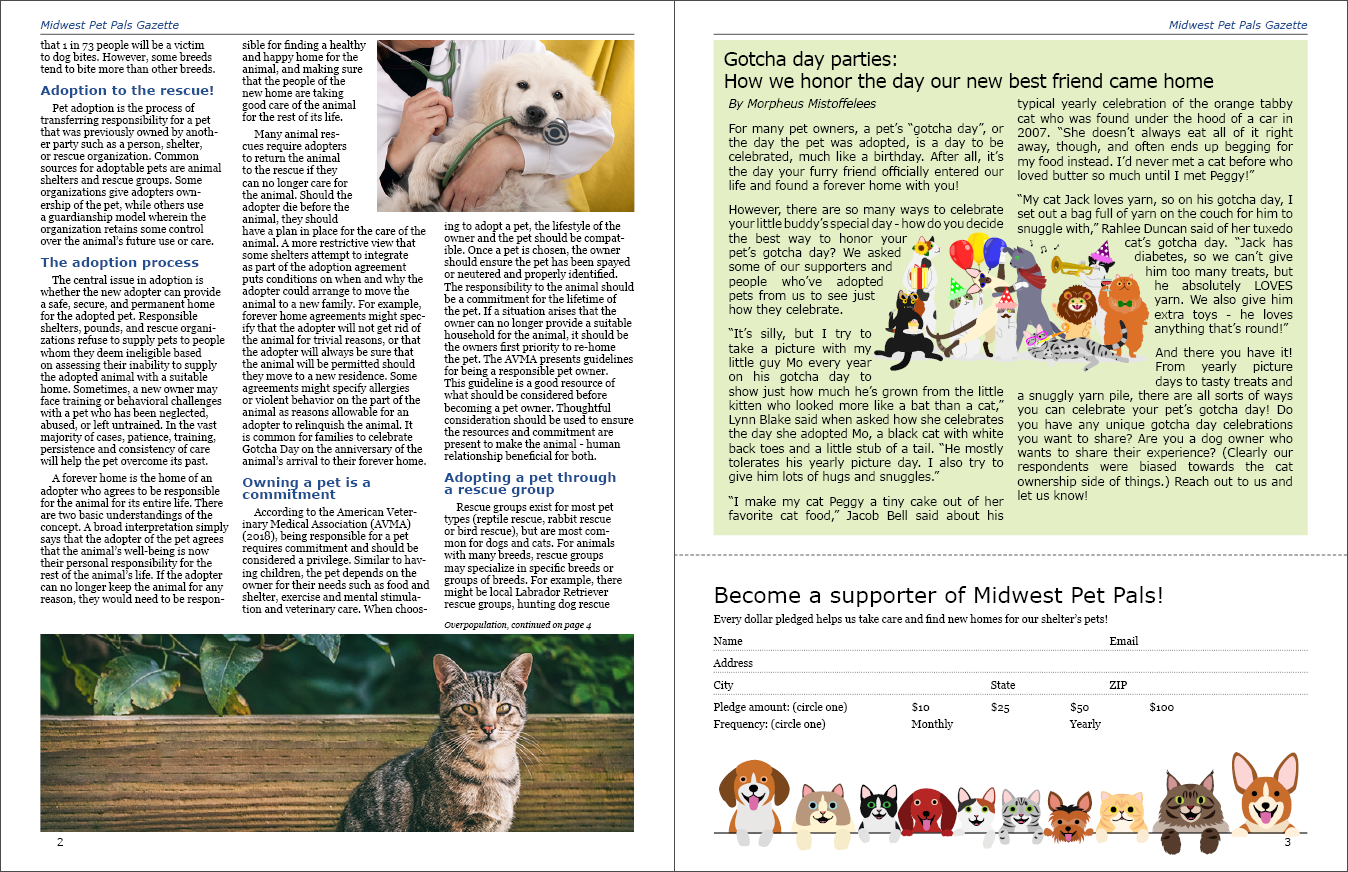
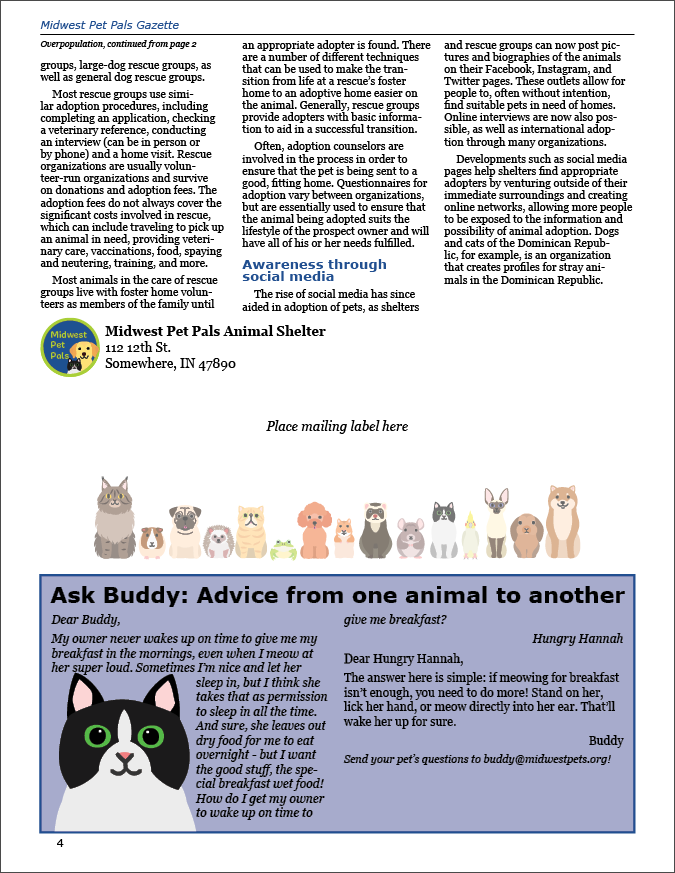
In InDesign, we have a number of tools available to help us perform some additional refinements to a document's text. At this point, the layout of the Midwest Pet Pals Gazette newsletter is completed — before we declare the newsletter ready for publishing, let's first make sure the text is in good shape.
Available Files
The following files are available for download:
Checking spelling in InDesign
Sometimes, despite our best efforts otherwise, a document's text may contain typos or other spelling errors that we may not have caught during the writing process. Since professional publications should be free of spelling and grammatical errors, it's always best to double-check for any spelling errors before publishing a document.
InDesign has a built-in spelling checker that will highlight misspelled or unknown words, instances where a word is typed two times in a row accidentally (such as "or or"), and words that might need to start with a capital letter. We can check a document's spelling all at once using the Check Spelling dialog box, or turn on Dynamic Spelling to underline misspelled words and other potential issues where they appear in the document.
Let's turn on Dynamic Spelling, then check for misspelled words in the document.
- To turn on Dynamic Spelling, on the Menu bar,
Click Edit, Point Spelling, Click Dynamic Spelling
With Dynamic Spelling turned on, if we look at the document now, we'll notice that some words have a colored line underneath them. The last name of the first author for the main article (Peggy Jambe) has a red line underneath it, indicating InDesign thinks it might possibly be misspelled. In the second paragraph in the Shelter Pet Spotlight article, the word "he'll" towards the end of the paragraph has a green line under it, indicating that InDesign thinks the word may need to be capitalized. There are a number of other instances where a name or acronym is highlighted to indicate InDesign thinks the word may be misspelled, like with the acronym AVMA for the American Veterinary Medical Association. If these names or acronyms are ones we may end up using frequently, we can add them to the user dictionary so InDesign stops highlighting them as misspelled words.
If we scroll to page 2, in the middle column of text a few lines up from the heading "Owning a pet is a commitment", we can see one genuinely misspelled word- "celeberate". We can easily fix that by clicking inside the misspelled word with the Type tool active, then right-clicking the word and choosing the correct spelling of the word from the menu that appears.
Let's fix the misspelled word on page 2. We'll also add the acronym AVMA to the dictionary, as it's an acronym that may come up in future editions of the Midwest Pet Pals Gazette newsletter.
- To activate the type tool, in the Tools panel,
Click

- Move to page 2 in the document.
- To insert the cursor in the misspelled word, in the second column of text, three lines above the subheading "Owning a pet is a commitment",
Click inside the word "celeberate"
- To correct the spelling of the word,
Right-Click the word "celeberate", Click celebrate
- To insert the cursor in the word we want to add to the dictionary, in the second column of text, two lines below the subheading "Owning a pet is a commitment",
Click inside the word "AVMA"
- To add the word to the dictionary,
Right-Click the word, Click Add "AVMA" To User Dictionary
The spelling has been corrected for the word "celebrate", and after adding "AVMA" to the user dictionary, the red underline disappears from all instances of the acronym in the document.
Balancing ragged lines
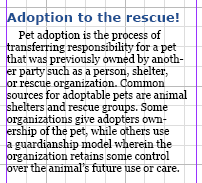
One technique we can use to enhance the appearance of the text in the main article is to balance the ragged lines. When working with text in column format, occasionally the last line of text in a paragraph will be rather short, which can cause problems with readability. One example of this in the newsletter is the first full paragraph on page 2, under the subheading "Adoption to the rescue!":
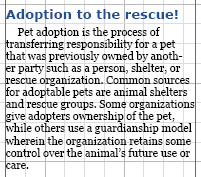
The Balance Ragged Lines option in InDesign lengthens some lines and shortens others in order to avoid this issue. Let's select all of the text in the main article, then balance the ragged lines to eliminate the short lines of text at the end of some of the paragraphs of text.
- Ensure the Type tool is still the active tool.
- To position the cursor in the main article,
Click anywhere in the main article's text
- To select all the text in the main article, on the keyboard, press:
Control key + A
- To balance the ragged lines, on the far right side of the Control panel,
Click
 , Click Balance Ragged Lines
 - To deselect the text,
Click anywhere inside the main body of text
The lines of text have shifted, and now there are no short lines at the end of each paragraph, as we can see if we look at the example paragraph again:
Editing overset text in the Story Editor
One of the very first things we added to the newsletter was the main article of text. At first, the contents only took up the front page and two and a half columns on page 2, but as we kept adding more content and resizing the space the main article occupied, we eventually ran out of space to show the full contents of the main article. This resulted in overset text on page 4 of the newsletter, as shown by the red plus sign in the out port at the bottom of the third column:
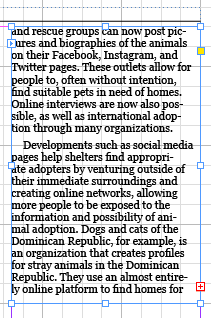
We need to edit the overset text so it fits in the newsletter. We can do this in InDesign by using the Story Editor.
Let's open the Story Editor, then see how we can use it to edit the overset text.
NOTE: If your document doesn't have overset text, you can move ahead to the page Packaging a completed document.
- Ensure the Type tool is still active.
- Move to page 4 in the document.
- To position the cursor near the end of the story, in the last column of text in the main article on page 4,
Click in the last line of text
- To open Story Editor, on the Menu bar,
Click Edit, Click Edit in Story Editor
The Story Editor opens, showing us the text of the main story without any of the formatting applied:
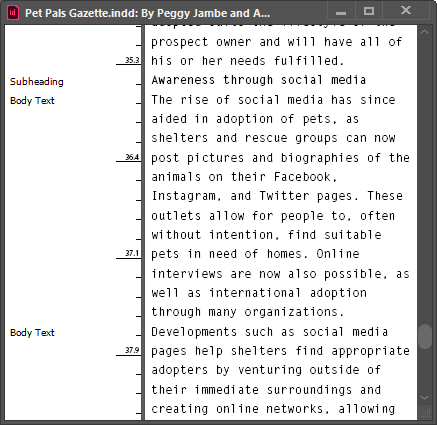
On the left side of the Story Editor, we can see what paragraph style is applied to a paragraph. If we scroll down to the end of the text, we can also see the overset text:
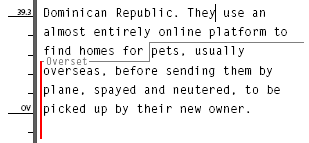
This lets us know exactly how much text we need to remove from the main story. Let's go ahead and remove the last sentence of the last paragraph, then save the file.
- To view the overset text, in the Story Editor window,
scroll until the overset text indicator appears
- To select the text we want to remove, near the end of the story,
Press & Drag from before the first word at the beginning of the sentence that starts with "They use an almost entirely online platform" to the end of the text
- To delete the selected text, on the keyboard, press:
Backspace key
- To close the Story Editor, in the upper right corner of the Story Editor window,
Click

- To save the file, on the keyboard, press:
Control key + S
We've removed the overset text, and no longer have an overset text indicator in the out port at the end of the story.
At this point, the newsletter is complete and ready to prepare for printing, and should look similar to the example pages in the following accordion folds:
