Now that we’re a little more familiar with the InDesign interface, let’s get started on creating the newsletter. As mentioned previously, we’ll be making a four-page newsletter — specifically, we’ll be creating an issue of the Midwest Pet Pals Gazette, which is mailed out to donors and volunteers at the Midwest Pet Pals animal shelter. The newsletter will be composed of a main article, a secondary article, and two sidebar articles. To add visual interest and draw readers into the content, we’ll incorporate a number of photos of cats and dogs; additionally, we’ll also make use of color to help make some of the articles contrast from their surroundings. Before we start laying out the document, let’s make sure we have a plan for the design of our newsletter.
Planning the document
When putting together any layout, it helps to have a plan in mind before opening InDesign and getting to work. It’s also important to keep basic design principles in mind as you plan out your layout, such as consistency, legibility, and generating visual interest without overwhelming the reader. While we won’t be specifically discussing page layout principles in this course, we will be putting them into practice when building the newsletter.
NOTE: If you're interested in learning more about the basic principles of design, consider enrolling in the course Page Design and Layout Basics, which discusses the process of designing a layout in more depth.
When approaching the task of laying out a document, using the following workflow can help make the process more straightforward:
- Gather the materials you’ll be using in the layout
- Create a rough sketch of the layout
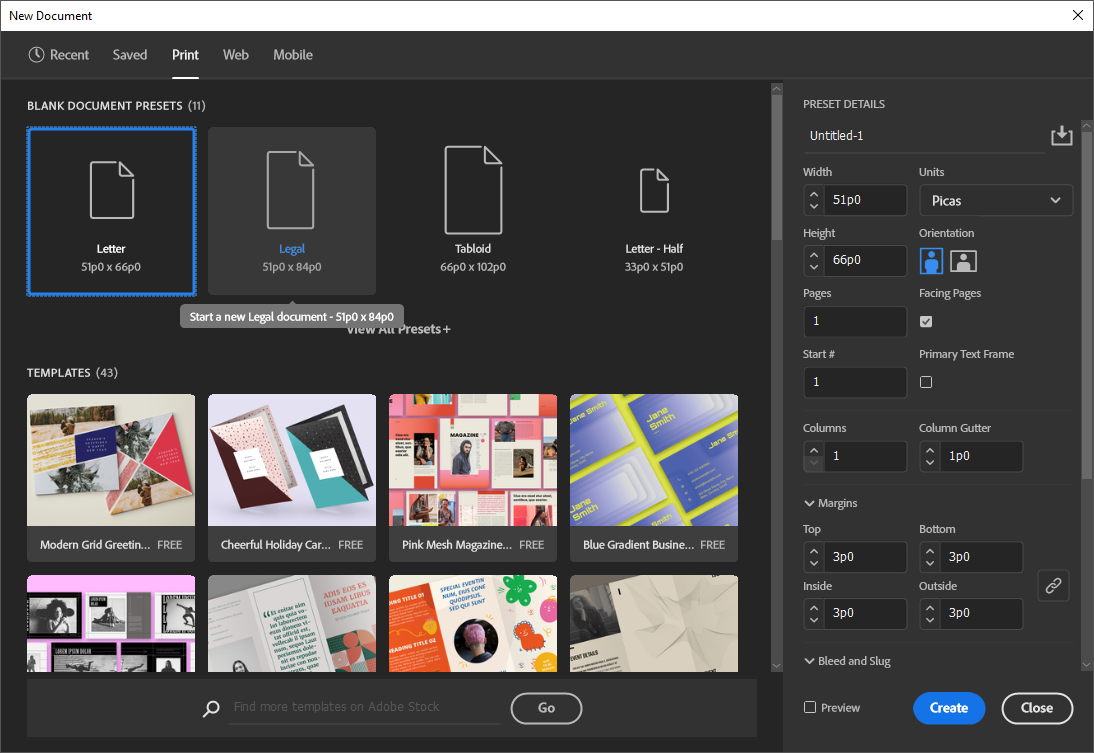
- Create the new document
- Build the underlying structure of the document
- Fill the document with content
Let’s talk a little bit more about each of these steps in detail.
Step one: gathering materials
This step involves collecting everything you’ll be including in your publication so it’s all ready to add to the layout when you start building it. This includes (but is not limited to) text, images, color swatches, and even the fonts you plan to use in the document. This step has already been completed for you today — the text and images we'll be using in the newsletter are included in the Images and Text folders in the exercise files, and the fonts we’ll be using today are Verdana and Georgia. For color, we’ll be using the shades of blue and green from the Midwest Pet Pals logo (shown in the following image) to help unify the document.

Step two: creating a rough sketch of the layout
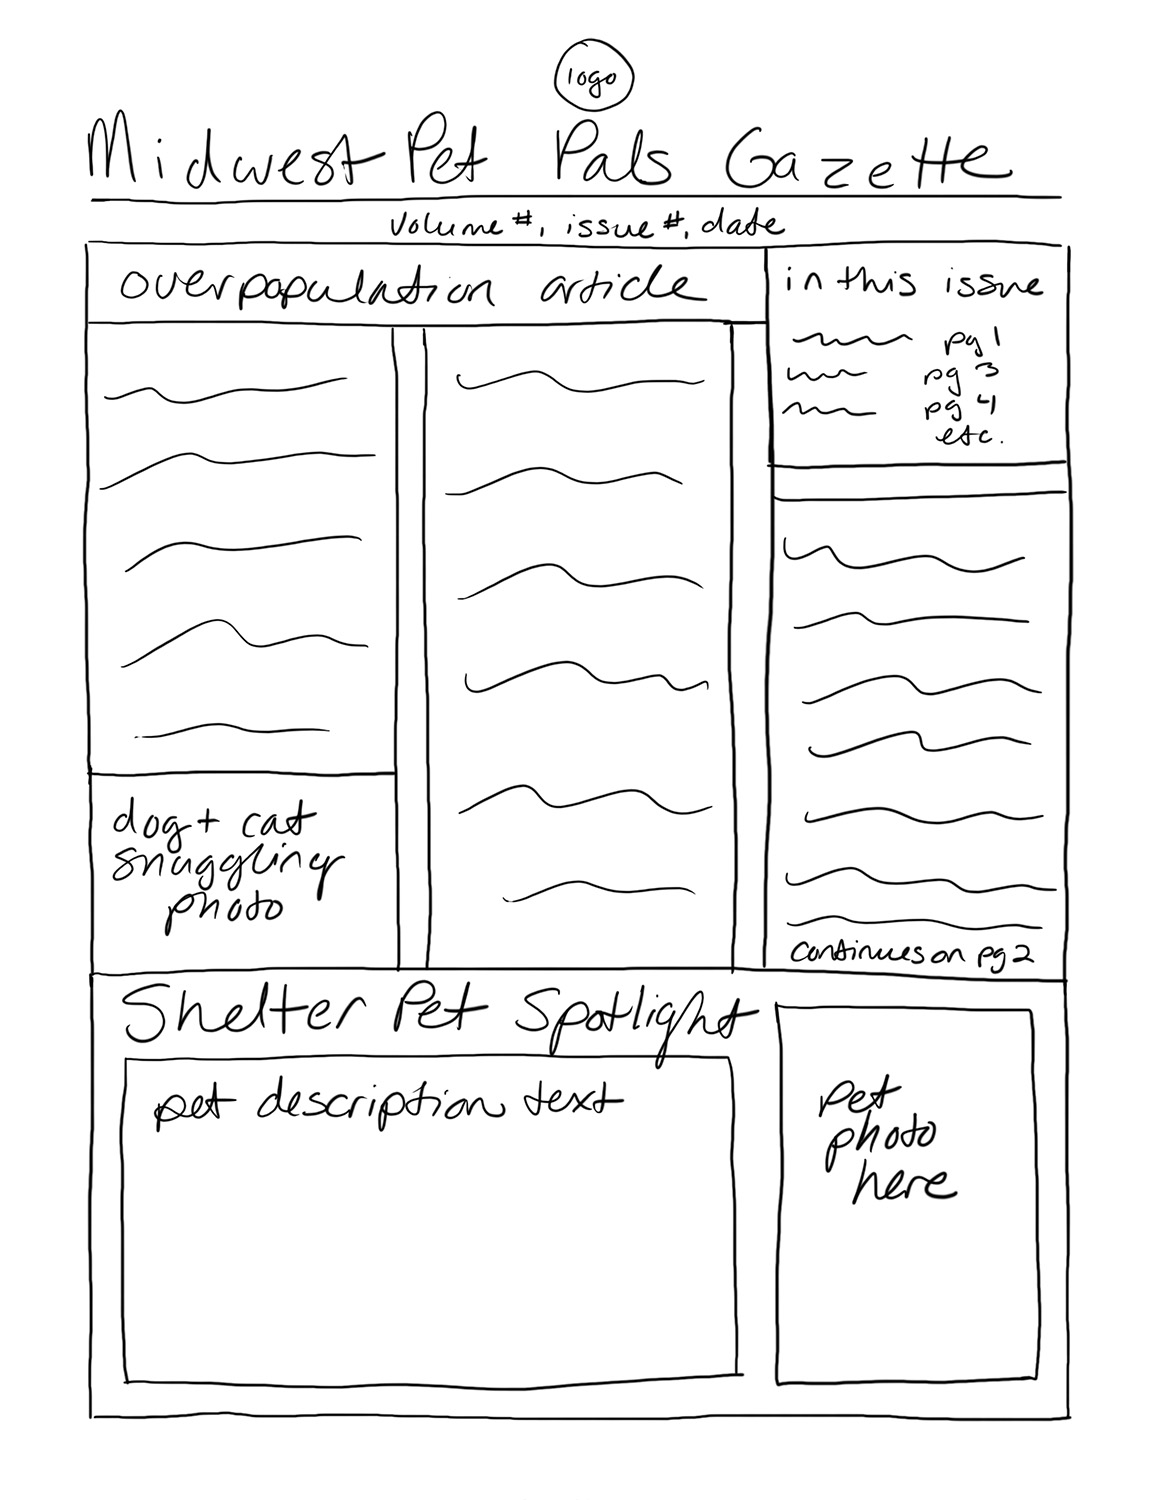
With the materials you’ll be including in the document on hand, the next step is to create a rough sketch of how you want to lay out the contents of the document. It doesn’t have to be a very detailed sketch — just focus on figuring out where individual elements like photos, articles, and other design elements will go in the finished document. We've already created a rough sketch of the planned layout of the Midwest Pet Pals Gazette — you can view the rough sketches in the following accordion folds:


