PowerPoint is a presentation program that is included with the Microsoft Office Suite. It can be used to create slide shows, speaker notes, audience handouts, and outlines. While there have been several versions of this application since it was first introduced in 1987, Microsoft Office PowerPoint 2016 allows users to create professional-looking presentations faster and more efficiently than ever.
Today's Project
In today's scenario, we will take on the role of a high school English teacher who wants to teach her students how to design a successful PowerPoint presentation. We will create a slide show that can be used for this purpose. We will begin by selecting a design template and exploring various layouts. We will use different techniques to work with slides and to format text. Finally, we will insert images and apply basic slide transitions before preparing to deliver the presentation.
Exploring the PowerPoint Interface
First we will launch PowerPoint.
Step 1. Launch PowerPoint using the Start menu or another shortcut.

NOTE: Depending upon what resolution settings you are using on your computer, your screen may look slightly different than the one you see here. In addition, some of the buttons that appear in these materials may look slightly different on your screen.
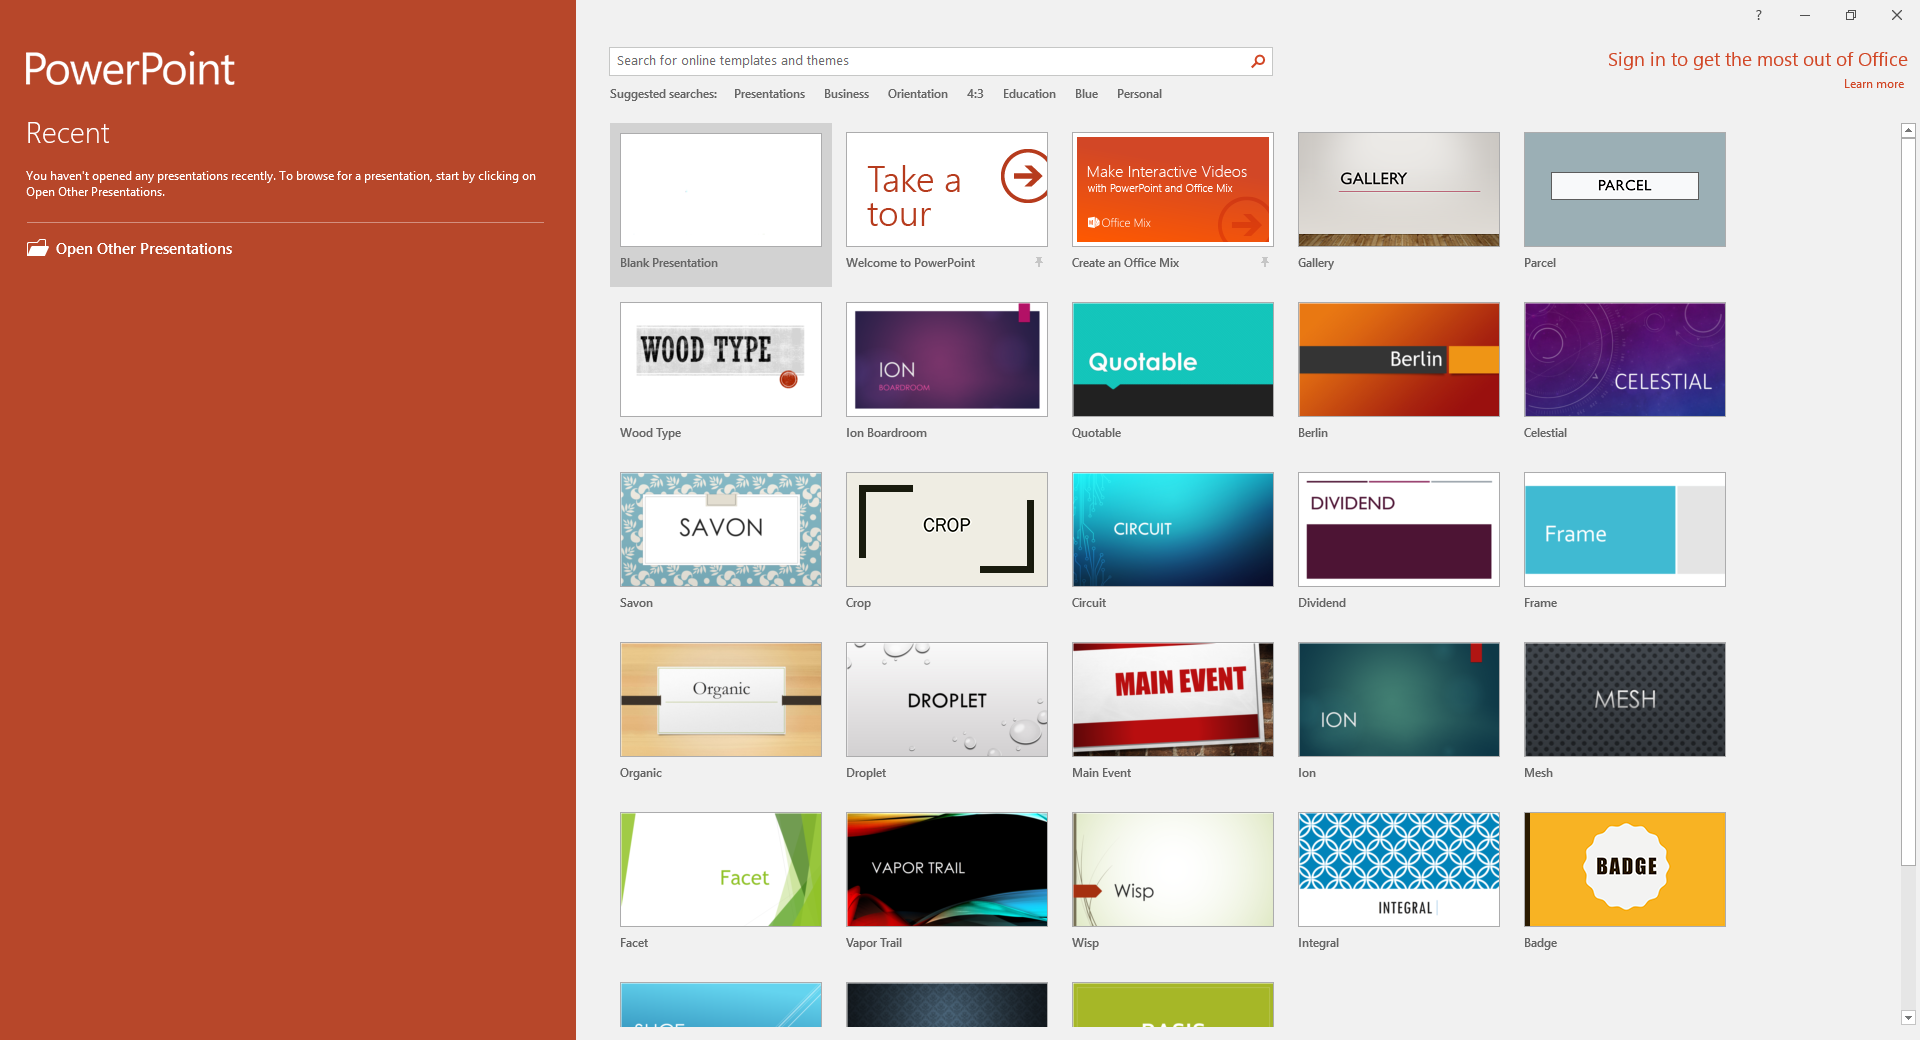
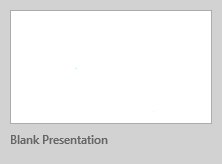
Step 2. To begin creating a blank presentation,
Click 
NOTE for MacOS Users: It may require a Double-Click to create a blank presentation.

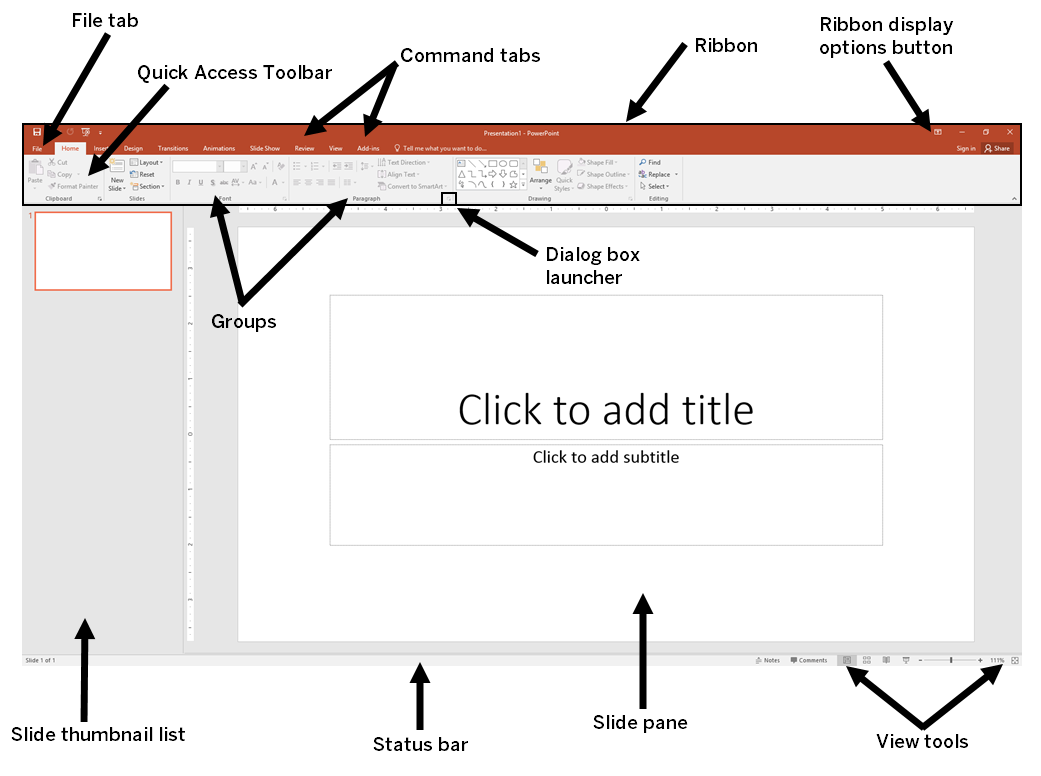
| Screen Element | Description |
|---|---|
| File Tab | Allows access to the Backstage view in PowerPoint. Used to manage files and the data about files, such as creating and saving files, inspecting for hidden or personal information, and setting file options. |
| Quick Access Toolbar | A toolbar located above the File tab which can be customized to include commands that are used often. |
| Ribbon | The rectangular strip at the top of the PowerPoint window that contains the tool system. |
| Command tabs | The tabs that are located at the top of the Ribbon. Each tab contains commands that relate directly to tasks that users need to accomplish. The tabs are arranged in the order that we are most likely to use them. |
| Group | A set of related commands which are grouped together on a tab. The name of the group is located at the bottom of the Ribbon. For example, on the Home tab we find the Slides group, the Font group, the Paragraph group, etc. |
| Dialog Box Launcher | A button in the lower right corner of some groups on the Ribbon that we can click to display a dialog box (like the ones available in previous versions of PowerPoint). |
| Slide Thumbnail List | The pane on the left side of the screen that holds thumbnails of all slides in the presentation. |
| Slide Pane | The largest pane on the screen that holds the currently selected slide as it will appearin the presentation. |
| View Tools | The tools located on the right side of the status bar that allow us to change the view of the open presentation. |
| Ribbon Display Options button | Opens a drop-down menu with options to hide the Ribbon completely, show tabs only, or show the tabs and commands all the time. |

